Can you tell me about my Directus schema?
MCP Server
Installation
Set up the Directus MCP server and connect your AI tools in under 5 minutes.
Get AI assistants connected to your Directus instance in three simple steps. The MCP server is built into Directus with no additional setup required.
MCP requires Directus v11.12+. For older versions, use the Local MCP alternative.
Quick Setup
The Directus MCP server is disabled by default and must be manually enabled. When enabled, it uses the same permissions as the user account you connect with. AI tools can only access what that user is allowed to see and do.
System administrators can completely disable MCP functionality through configuration environment variables.
Enable MCP in Directus
- Log into your Directus admin as an administrator
- Go to Settings → AI → Model Context Protocol
- Click Enabled under MCP Server to activate the MCP server
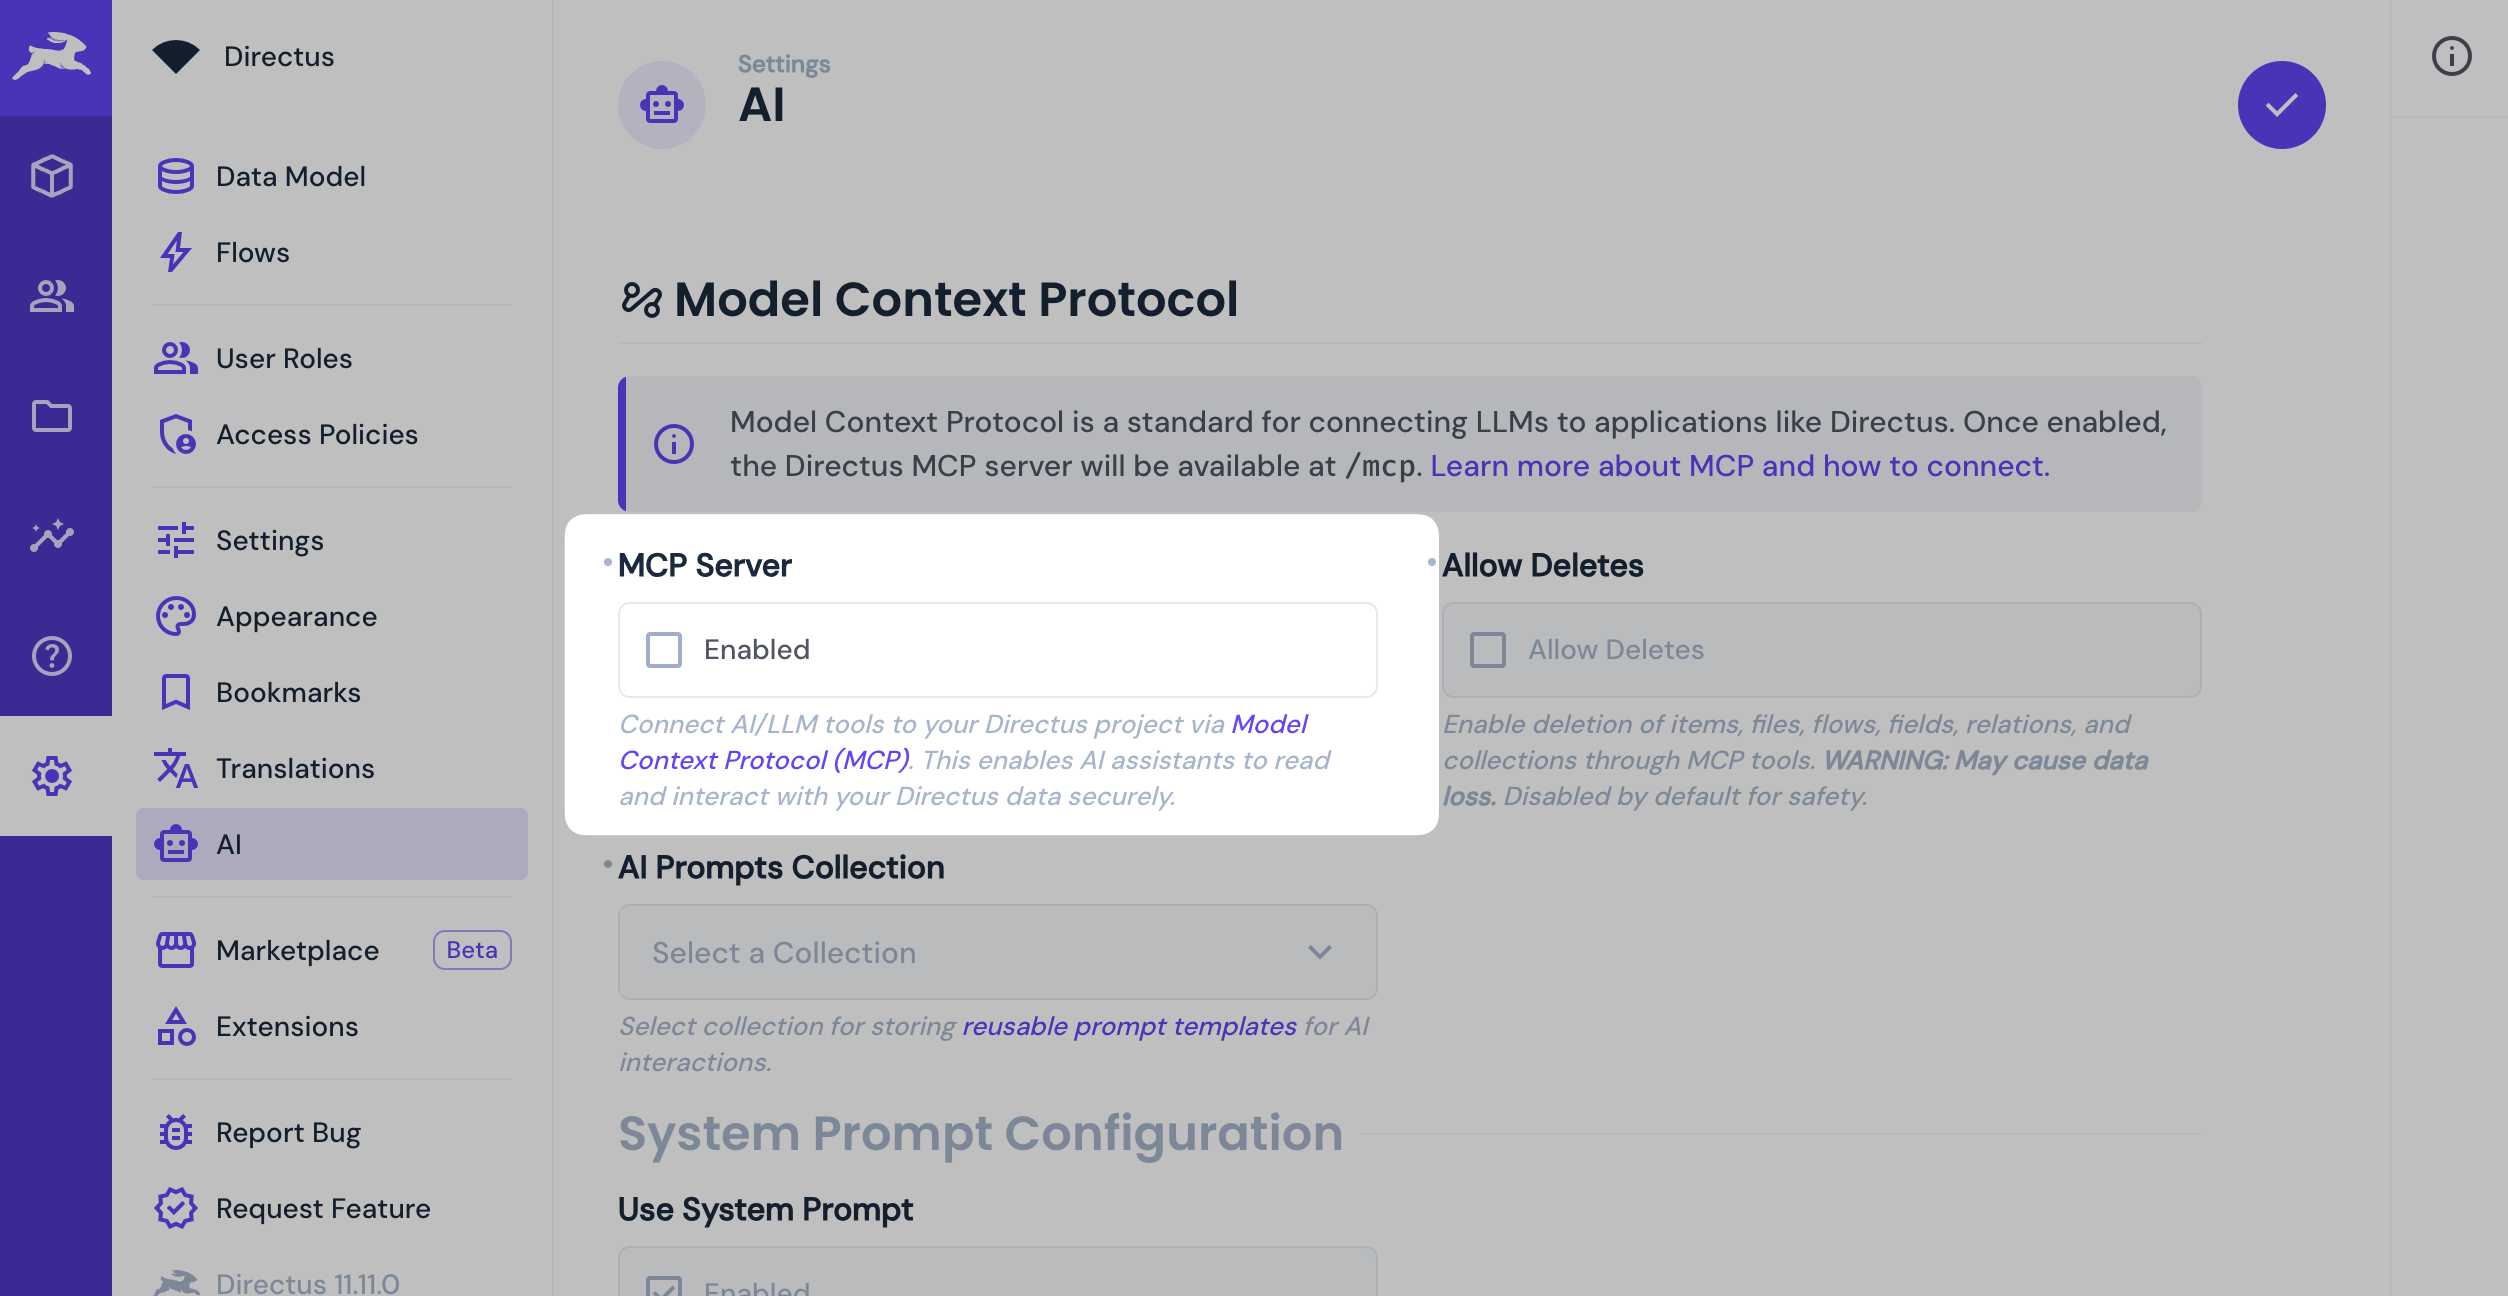
- Save the AI settings
Most users can keep the default settings. The MCP server is now ready at
https://your-directus-url.com/mcp.Generate Access Token
- Navigate to User Directory
- Click Create User with these settings:
- Name:
Your Name - MCP Useror similar - Email: Email is not required for MCP operations
- Role: Create a new role or use existing role with appropriate permissions.
- Name:
- Generate an access token:
- Open the user profile
- Scroll to Token field → Generate new token
- Copy the token (you'll need it next)
- Save the user
Not recommended: It's best to use dedicated accounts for AI operations, instead of using your personal admin account.
- Navigate to User Directory
- Find your existing user
- Open the user profile
- Generate an access token:
- Scroll to Token field → Generate new token
- Copy the token (you'll need it next)
- Save the user
Connect Your AI Client
You control the LLM integration. This tool connects to your own language model - either self-hosted or via a public service like OpenAI, Anthropic, or others.
Choose your AI tool and follow the setup:
- Log into ChatGPT with Pro/Teams account
- Go to Settings → Apps & Connectors
- Click Create in the top-right corner
- Configure:
- Name: Directus MCP
- MCP Server URL:
https://your-directus-url.com/mcp?access_token=your-generated-token - Authentication: No authentication
- Click Create to save the connector
- Download Claude Desktop and sign in with your Claude account
- Open Settings → Connectors
- Click Add custom connector
- Configure the connector:
- Name: Directus MCP
- Server URL:
https://your-directus-url.com/mcp?access_token=your-generated-token
- Click Add to save the connector
- Review and accept the permissions when prompted

- One-click install: Click the button above to automatically configure Directus MCP in Cursor
- Manual setup: Alternatively, create
.cursor/mcp.jsonin your project root:
{
  "mcpServers": {
    "directus": {
      "url": "https://your-directus-url.com/mcp",
      "headers": {
        "Authorization": "Bearer your-generated-token"
      }
    }
  }
}
- Replace
your-directus-url.comandyour-generated-tokenwith your values
- Install Claude Code CLI
- Add Directus MCP server using the command line:
claude mcp add --transport http directus https://your-directus-url.com/mcp \
  --header "Authorization: Bearer your-generated-token"
- Start Claude Code and verify the connection:
# Start Claude Code
claude

# Ask Claude to test the connection
> "Can you tell me about my Directus schema?"
- Install VS Code 1.102+ and the GitHub Copilot extension
- Create or edit
mcp.jsonin your workspace.vscodefolder or user settings - Add this configuration:
{
  "servers": {
    "directus": {
      "type": "http",
      "url": "https://your-directus-url.com/mcp",
      "headers": {
        "Authorization": "Bearer ${input:directus-token}"
      }
    }
  },
  "inputs": [
    {
      "id": "directus-token",
      "type": "promptString",
      "description": "Directus Access Token",
      "password": true
    }
  ]
}
- VS Code will prompt you for your Directus token when the server starts
- Use MCP tools in Agent mode from the Chat view
- Download Raycast
- Open Raycast and search for "MCP Servers"
- Configure Directus MCP server through the UI:
- Name: Directus MCP
- URL:
https://your-directus-url.com/mcp?access_token=your-generated-token
- Save the configuration
- Use
@directusto interact with your instance
Verify Connection
Once connected, test your setup with a simple question about your Directus instance:
User Permissions
Configure your AI user's role based on what you want them to do:
Content Editor Role (recommended for most users):
- Collections: Read/Create/Update on your content collections
- Files: Read/Create/Update/Delete
- Folders: Read/Create/Update/Delete
- System Collections: Read only
Developer Role (required for schema management):
- All content permissions above, plus:
- Collections: Full CRUD access
- Fields: Full CRUD access
- Relations: Full CRUD access
- Flows: Full CRUD access
or add the administrator role to your MCP user.
Note: The MCP server uses your existing permissions and access policy settings. AI tools can only access what you explicitly allow - just like any other Directus user. See Access Control for more information.
MCP Server Settings

Access advanced options in Settings → AI → Model Context Protocol:
| Setting | Type | Default | Description |
|---|---|---|---|
| MCP Server | Toggle | Disabled | Connect AI/LLM tools to your Directus project via Model Context Protocol (MCP). This enables AI assistants to read and interact with your Directus data securely. |
| Allow Deletes | Toggle | Disabled | Enable deletion of items, files, flows, fields, relations, and collections through MCP tools. WARNING: May cause data loss. Disabled by default for safety. |
| AI Prompts Collection | Select | No collection selected | Select a collection to enable reusable prompt templates. Select existing collection or click "Generate AI Prompts collection..." to create one automatically. |
| Use System Prompt | Toggle | Enabled | Use the default system prompt to guide LLM behavior. Disable to remove or override with your own prompt below. |
| Custom System Prompt | Rich Text | Empty | Custom system prompt to replace the default. Leave empty to use default (if enabled above). |
Next Steps
Your MCP server is ready! Here's what to explore:
Get once-a-month release notes & real‑world code tips...no fluff. 🐰