Create Dynamic Pages for a CMS using Directus and Nuxt
Directus provides a headless CMS, which when combined with Nuxt will streamline content management. This post covers how to combine the two to create dynamic pages for a content management system.
Before You Start
You will need:
- A new Directus project with admin access.
Set Up Your Directus Project
Start with a Directus Cloud or self-hosted clean install of Directus. Follow the steps below to configure Directus with the necessary collections and permissions.
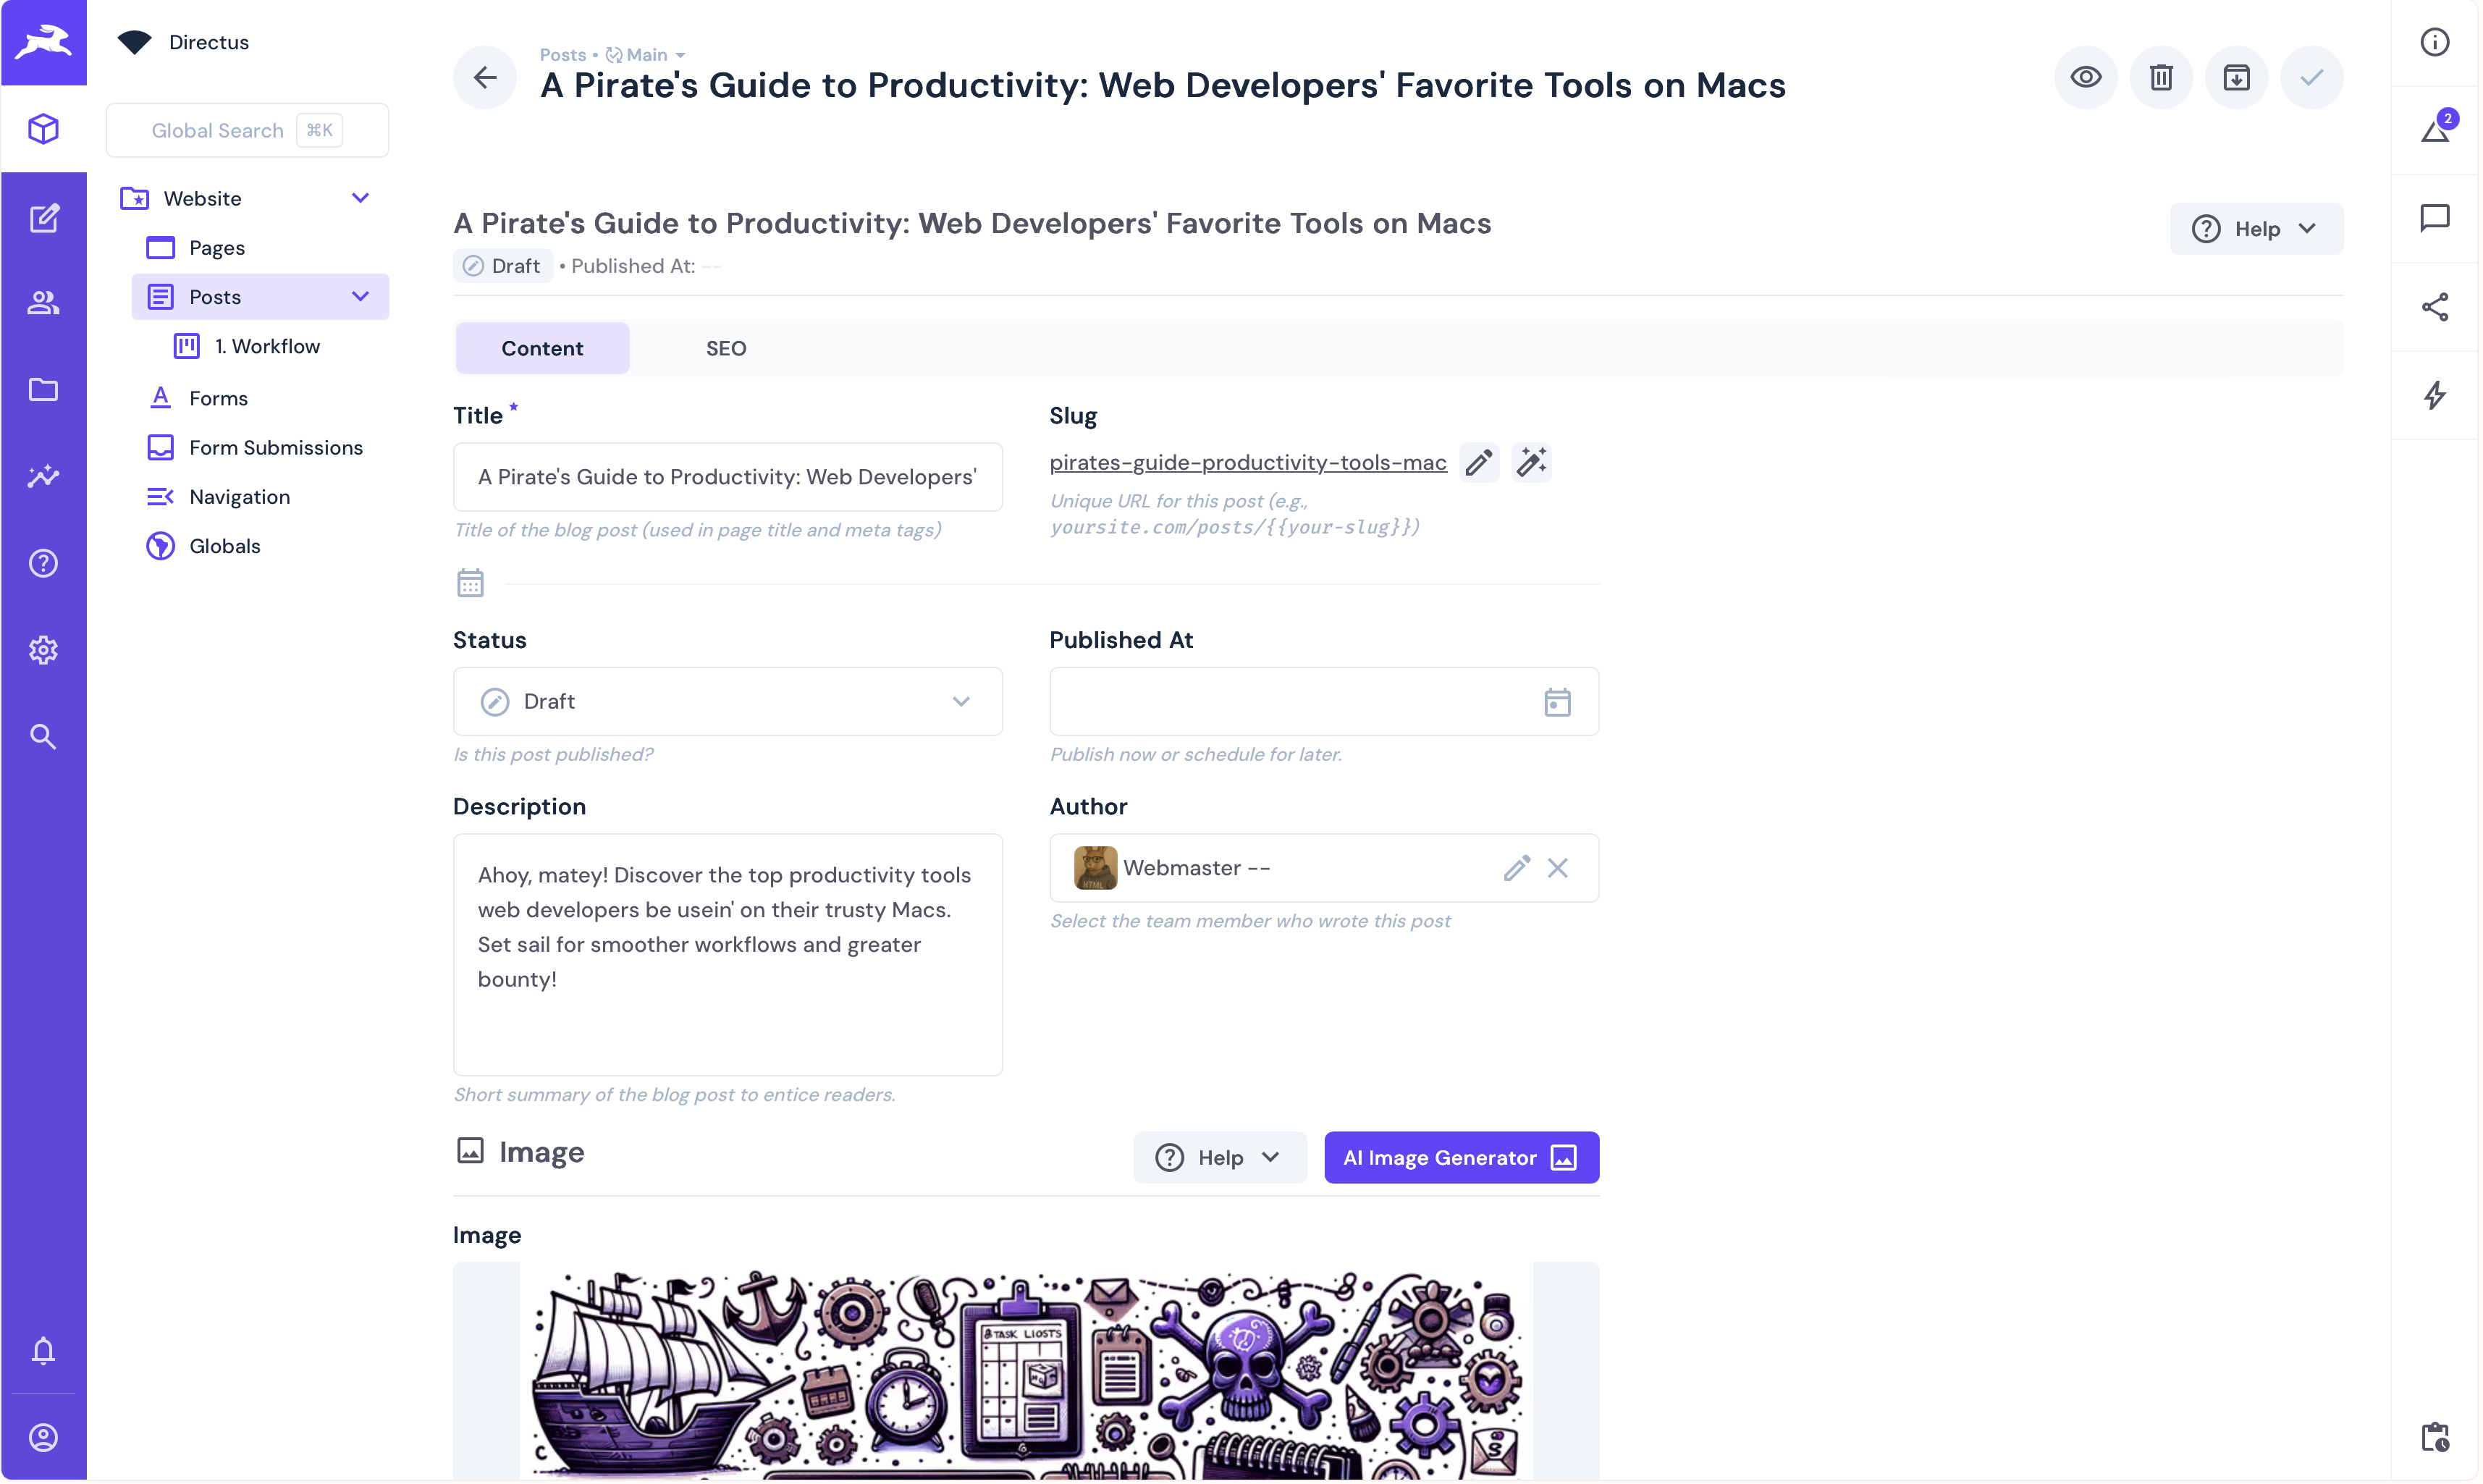
First, using the new Directus instance, generate a static token for the admin user by going to the Users Directory. Choose the Administrative User, and scroll down to the Token field and generate a static token. Copy the token and save it. Do not forget to save the user, or you will encounter an "Invalid token" error.
Apply the CMS Template
Use the Directus Template CLI to apply the CMS template for your project by opening your terminal and running the following command:
npx directus-template-cli@latest apply
Choose Community templates, and select the CMS template. Fill in your Directus URL, and select Directus Access Token as the authentication method, filling in the token created earlier.
The Directus Template CLI will make the required changes to Directus to add the CMS template. This includes creating the necessary collections, fields, and relationships to manage your content.
Set Up Your Nuxt Project
Initialize Your Project
Create a new Nuxt project using Nuxi:
npx nuxi@latest init directus-cms-pages
cd directus-cms-pages
Note: Just hit enter when asked to select additional packages (none are required for this project).
Configure Nuxt
Configure Nuxt so that it is able to communicate with the (external) Directus API.
Create a .env file with the Directus URL:
API_URL="http://0.0.0.0:8055"
Add a type definition for our new environment variable by creating an env.d.ts file with the following content:
/// <reference types="vite/client" />
interface ImportMetaEnv {
    readonly API_URL: string;
}

interface ImportMeta {
    readonly env: ImportMetaEnv;
}
Depending on your project configuration and if you are in development or production you may need to configure a Nuxt proxy to allow access between your Nuxt project and Directus in your nuxt.config.ts:
routeRules: {
    "/directus/**": { proxy: `${import.meta.env.API_URL}/**` },
  },
This will allow your Nuxt project to access Directus via your Nuxt URL, eg. http://localhost:3000/directus
Inside your Nuxt project, install the Directus SDK package by running:
npm install @directus/sdk
Define a Directus Schema
TypeScript needs to know what the structure of the Directus data is. To achieve this create a directus.d.ts file in the root of our project which defines our schema and add the Post collection structure:
/// <reference types="@directus/extensions/api.d.ts" />
interface DirectusSchema {
    posts: Post[];
}

interface Post {
    id: string;
    title: string;
    slug: string;
    image: Image;
    description: string;
    author: string;
    published_at: string;
    sort?: number;
    content?: string;
    seo?: SEOMeta;
}

interface Image {
    id: string;
    filename_disk: string;
    title: string;
}

interface SEOMeta {
    title: string;
    meta_description: string;
}
Use Nuxt page router
Configure Nuxt to use the page router by editing app.vue replacing the content with:
<template>
  <div>
    <h1>Directus Blog</h1>
    <NuxtRouteAnnouncer />
    <NuxtPage />
  </div>
</template>
Create a Directus plugin
Create a Nuxt plugin to streamline accessing Directus throughout your application. Create a new file plugins/directus.ts
Copy and paste in the code below, replace the your-website-url with your Nuxt URL and port:
import { createDirectus, rest, readItem, readItems } from "@directus/sdk";
const directus = createDirectus<DirectusSchema>(
    "http://localhost:3000/directus",
).with(rest());
export default defineNuxtPlugin(() => {
    return {
        provide: { directus, readItem, readItems },
    };
});
This file handles all the interaction with Directus and provides Nuxt with the required Directus SDK features.
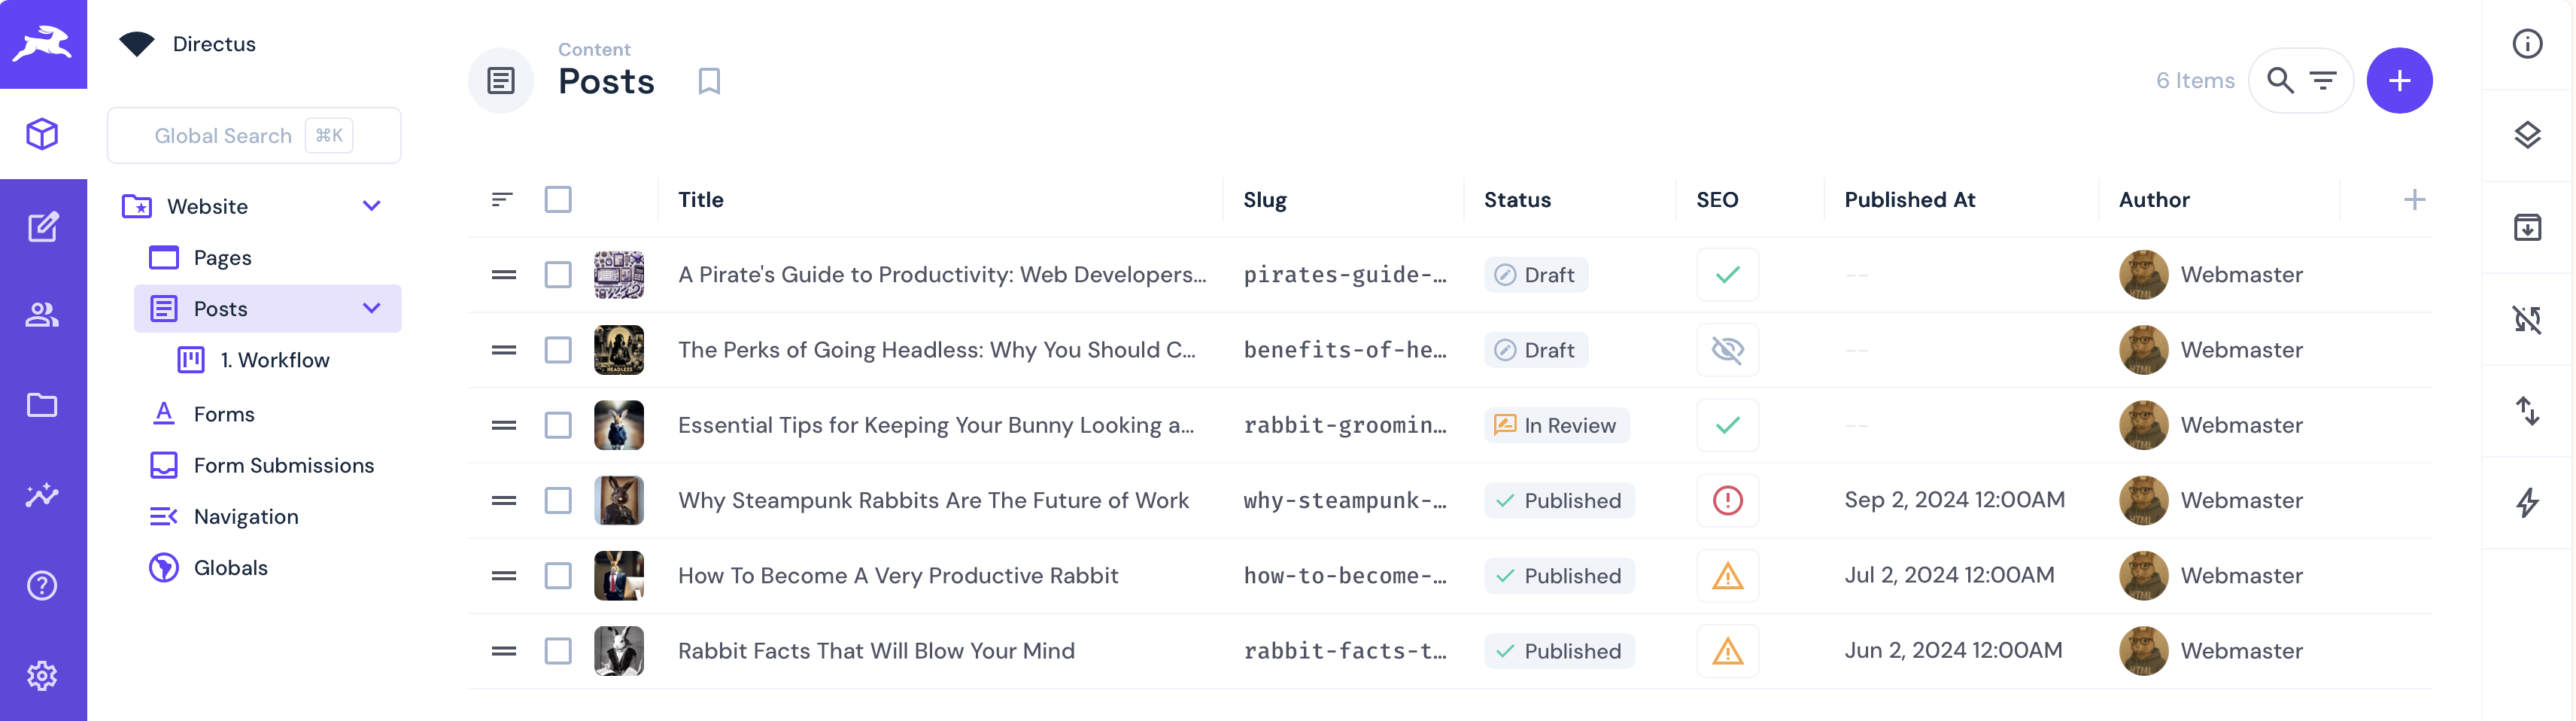
Create the Posts Listing
The Directus CMS template comes with some example posts that can be used to implement the Nuxt integration.
Listing these posts in Nuxt can be done on an initial index.vue page. Create the file pages/index.vue with the following content:
<script setup lang="ts">
const { $directus, $readItems } = useNuxtApp()
const route = useRoute()

const { data, error } = await useAsyncData('post', async () => {
    return $directus.request($readItems('posts'))
})
</script>
<template>
    <div v-if="data">
        <div v-for="post in data" :key="post.id">
            <h1>{{ post.title }}</h1>
        </div>
    </div>
    <div v-else>Loading...</div>
</template>
By running your Nuxt server with npm run dev and visiting your-website-url you should see a list of the titles of the posts that matches the list in Directus. If you look at the post collection however, you will see that posts have a number of fields that will assist with displaying the posts in the front end, namely:
- Sort: To control the order in which the posts are displayed.
- Published_at: If there is no published date, then the post should not be displayed.
A more complete post listing page takes these fields into account and would display more of the post's content.
Separating out the the posts into their own component will allow the reuse of the component in the individual post page. Create a new file components/Post.vue with the following content:
<script setup lang="ts">

import { defineProps } from 'vue'

const props = defineProps({
    id: {
        type: String,
        required: true,
    },
    title: {
        type: String,
        required: true,
    },
    slug: {
        type: String,
        required: true,
    },
    description: {
        type: String,
        required: true,
    },
    image: {
        type: Object,
        required: true,
    },
    content: {
        type: String,
        required: false,
    }
})

const { id, title, description, image } = props
</script>

<template>
    <div :class="content ? 'article' : 'card'">
        <img :src="`/directus/assets/${image.id}`" :alt="image.title" />
        <h2>{{ title }}</h2>
        <div v-if="content">
            <div v-html="content"></div>
        </div>
        <div v-else>
            <p>{{ description }}</p>
            <NuxtLink :to="`/posts/${slug}`">Read more</NuxtLink>
        </div>
    </div>
</template>

<style scoped>
.card {
    border-radius: 8px;
    box-shadow: 0 4px 8px rgba(0, 0, 0, 0.1);
    overflow: hidden;
    transition: transform 0.3s ease;
    background-color: #fff;
    max-width: 350px;
    margin: 1rem;
    position: relative;
}

.card:hover {
    transform: translateY(-5px);
    box-shadow: 0 6px 12px rgba(0, 0, 0, 0.15);
}

.card img {
    width: 100%;
    height: 200px;
    object-fit: cover;
    display: block;
}

.card h2 {
    margin: 1rem;
    font-size: 1.5rem;
    color: #333;
}

.card p {
    margin: 0 1rem 1rem;
    color: #666;
    line-height: 1.4;
}

.card a {
    display: inline-block;
    margin: 0 1rem 1rem;
}
</style>
Predominantly most of the code in this file is the setup of the post props and some styling but the HTML includes some conditional vue statements to present a post as a card or an article based on the presence of the content field.
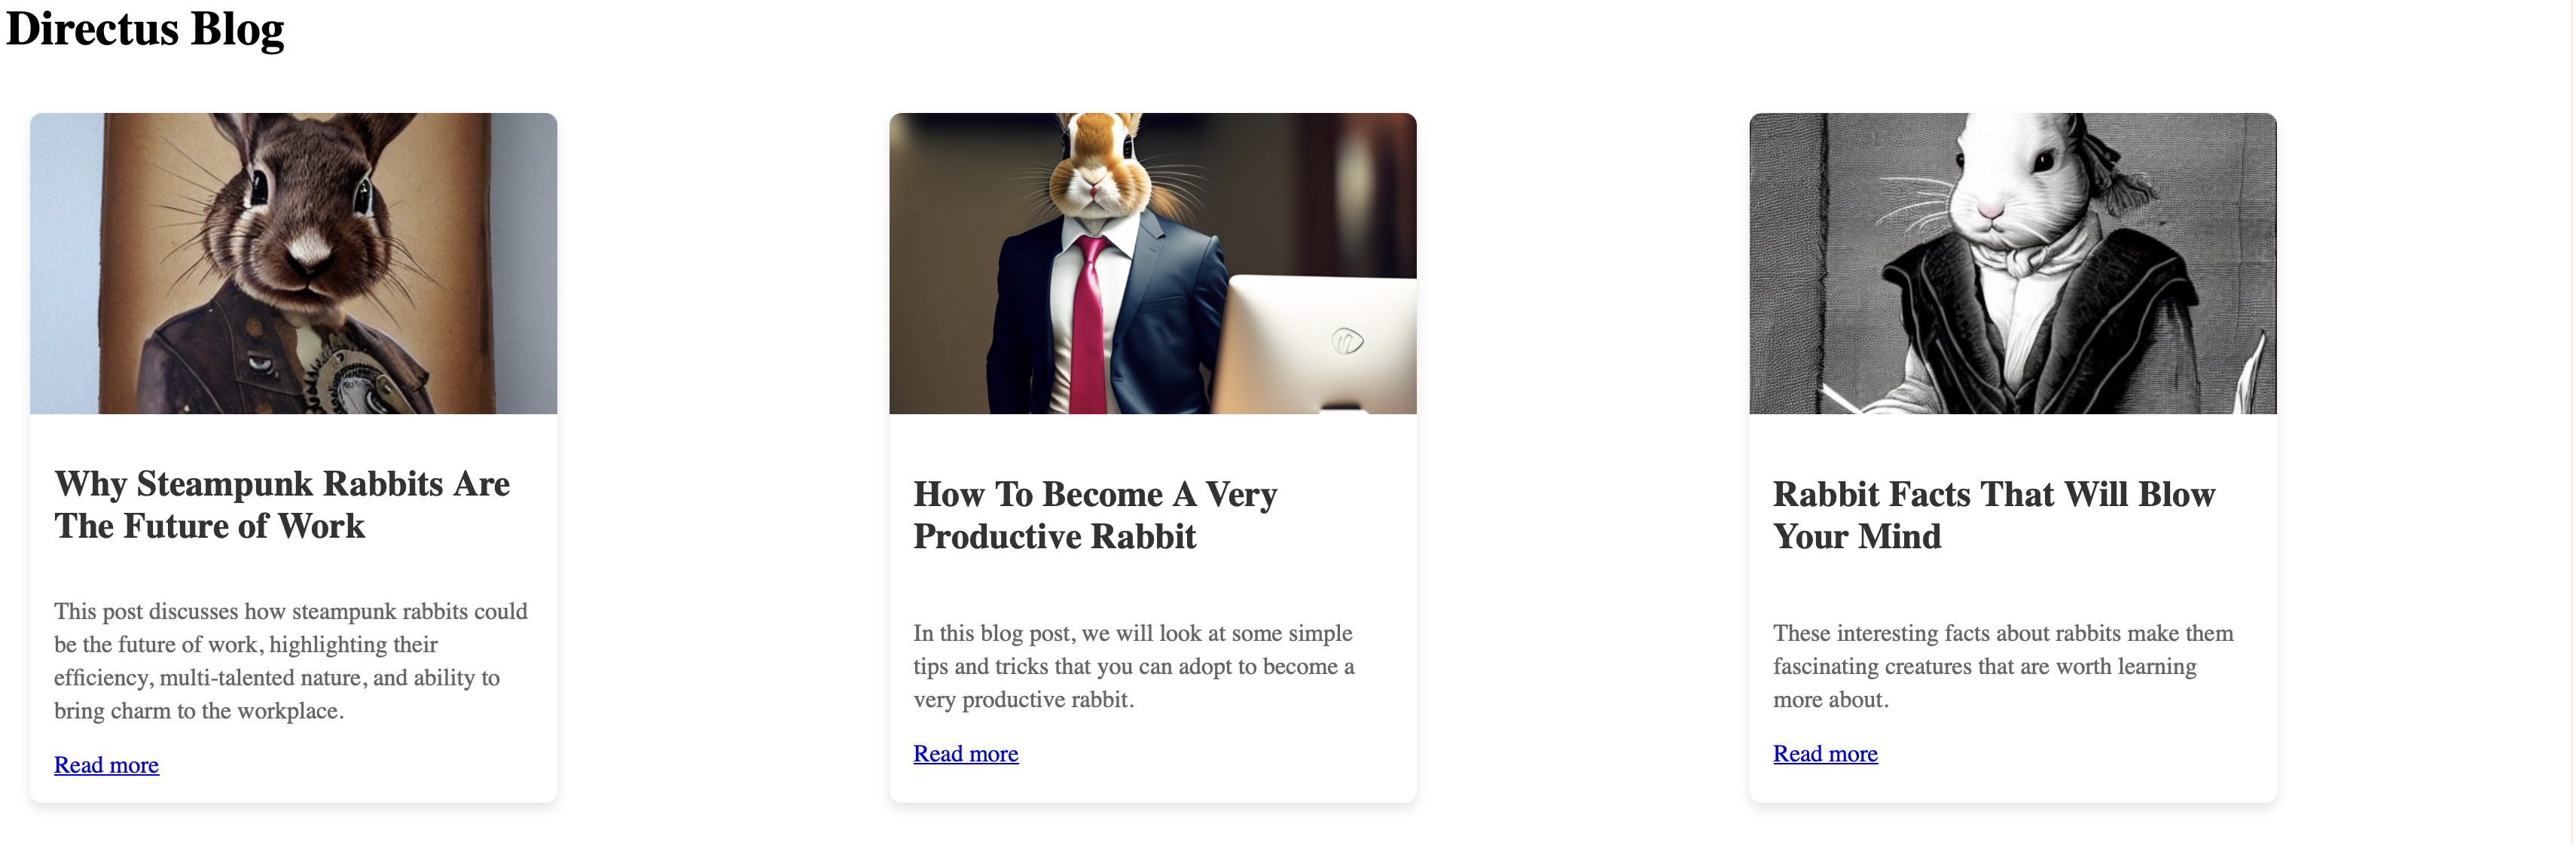
To use this component, and display only published posts update pages/index.vue to the following:
<script setup lang="ts">
const { $directus, $readItems } = useNuxtApp()
const route = useRoute()

const { data, error } = await useAsyncData('post', async () => {
    return $directus.request($readItems('posts', {
        fields: ['id', 'title', 'slug', 'image', 'published_at', 'image.title', 'image.id', 'description'],
        filter: { published_at: { _empty: false } },
        sort: ['sort'],
    }))
})
</script>
<template>
    <div v-if="data">
        <div v-for="post in data" :key="post.id">
            <Post v-bind="post" />
        </div>
    </div>
    <div v-else>Loading...</div>
</template>

<style scoped>
div {
    display: flex;
    flex-wrap: wrap;
    gap: 1rem;
}

div > div {
    flex: 1 1 300px;
}
</style>
Visit your-website-url and you should see a list of the published posts.
Create the Individual Posts` Pages
The next step is to create the individual post pages which have the following fields:
The individual post page will be created in the pages/posts/[slug].vue file. This page will dynamically look up the post from Directus based on the slug field and display the full post contents. Add the code as follows:
<script setup lang="ts">
const { $directus, $readItems } = useNuxtApp()
const route = useRoute()
const post: Ref<Post | null> = ref(null)

const { data, error } = await useAsyncData('post', async () => {
    const slugParam = Array.isArray(route.params.slug) ? route.params.slug[0] : route.params.slug
    return $directus.request($readItems('posts', {
        filter: {
            slug: { _eq: slugParam },
        },
        fields: ['id', 'title', 'slug', 'image', 'author', 'published_at', 'image.title', 'image.id', 'description', 'content', 'seo'],
        limit: 1
    }))
})

if (error.value || data.value === null || data.value.length === 0) {
    console.error(error)
    throw createError({
        statusCode: 404,
        statusMessage: "Page not found"
    })
}

post.value = data.value[0]
</script>
<template>
    <Post v-if="post" v-bind="post" />
    <div v-else>Loading...</div>
</template>
Integrate the SEO Metadata
The CMS front end is now working but the Directus CMS template comes with a set of SEO metadata fields that can be added to each post. Nuxt comes with a useful Head component that allows the insertion of this metadata directly in the posts page. In [slug].vue replace the code between the <template> tags with:
<div v-if="post">
    <Head>
        <Title>{{ post.seo?.title || 'Directus CMS Post' }}</Title>
        <Meta name="description" :content="post.seo?.meta_description || ''" />
    </Head>
    <Post v-bind="post" />
</div>
<div v-else>Loading...</div>
Refresh a post page and the page title will have changed to reflect what is in the Directus post in the SEO section:

You can confirm this by looking at the page source.
Add Breadcrumbs
Breadcrumbs can be used to navigate between the posts. To add breadcrumbs to all pages in our app create a new file components/Breadcrumbs.vue with the following content:
<script setup lang="ts">

defineProps({
    breadcrumbs: {
        type: Array as () => Array<{ text: string; href: string }>,
        required: true,
    },
})

</script>
<template>
    <div>
        <span v-for="link in breadcrumbs" :key="link.href">
            <template v-if="$route.path === link.href">
                <span>{{ link.text }}</span>
            </template>
            <template v-else>
                <NuxtLink :to="link.href">{{ link.text }}</NuxtLink>
            </template>
            <span v-if="link !== breadcrumbs[breadcrumbs.length - 1]"> / </span>
        </span>
    </div>
</template>

<style scoped>
div {
    margin-bottom: 16px;
}
</style>
This component will take a list of links and display them as breadcrumbs. To use it we can apply the component to all pages by adding it to the app.vue file. Replace your app.vue file with the following code:
<script lang="ts" setup>
import {ref, type Ref} from 'vue'

const links: Ref<Link[]> = ref([])

type Link = {
    text: string
    href: string
}

const addLink = (text: string, href: string) => {
    links.value.push({ text, href })
}

const reset = () => {
    links.value = [{
        text: 'Posts',
        href: '/',
    }]
}

const updateLink = (link: Link) => {
  if (link) {
    addLink(link.text, link.href)
  } else {
    reset()
  }
}

reset()
</script>

<template>
  <div>
    <h1>Directus Blog</h1>
    <Breadcrumbs :breadcrumbs="links"/>
    <NuxtRouteAnnouncer />
    <NuxtPage @navigated="(link: Link) => updateLink(link)" />
  </div>
</template>
We are now tracking the pages we visit at the app level and listening for a navigated event to update the breadcrumbs. The last step is to emit this event when we navigate to pages.
In index.vue add the following code to the bottom of the <script setup> section:
const emit = defineEmits(['navigated'])
onMounted(() => {
    emit('navigated', null)
})
Then replace the <Post> component in the template with:
<Post v-bind="post" @navigated="emit('navigated', $event)" />
Finally, do similar in [slug].vue by adding the following code to the bottom of the <script setup> section:
const emit = defineEmits(['navigated'])
onMounted(() => {
    emit('navigated', {text: post.value.title, href: `/posts/${post.value.slug}`})
})
If you visit your-website-url you will see the breadcrumbs at the top of the page. If you click on a post, the breadcrumbs will update to show the current post and a link back to the posts page.
Conclusion
The Directus CMS template provides a starting point for building a CMS with Directus. By combining it with Nuxt, you can create dynamic pages that are easy to manage and update. This tutorial has shown you how to set up a Directus project, create a Nuxt project, and integrate the two to create dynamic posts for a CMS. You can now extend this further by reviewing the other collections in the CMS template and adding them to create a fully dynamic frontend for Directus.