Using Authentication in SvelteKit
Introduction
Authentication is a critical part of any modern web application. It ensures that users can securely access their data and perform authorized actions. In this tutorial, you will learn how to implement authentication in your SvelteKit application using Directus' built-in authentication system.
Before You Start
Before you proceed, you will need the following:
- A Directus project with admin access.
- Fundamental understanding of Svelte.
- Optional but recommended: Familiarity with data modeling in Directus.
Set Up Your Directus Project
In this tutorial, Docker will be used for this setup. To get started, follow the Docker setup instructions.
You also need to make sure to configure CORS. Update your docker-compose.yml file as follows:
   CORS_ENABLED: "true"
   CORS_ORIGIN: "http://localhost:5173"
   CORS_CREDENTIALS: "true"
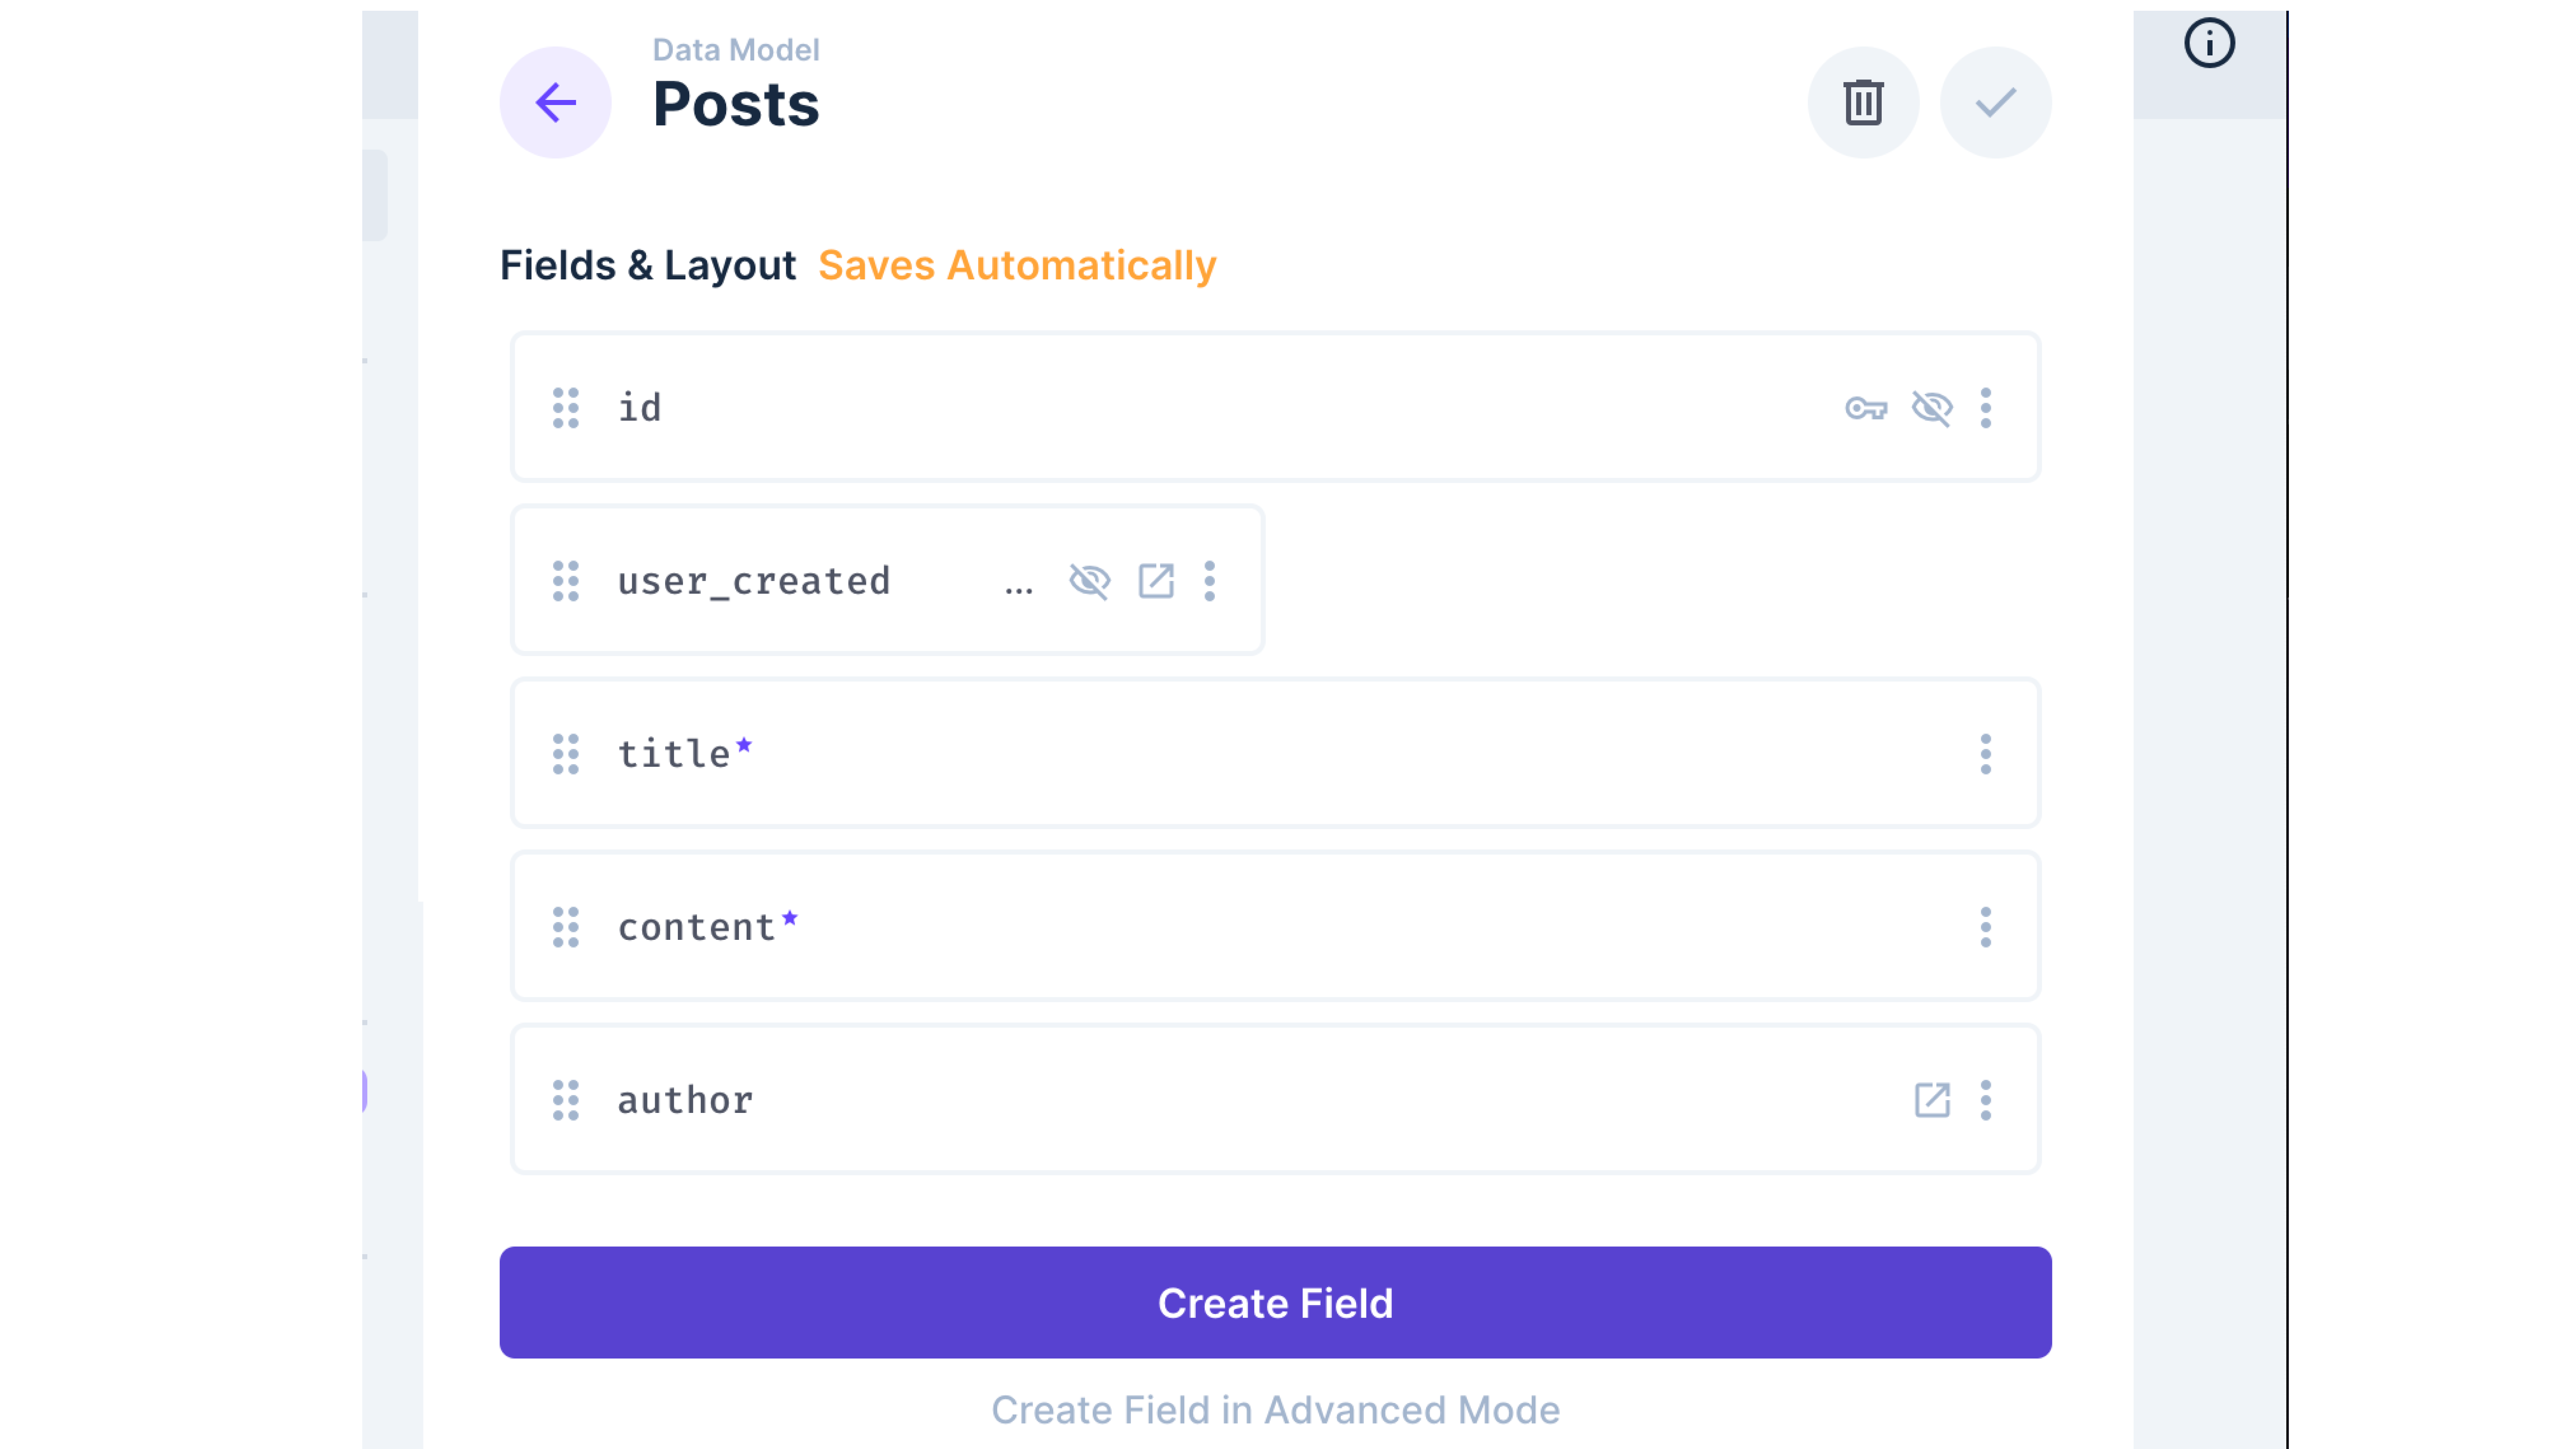
Create a Collection
Create a new collection called posts with the user_created optional field and the following custom fields:
title(Type: String)content(Type: Markdown)author(Type: User)
Configure Roles, Policies, and Permissions
Create a new role called Authenticated User in the User Roles section. In this role, you will create a number of policies.
First, create a policy and name it Can Read and Create Posts. Select the posts collection to set some permissions. Set the Read permission to Allow Access in the options. You also need to set Create permission to custom by clicking Use Custom in the options, and in the Field Permissions, uncheck author so the user cannot set any value. Then, in the Field Presets, add the following value to set the value automatically:
{
    "author": "$CURRENT_USER"
}
Create another policy and name it Can Edit and Delete Own Posts. Also, select the posts collection to set some permissions. Set the Update permission to custom by clicking Use Custom in the options, and in the Item Permissions, set user_created to $CURRENT_USER to only allow update actions for items created by the currently authenticated user. You also need to do the same thing for Delete Permissions
The last policy to create is a policy named Can View and Edit Own Profile. This time the permissions will be set for the directus_users collection. Set the Read to custom by clciking Use Custom. In the Item Permissions, set id to $CURRENT_USER to only allow users to view their own profile. Also ensure to tick all the required fields in the Field Permission section.
Do the same thing for Update* permission (use the same Item Permissions as Read)
For each policy you create, ensure that app access is enabled. App access auto-configures minimum permissions required to log in to the App.
Enable Public Registration
Public registration allows any user to create a user in your Directus project directly from the Data Studio or via API.
Navigate to Project Settings -> User Registration and enable the setting. Set the default role to 'Authenticated User'.
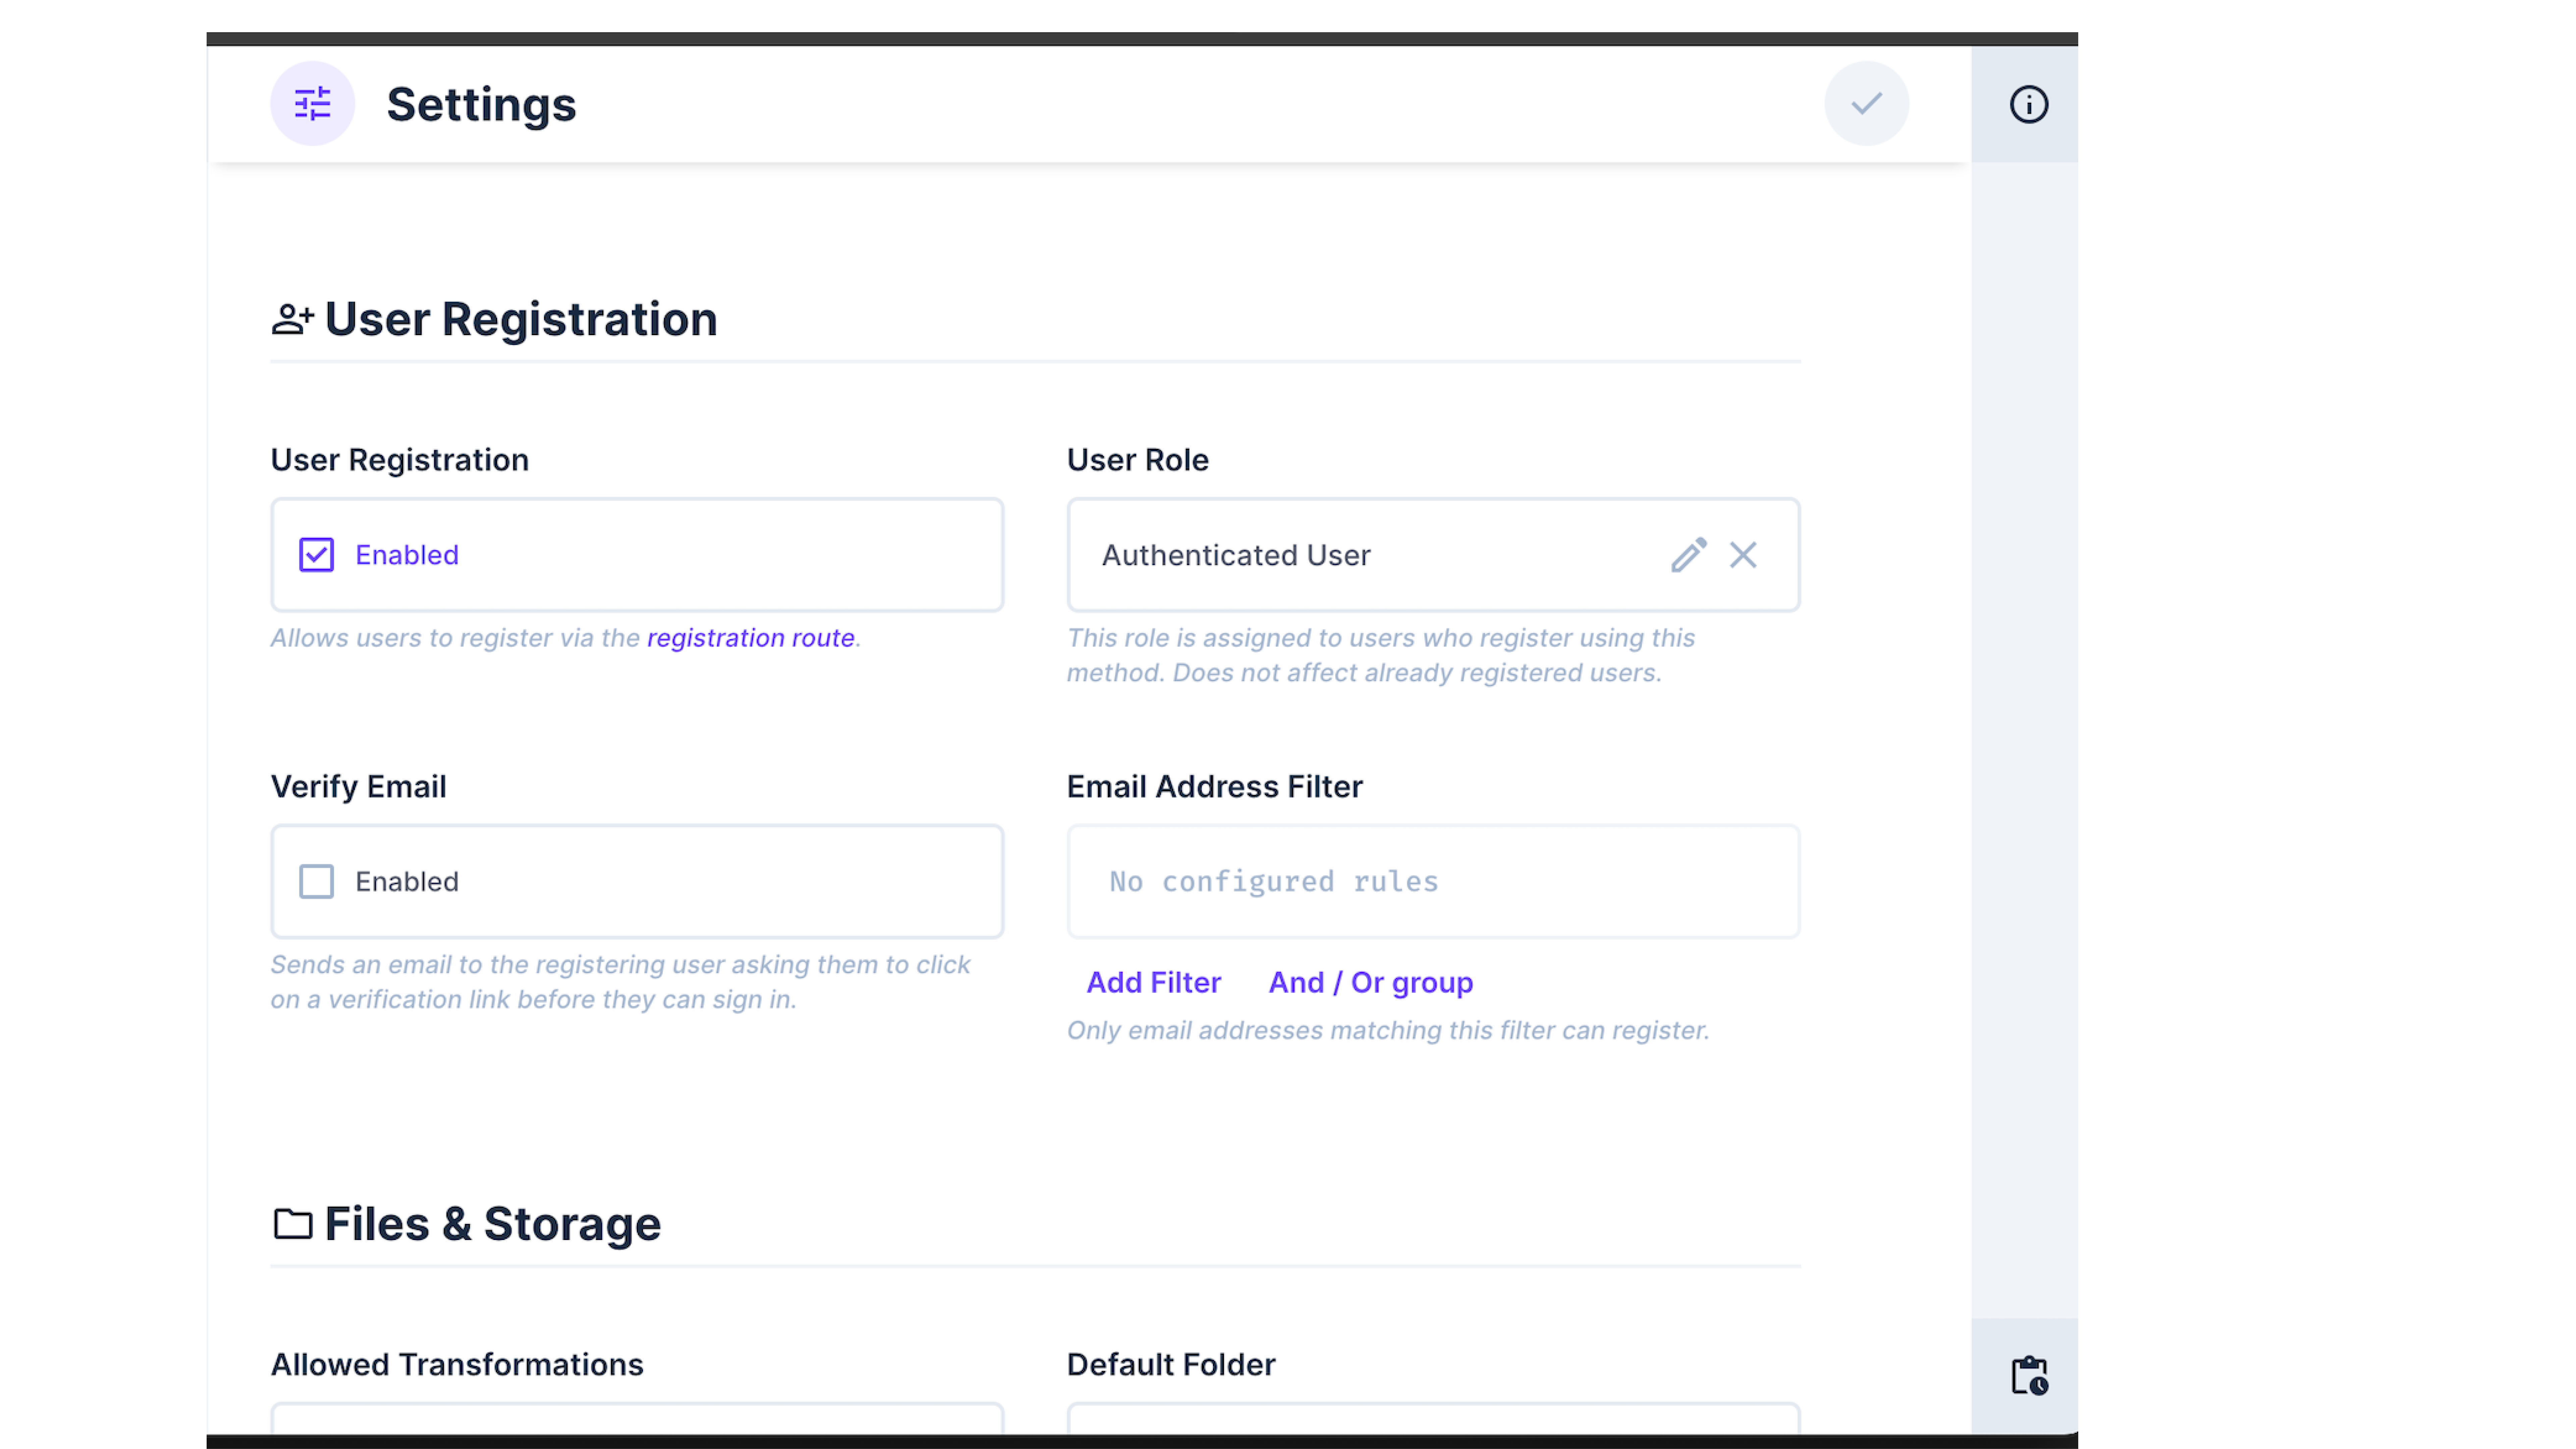
This role will automatically be assigned to new users, and it gives them all of the permissions you set up in the previous step.
Set Up Your SvelteKit Project
To start building, you need to install SvelteKit and Directus sdk. Run this command:
npx sv create directus-auth # choose SvelteKit minimal
When prompted, select SvelteKit minimal as the template. Do not add type checking, as this tutorial is implemented using JavaScript. Your output should look like this:
 Welcome to the Svelte CLI! (v0.6.16)
│
◇  Which template would you like?
│  SvelteKit minimal
│
◇  Add type checking with Typescript?
│  No
│
◆  Project created
│
◇  What would you like to add to your project? (use arrow keys / space bar)
│  none
│
◇  Which package manager do you want to install dependencies with?
│  npm
│
◆  Successfully installed dependencies
│
◇  Project next steps ─────────────────────────────────────────────────────╮
│                                                                          │
│  1: cd preview-app                                                       │
│  2: git init && git add -A && git commit -m "Initial commit" (optional)  │
│  3: npm run dev -- --open
Afterwards, cd into your project directory and run:
npm install
This will install all the dependencies for the project.
Lastly, you need to install the Directus SDK. Run this command:
npm install @directus/sdk
Configure the Directus SDK
You need to configure Directus SDK in your project. Create a file called directus.js inside the ./src/lib directory. Add the following code:
// src/lib/directus.js
import { createDirectus, rest } from "@directus/sdk";
const directusUrl = "http://localhost:8055";
export const client = createDirectus(directusUrl).with(rest());
This setups Directus client with the authentication composable. And will be updated as we progress in the tutorial.
Implement User Registration
In the following step, you will create a component to handle registering user and save their credentials on the Directus backend. Create a subdirectory called register inside the ./src/routes directory, and inside it, create a file +page.svelte file, with the following code:
// src/routes/register/+page.svelte

<script>
  import { client } from "../../lib/directus";
  import { registerUser } from "@directus/sdk";
  import { goto } from "$app/navigation";
  let email = "";
  let password = "";
  let firstName = "";
  let lastName = "";
  let error = null;

  async function handleRegister() {
    try {
      const response = await client.request(
        registerUser(email, password, {
          first_name: firstName,
          last_name: lastName,
        })
      );
      console.log("response>>>>>", response);
      goto("/login");
    } catch (err) {
      error = err.message;
      console.error(err);
    }
  }
</script>

<div class="container">
  <h1>Create Account</h1>

  {#if error}
    <p class="error">{error}</p>
  {/if}

  <form on:submit|preventDefault={handleRegister}>
    <div class="form-group">
      <input
        type="text"
        bind:value={firstName}
        placeholder="First Name"
        required
      />
      <input
        type="text"
        bind:value={lastName}
        placeholder="Last Name"
        required
      />
    </div>
    <input type="email" bind:value={email} placeholder="Email" required />
    <input
      type="password"
      bind:value={password}
      placeholder="Password"
      required
    />
    <button type="submit">Register</button>
  </form>
  <p class="login-link">
    Already have an account? <a href="/login">Login here</a>
  </p>
</div>
The above code snippet is a form that collects the user's credentials, which are the name, email, and password, submits it, and sends a request to the Directus server via the handleRegister function. If the registration is successful, the user is then redirected to the login page, which will be created below.
Implement User Login
In the following step, you will create a login component where the users will be directed to log in. Create a subdirectory called login inside the ./src/routes directory, and inside it, create a file +page.svelte file with the following code:
<!-- src/routes/login/+page.svelte -->
<script>
  import { client, isAuthenticated } from "../../lib/directus.js";
  import { goto } from "$app/navigation";

  let email = "";
  let password = "";
  let error = null;

  async function handleLogin() {
    try {
      // Call the login method directly from the client
      const result = await client.login({ email, password });
      console.log("Login successful:", result);

      // Check if the user is authenticated
      const authStatus = await isAuthenticated();
      console.log("Authentication status:", authStatus);

      if (authStatus.authenticated) {
        goto("/protected");
      } else {
        error = "Failed to authenticate. Please try again.";
      }
    } catch (err) {
      if (err.response?.status === 403) {
        error = "Invalid email or password.";
      } else {
        error = err.message || "Login failed.";
      }
      console.error("Login error:", err);
    }
  }
</script>

<div>
  <h1 style="color: #000;">Welcome Back</h1>

  {#if error}
    <div>
      <p>{error}</p>
    </div>
  {/if}

  <form on:submit|preventDefault={handleLogin}>
    <div>
      <input
        type="email"
        bind:value={email}
        placeholder="Email"
        required
        autocomplete="email"
      />
    </div>
    <div>
      <input
        type="password"
        bind:value={password}
        placeholder="Password"
        required
      />
    </div>
    <button type="submit">Sign In</button>
  </form>

  <p style="color: #000;">
    Don't have an account? <a href="/register">Register here</a>
  </p>
</div>
Json Authentcation mode
Json Authentication mode is one of the two approaches Directus offers to authentication. It involves the server returning an access token and a refresh token in the response body during authentication. To use the json mode, update your authentication composable in your ./src/lib/directus.js file to this:
// src/lib/directus.js

import {createDirectus, rest,authentication} from "@directus/sdk";
const directusUrl = "http://localhost:8055";
export const client = createDirectus(directusUrl)
 .with(authentication("json"))
 .with(rest());
Session Cookie Authentication Mode
The session cookies authentication mode is a simpler way provided by Directus if you do not want to manage authentication in your local storage. Directus client retrieves the tokens and stores them as cookies in your browser session. To use the cookie mode, update your authentication composable in your ./src/lib/directus.js file to this:
// src/lib/directus.js
import {createDirectus, rest,authentication} from "@directus/sdk";
const directusUrl = "http://localhost:8055";
export const client = createDirectus(directusUrl)
 .with(authentication("cookie"))
 .with(rest());
Check if the User is Authenticated
The next thing you want to do is to perform an authentication check to see if the user is authenticated by attempting to fetch their information using the Directus client.
Add the following function to the src/lib/directus.js file:
// src/lib/directus.js

import { readMe } from "@directus/sdk";


export const isAuthenticated = async () => {
  try {
    const user = await client.request(readMe());
    return { authenticated: !!user?.id, user };
  } catch (error) {
    console.error("Error checking authentication:", error);
    return { authenticated: false, user: null };
  }
};
The code snippet above makes a request using client.request(readMe()) to try to get the current user's information
and checks if that request returns a user with an ID. It also returns whether authentication was successful based on whether that user data exists.
Refreshing Tokens
As access tokens expire after a set time period, you'll need to refresh them and that's where the refreshAccessToken function comes in. It will handle token renewal for both cookie-based and JSON-based authentication modes.
Add this function right after the isAuthentcated function:
// src/lib/directus.js

import { refresh } from "@directus/sdk";

export const refreshToken = async (mode = "json", refreshToken = null) => {
  try {
    let result;

    if (mode === "json" && refreshToken) {

      result = await client.request({ mode: "json", refreshToken }));
    } else if (mode === "cookie") {
      // Use cookie-based refresh
      result = await client.request(refresh({ mode: "cookie" }));
    } else {
      result = await client.refresh();
    }

    console.log("Token refreshed successfully");
    return {
      access_token: result.access_token,
      expires: result.expires,
      refresh_token: result.refresh_token,
    };
  } catch (error) {
    console.error("Token refresh failed:", error);
    throw error;
  }
};
The code above uses the provided refresh token to explicitly request a new access token for json mode while it handles refresh through cookies without needing an explicit refresh token for cookie mode.
Create the Protected Page
Create a subdirectory inside the ./src/routes directory called protected. Inside this directory, create a +page.svelte inside it.
Add the following code:
// src/routes/protected/+page.svelte

<script>
 import { onMount } from "svelte";
 import { isAuthenticated, logoutUser } from "../../lib/directus.js";
 import { goto } from "$app/navigation";

 onMount(async () => {
   console.log("onMount");
   const isAuth = await isAuthenticated();
   console.log("isAuth", isAuth);

   if (isAuth.authenticated === false) {
     goto("/login");
   }
 });

 const handleLogout = async () => {
   try {
     await logoutUser();
     goto("/login");
   } catch (error) {
     console.error("Logout failed:", error);
   }
 };
</script>

<h1>Protected Page</h1>
<p>Welcome! You are logged in.</p>

<nav>
 <a href="/protected/posts" class="nav-link">View Posts</a>
 <a href="/protected/posts/create" class="nav-link">Create New Posts</a>
 <a href="/protected/profile" class="nav-link">Profile</a>
</nav>

<button on:click={handleLogout}>Logout</button>
This page contains the navigation links to other protected resources and a logout button.
Create the Profile Page
Create a subdirectory called profile inside the ./src/routes/protected directory and create a +page.svelte file inside it with the following contents:
// src/routes/protected/profile/+page.svelte
<script>
  import { client, isAuthenticated } from "../../../lib/directus.js";
  import { readMe, updateMe } from "@directus/sdk";
  import { onMount } from "svelte";
  import { goto } from "$app/navigation";

  let userData = null;
  let isEditing = false;
  let formData = {};
  let message = "";

  onMount(async () => {
    console.log("onMount");

    // Check if the user is authenticated
    const isAuth = await isAuthenticated();
    console.log("isAuth", isAuth);

    if (isAuth.authenticated === false) {
      goto("/login");
      return;
    }

    // Fetch user profile data using Directus SDK
    try {
      const response = await client.request(readMe());
      console.log("ress>>>", response);
      userData = {
        id: response.id,
        firstName: response.first_name,
        lastName: response.last_name,
        email: response.email,
      };
      console.log("userData>>>>>>", userData);
      formData = { ...userData };
    } catch (error) {
      console.error("Failed to fetch user data:", error);
      goto("/login");
    }
  });

  async function handleSubmit() {
    console.log("formData>>>>>>", formData);
    try {
      const response = await client.request(
        updateMe({
          first_name: formData.firstName,
          last_name: formData.lastName,
          email: formData.email,
        })
      );
      console.log("response>>>>>>", response);
      message = "Profile updated successfully!";
      isEditing = false;
      userData = { ...formData };
    } catch (error) {
      console.error("Error updating profile:", error);
      message = "Failed to update profile. Please try again.";
    }
  }
</script>

<div class="container">
  <h1 class="title">Profile</h1>

  {#if message}
    <div class="message">{message}</div>
  {/if}

  {#if userData}
    {#if isEditing}
      <form on:submit|preventDefault={handleSubmit}>
        <div class="form-group">
          <label for="first_name">First Name</label>
          <input type="text" id="first_name" bind:value={formData.firstName} />
        </div>

        <div class="form-group">
          <label for="last_name">Last Name</label>
          <input type="text" id="last_name" bind:value={formData.lastName} />
        </div>

        <div class="form-group">
          <label for="email">Email</label>
          <input type="email" id="email" bind:value={formData.email} />
        </div>

        <button type="submit" class="primary">Save</button>
        <button
          type="button"
          class="secondary"
          on:click={() => {
            isEditing = false;
            formData = { ...userData };
          }}
        >
          Cancel
        </button>
      </form>
    {:else}
      <div class="profile-info">
        <div class="profile-field">
          <span class="field-label">First Name</span>
          <span style="color: #000;">{userData?.firstName || "Not set"}</span>
        </div>
        <div class="profile-field">
          <span class="field-label">Last Name</span>
          <span style="color: #000;">{userData.lastName || "Not set"}</span>
        </div>
        <div class="profile-field">
          <span class="field-label">Email</span>
          <span style="color: #000;">{userData.email}</span>
        </div>
        <button class="primary" on:click={() => (isEditing = true)}>
          Edit Profile
        </button>
      </div>
    {/if}
  {:else}
    <div class="loading">Loading...</div>
  {/if}
</div>
This displays a user profile page where users can view and update their profile details. Upon loading, it verifies authentication and fetches the user's profile data using Directus SDK's readMe() function. If not authenticated, it redirects to the login page.
Create Post Page
For the next step, you will create a page that fetches the posts from the Directus server and displays them inside this page, which will act as the page for displaying posts.
Create a subdirectory called posts inside the ./src/routes/protected directory and create a +page.svelte file with the following contents:
// src/routes/protected/posts/+page.svelte

<script>
  import { readItems, deleteItem, readMe } from "@directus/sdk";
  import { onMount } from "svelte";
  import { client, isAuthenticated } from "../../../lib/directus.js";
  import { goto } from "$app/navigation";

  let posts = [];
  let errorMessage = "";
  let currentUserId = { id: null };

  async function deletePost(id) {
    if (confirm("Are you sure you want to delete this post?")) {
      try {
        // Delete the post using Directus SDK
        await client.request(deleteItem("posts", id));
        posts = posts.filter((post) => post.id !== id); // Remove the post from the list
        errorMessage = "";
      } catch (error) {
        console.error("Error deleting post:", error);
        errorMessage = "Failed to delete post. Please try again.";
      }
    }
  }

  onMount(async () => {
    console.log("onMount");

    // Check if the user is authenticated
    const isAuth = await isAuthenticated();
    console.log("isAuth", isAuth);

    if (isAuth.authenticated === false) {
      goto("/login"); // Redirect to login if not authenticated
      return;
    }

    try {
      // Fetch all posts using Directus SDK
      const response = await client.request(readItems("posts"));
      posts = response;
      console.log("posts", posts);

      // Fetch the current user ID
      currentUserId = await client.request(readMe({ fields: ["id"] }));
      console.log("Current user:", currentUserId);

      errorMessage = "";
    } catch (error) {
      console.error("Error fetching posts:", error);
      errorMessage = "Failed to load posts. Please refresh the page.";
    }
  });
</script>

<h1>My Posts</h1>

{#if errorMessage}
  <div class="error-message">{errorMessage}</div>
{/if}

{#if posts.length > 0}
  <div class="post-grid">
    {#each posts as post}
      <div class="post-card">
        <h2>{post.title}</h2>
        <p>{post.content.substring(0, 100)}...</p>

        <div class="card-actions">
          {#if post.author === currentUserId?.id}
            <a href="/protected/posts/{post.id}/edit" class="button edit">Edit</a>
            <button class="button delete" on:click={() => deletePost(post.id)}>Delete</button>
          {/if}
        </div>
      </div>
    {/each}
  </div>
{:else}
  <p class="no-posts">No posts found. Why not create one?</p>
{/if}

<div class="actions">
  <a href="/protected/posts/create" class="button create">Create New Post</a>
  <a href="/protected" class="button back">Back to Dashboard</a>
</div>
The code snippet above acts as the page where you can view and delete posts. It also includes a navigation where you can edit your post (which will be created soon).
It retrieves a list of posts from the Directus backend using the unMount function. This function utilizes the Directus SDK by calling client.request(readItems('posts')). Also, a user can delete posts through the deleteBlog(id) function which also uses the Directus SDK method to delete a specific blog by its ID from the 'posts' collection within Directus by calling client.request(deleteItem('posts', id))."
Implement the Create and Edit Page
The post page should also allow users to create and edit posts.
To implement the page to create a post, create a subdirectory called create inside the ./src/routes/protected/posts directory. Create a +page.svelte file inside it with the following code:
// src/routes/protected/posts/create/+page.svelte

<script>
  import { createItem } from "@directus/sdk";
  import { goto } from "$app/navigation";
  import { client, isAuthenticated } from "../../../../lib/directus.js";
  import { onMount } from "svelte";

  let title = "";
  let content = "";
  let userId;

  onMount(async () => {
    console.log("onMount");

    const isAuth = await isAuthenticated();
    console.log("isAuth", isAuth);

    if (isAuth.authenticated === false) {
      goto("/login"); // Redirect to login if the user is not authenticated
    } else {
      userId = isAuth.user.id; // Get the logged-in user ID
      console.log("userId", userId);
    }
  });

  async function handleSubmit() {
    try {

      const response = await client.request(
        createItem("posts", {
          title,
          content,
        })
      );
      console.log("response", response);

      // Redirect to the posts list after successful post creation
      goto("/protected/posts");
    } catch (error) {
      console.error("Error creating post:", error);
    }
  }
</script>

<h1>Create New Post</h1>

<form on:submit|preventDefault={handleSubmit}>
  <div class="form-group">
    <label for="title">Title</label>
    <input id="title" type="text" bind:value={title} required />
  </div>

  <div class="form-group">
    <label for="content">Content</label>
    <textarea id="content" bind:value={content} rows="10" required></textarea>
  </div>

  <button type="submit" class="primary">Create Post</button>
</form>

<a href="/protected/posts" class="back-link">Back to Posts</a>
The code above is used to create a new post. It captures the user input for the post title and content and sends the data to the backend using createItem.
To edit a post, create a subdirectory called [id] inside the ./src/routes/protected/posts directory. Inside it, create another subdirectory called edit, and afterward, create a +page.svelte file with the following code:
//  src/routes/protected/posts/[id]/edit/+page.svelte
<script>
  import { readItem, updateItem } from "@directus/sdk";
  import { client, isAuthenticated } from "../../../../../lib/directus.js";
  import { goto } from "$app/navigation";
  import { page } from "$app/stores";
  import { onMount } from "svelte";

  const postId = $page.params.id;
  let isLoading = true;
  let message = "";

  let post = {
    title: "",
    content: "",
  };

  onMount(async () => {
    const isAuth = await isAuthenticated();
    console.log("isAuth", isAuth);

    if (isAuth.authenticated === false) {
      goto("/login");
      return;
    }

    await loadPost();
  });

  async function loadPost() {
    isLoading = true;
    try {
      const response = await client.request(readItem("posts", postId));
      if (
        response &&
        typeof response.title === "string" &&
        typeof response.content === "string"
      ) {
        post = { title: response.title, content: response.content };
      }
    } catch (error) {
      console.error("Error fetching post:", error);
      message = "Failed to load post details. Please try again.";
    }
    isLoading = false;
  }

  async function handleSubmit() {
    isLoading = true;
    try {
      // Update the post using the Directus SDK
      await client.request(
        updateItem("posts", postId, {
          title: post.title,
          content: post.content,
        })
      );
      goto("/protected/posts");
    } catch (error) {
      console.error("Error updating post:", error);
      message = "Failed to update post. Please try again.";
    }
    isLoading = false;
  }
</script>

<div class="edit-container">
  <h1>Edit Post</h1>

  {#if isLoading}
    <p class="loading">Loading Post details...</p>
  {:else}
    {#if message}
      <p class="error">{message}</p>
    {/if}

    <form on:submit|preventDefault={handleSubmit}>
      <div class="form-group">
        <label for="title">Title</label>
        <input type="text" id="title" bind:value={post.title} required />
      </div>

      <div class="form-group">
        <label for="content">Content</label>
        <textarea id="content" bind:value={post.content} rows="10" required></textarea>
      </div>

      <div class="actions">
        <button type="submit" class="button save">Save Changes</button>
        <a href="/protected/posts" class="button cancel">Cancel</a>
      </div>
    </form>
  {/if}
</div>
The code snippet above allows a user to edit a post. It first retrieves the blog post details using its id and displays the existing data. Once a user makes the necessary edits, the data is updated via the handleSubmit function, which sends the updated title and content to the backend through the updateItem function.
Implement the Logout Functionality
The next step involves creating a logout component to enable users to log out. Navigate to ./src/lib/directus.js.
Add the following function:
//src/lib/directus.js
export const logoutUser = async () => {
 try {
   await client.logout();
   console.log("Logout successful");
   goto("/login");
 } catch (error) {
   console.error("Logout failed:", error);
   throw error;
 }
};
Once a user logs out, they will redirected back to the login page.
Update the Default Page
Almost done! The next step is to update the default page where the application initializes. Navigate to the ./routes/+page.svelte file and replace its content with the following code:
<script>
  import { onMount } from "svelte";
  import { isAuthenticated } from "../lib/directus.js";
  import { goto } from "$app/navigation";

  onMount(async () => {
    try {
      const response = await isAuthenticated();

      if (response.authenticated === false) {
        goto("/login");
      } else {
        goto("/protected");
      }
    } catch (error) {
      console.error("Authentication check failed:", error);
      goto("/login");
    }
  });
</script>

<div class="container">
  <h1>Welcome to the App</h1>
  <p>Redirecting...</p>
</div>
Test the application
Now, let's test the application. Run this command:
npm run dev
Navigate to http://localhost:5173/ on your browser, and you should have a login page displayed:
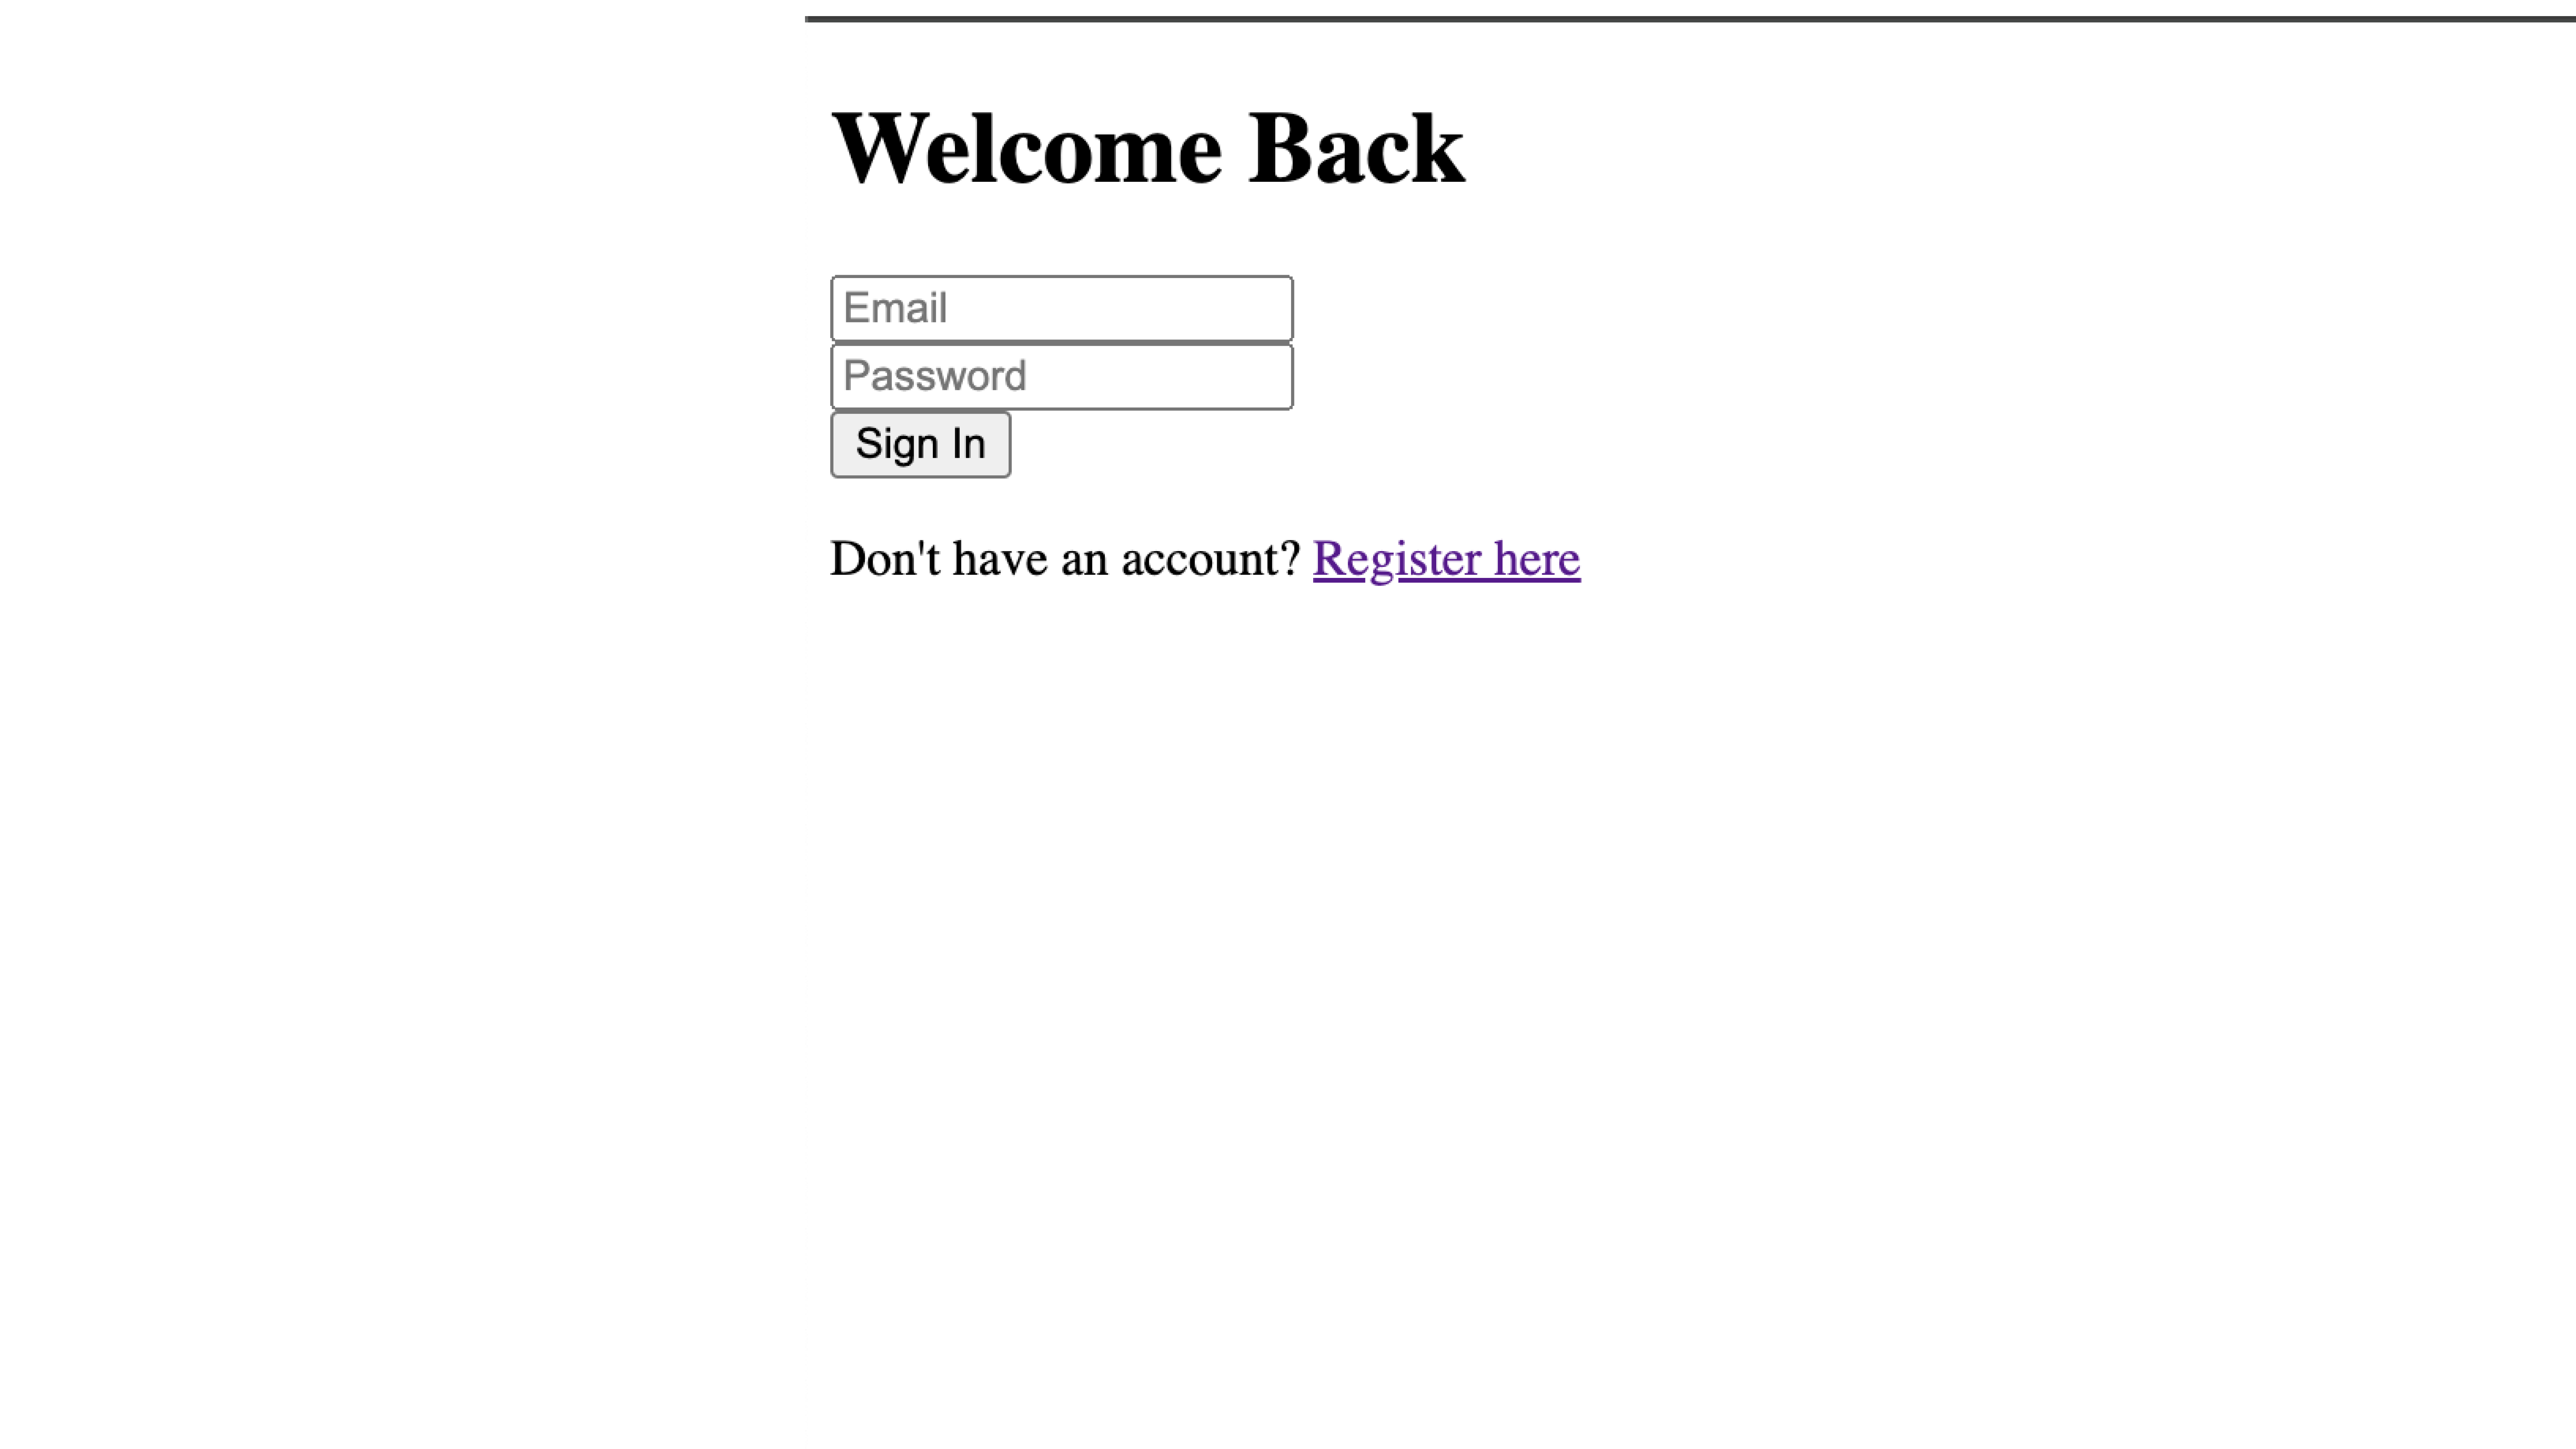
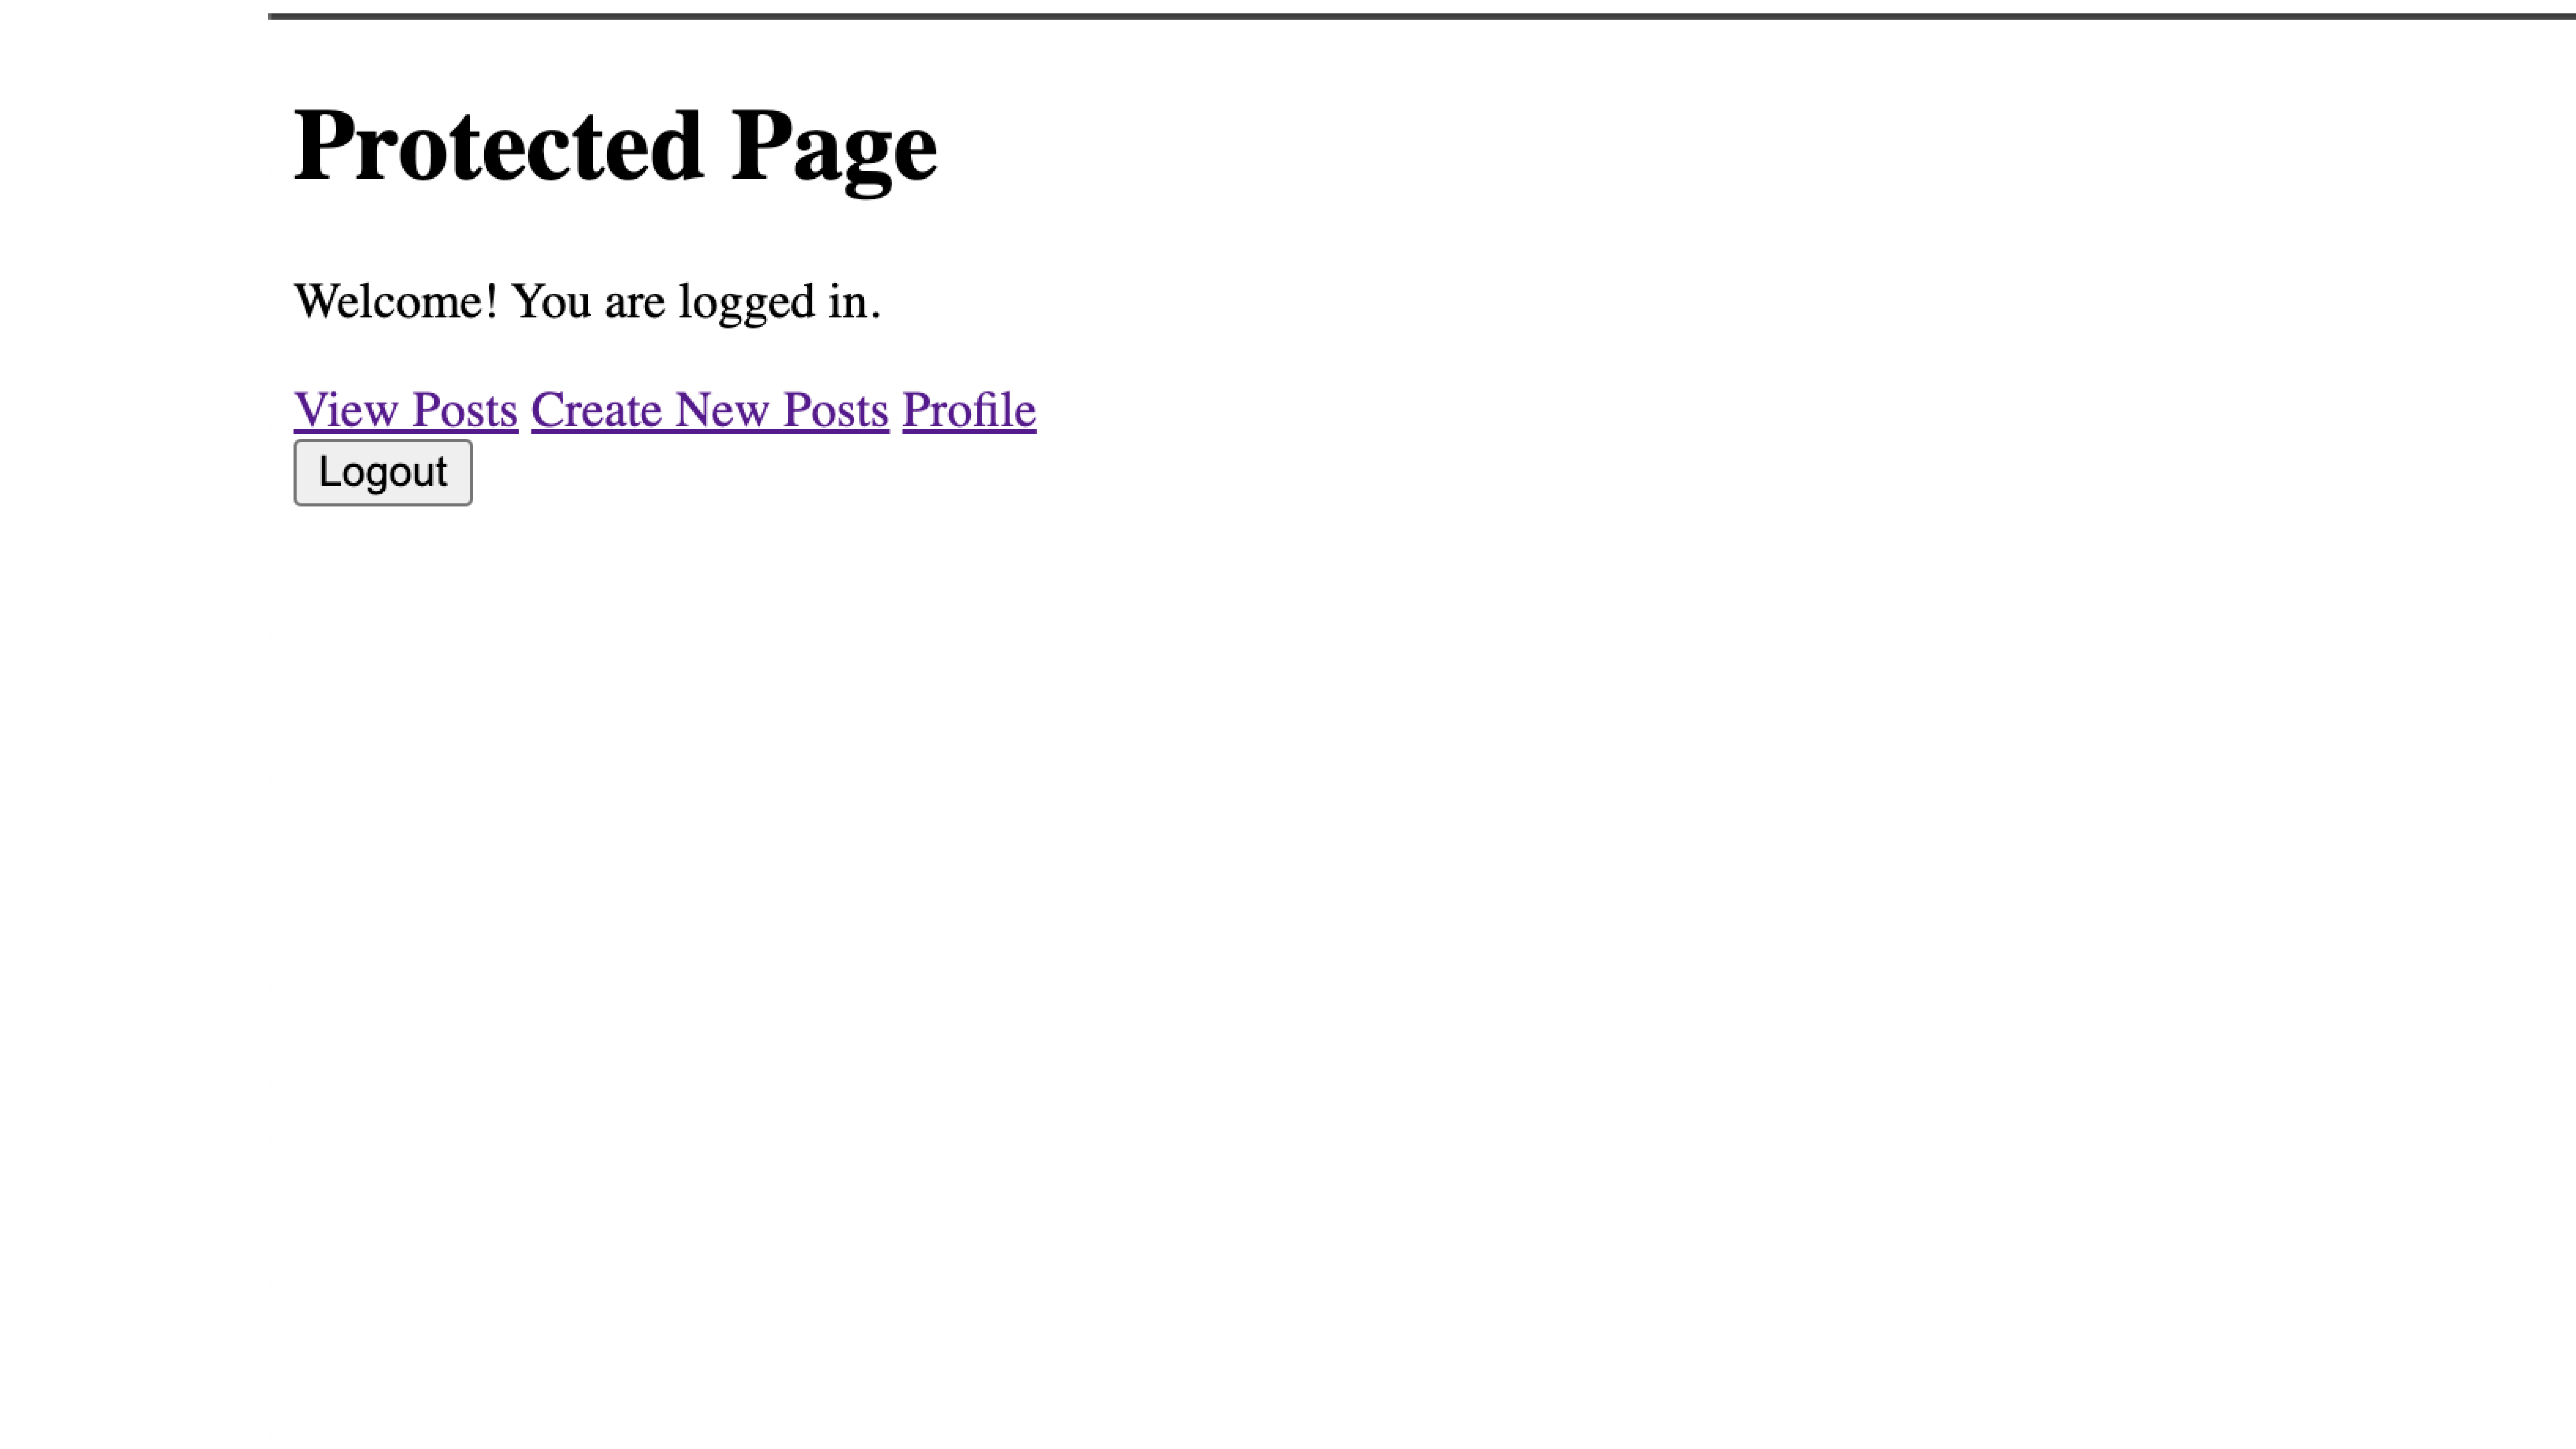
To register a new user, click on the register here link, which redirects you to where you would register. After registering, you can then proceed to log in. Once logged in, you are redirected to the protected page where you can view posts, create new posts, and view your profile:
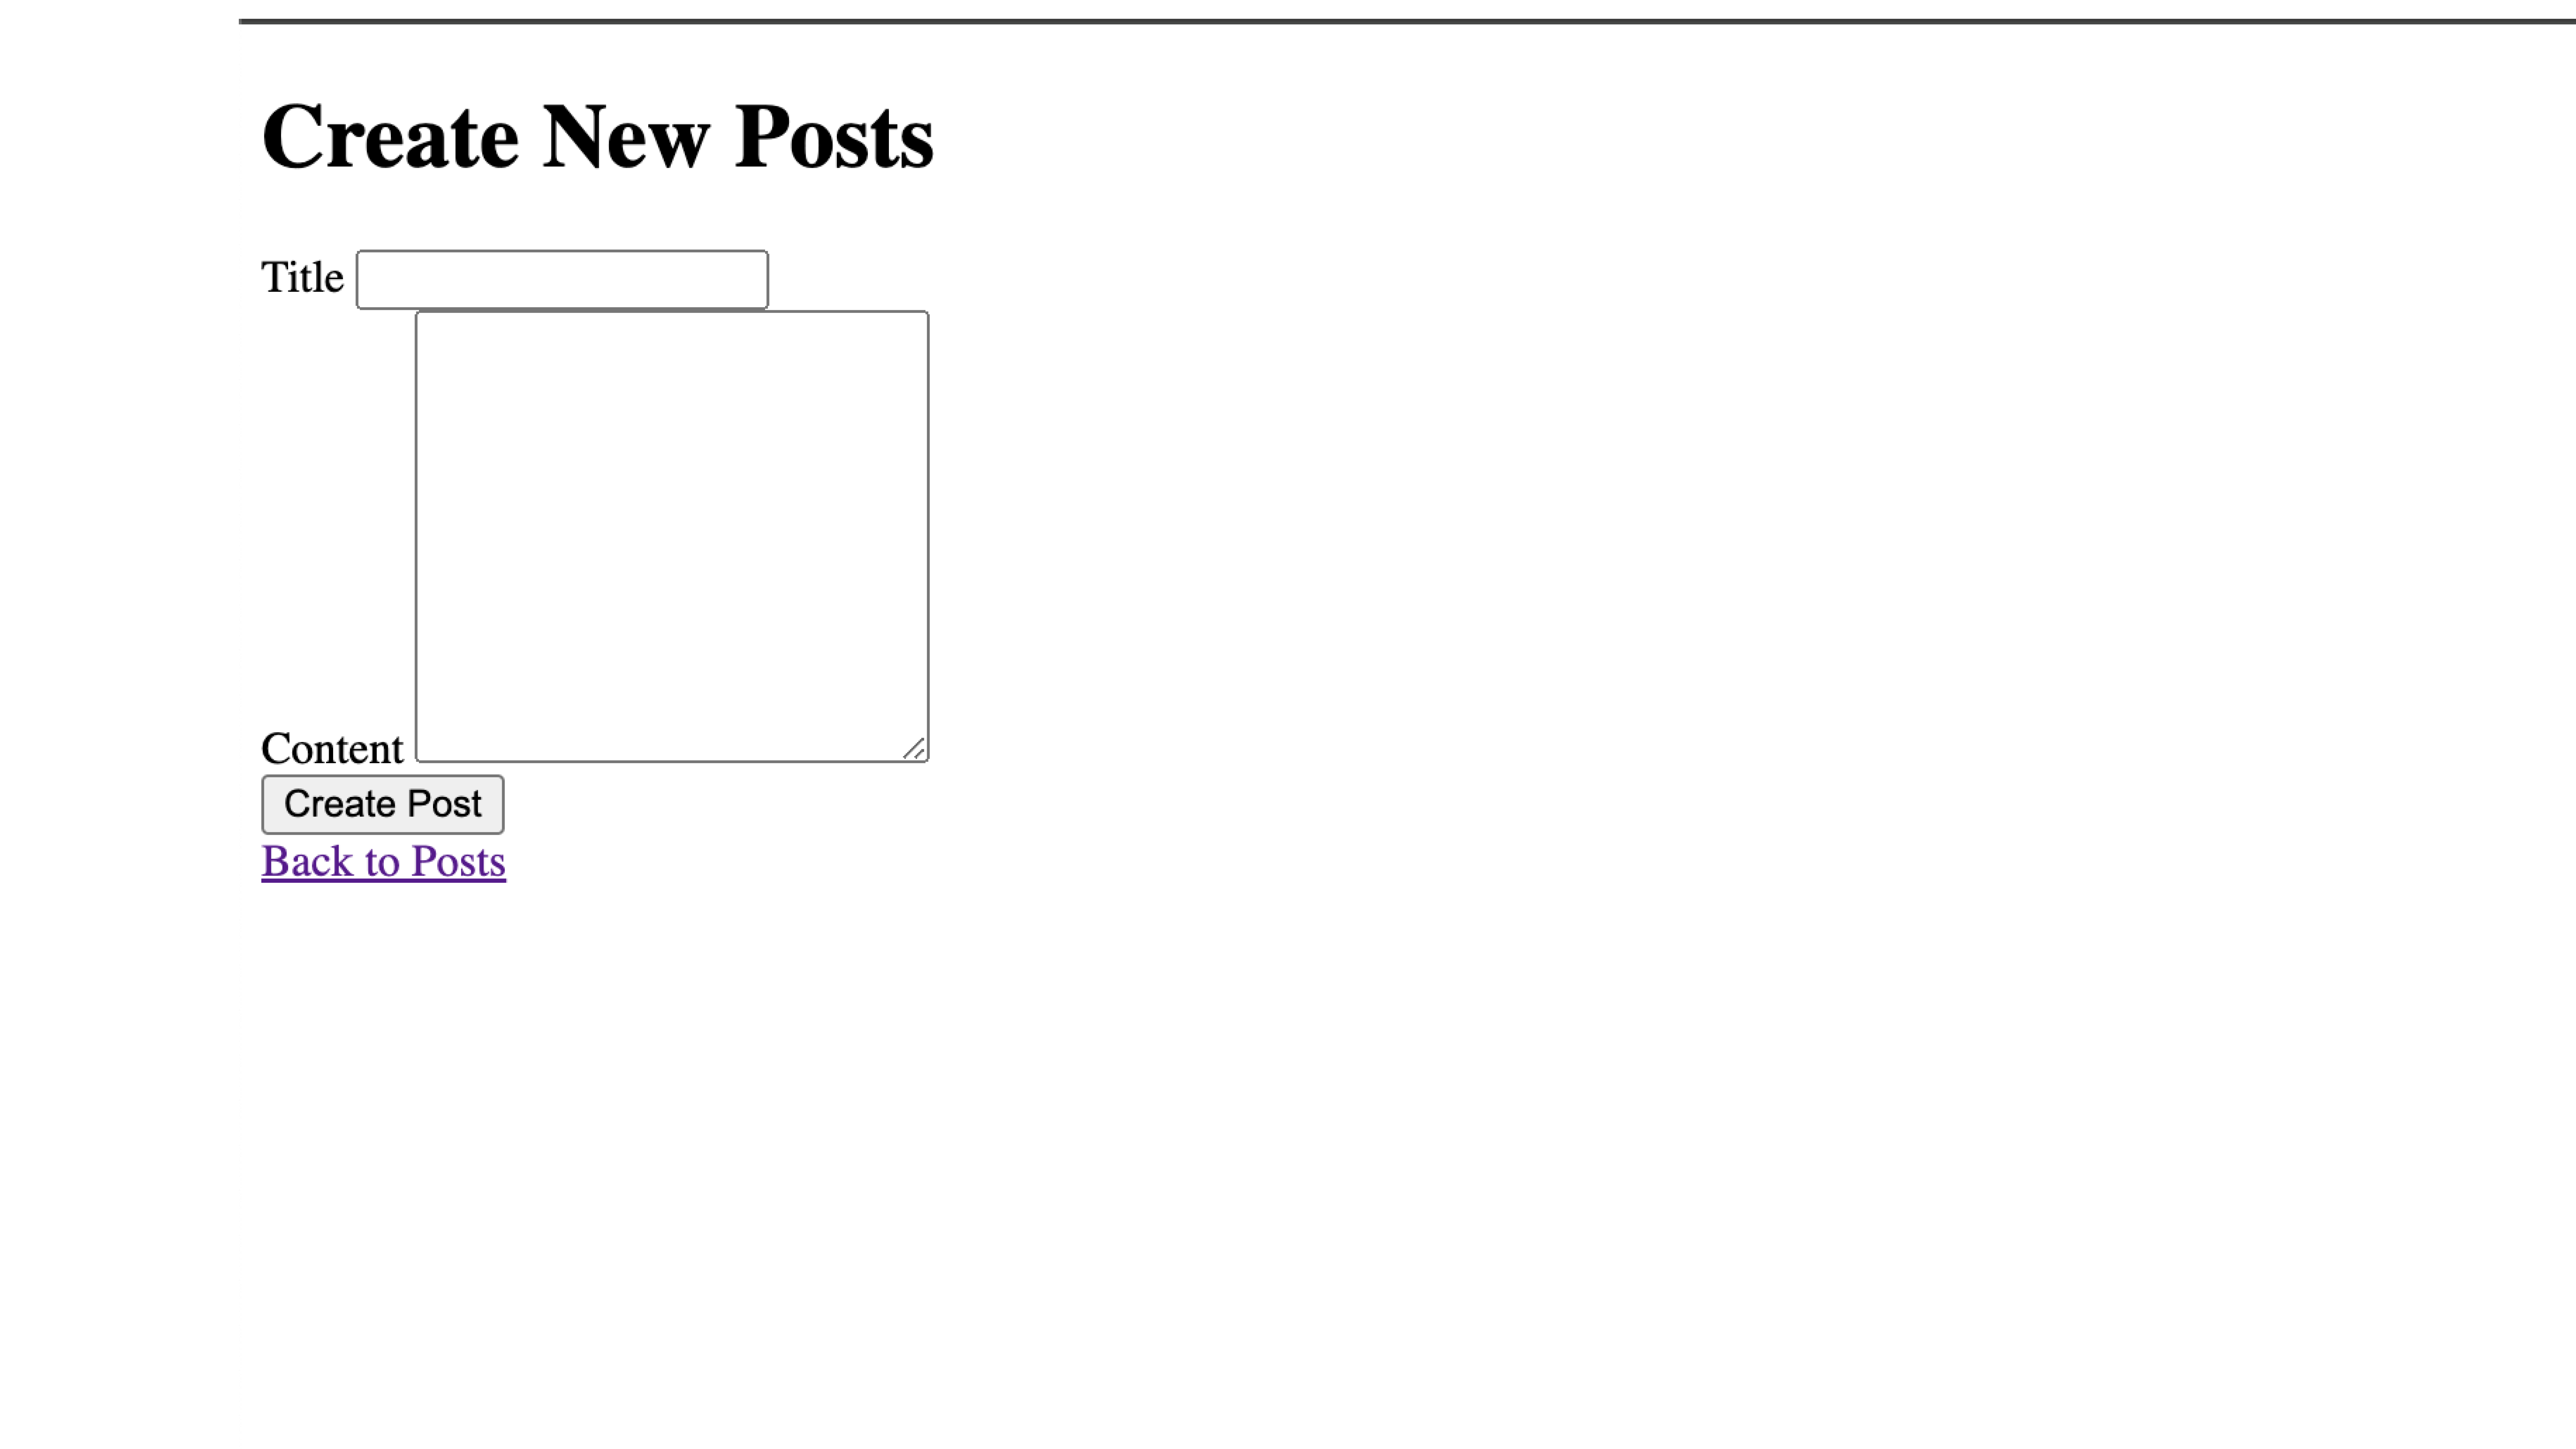
To create a new post, click on the Create New Posts link. It will direct you to the page where you can create a post:
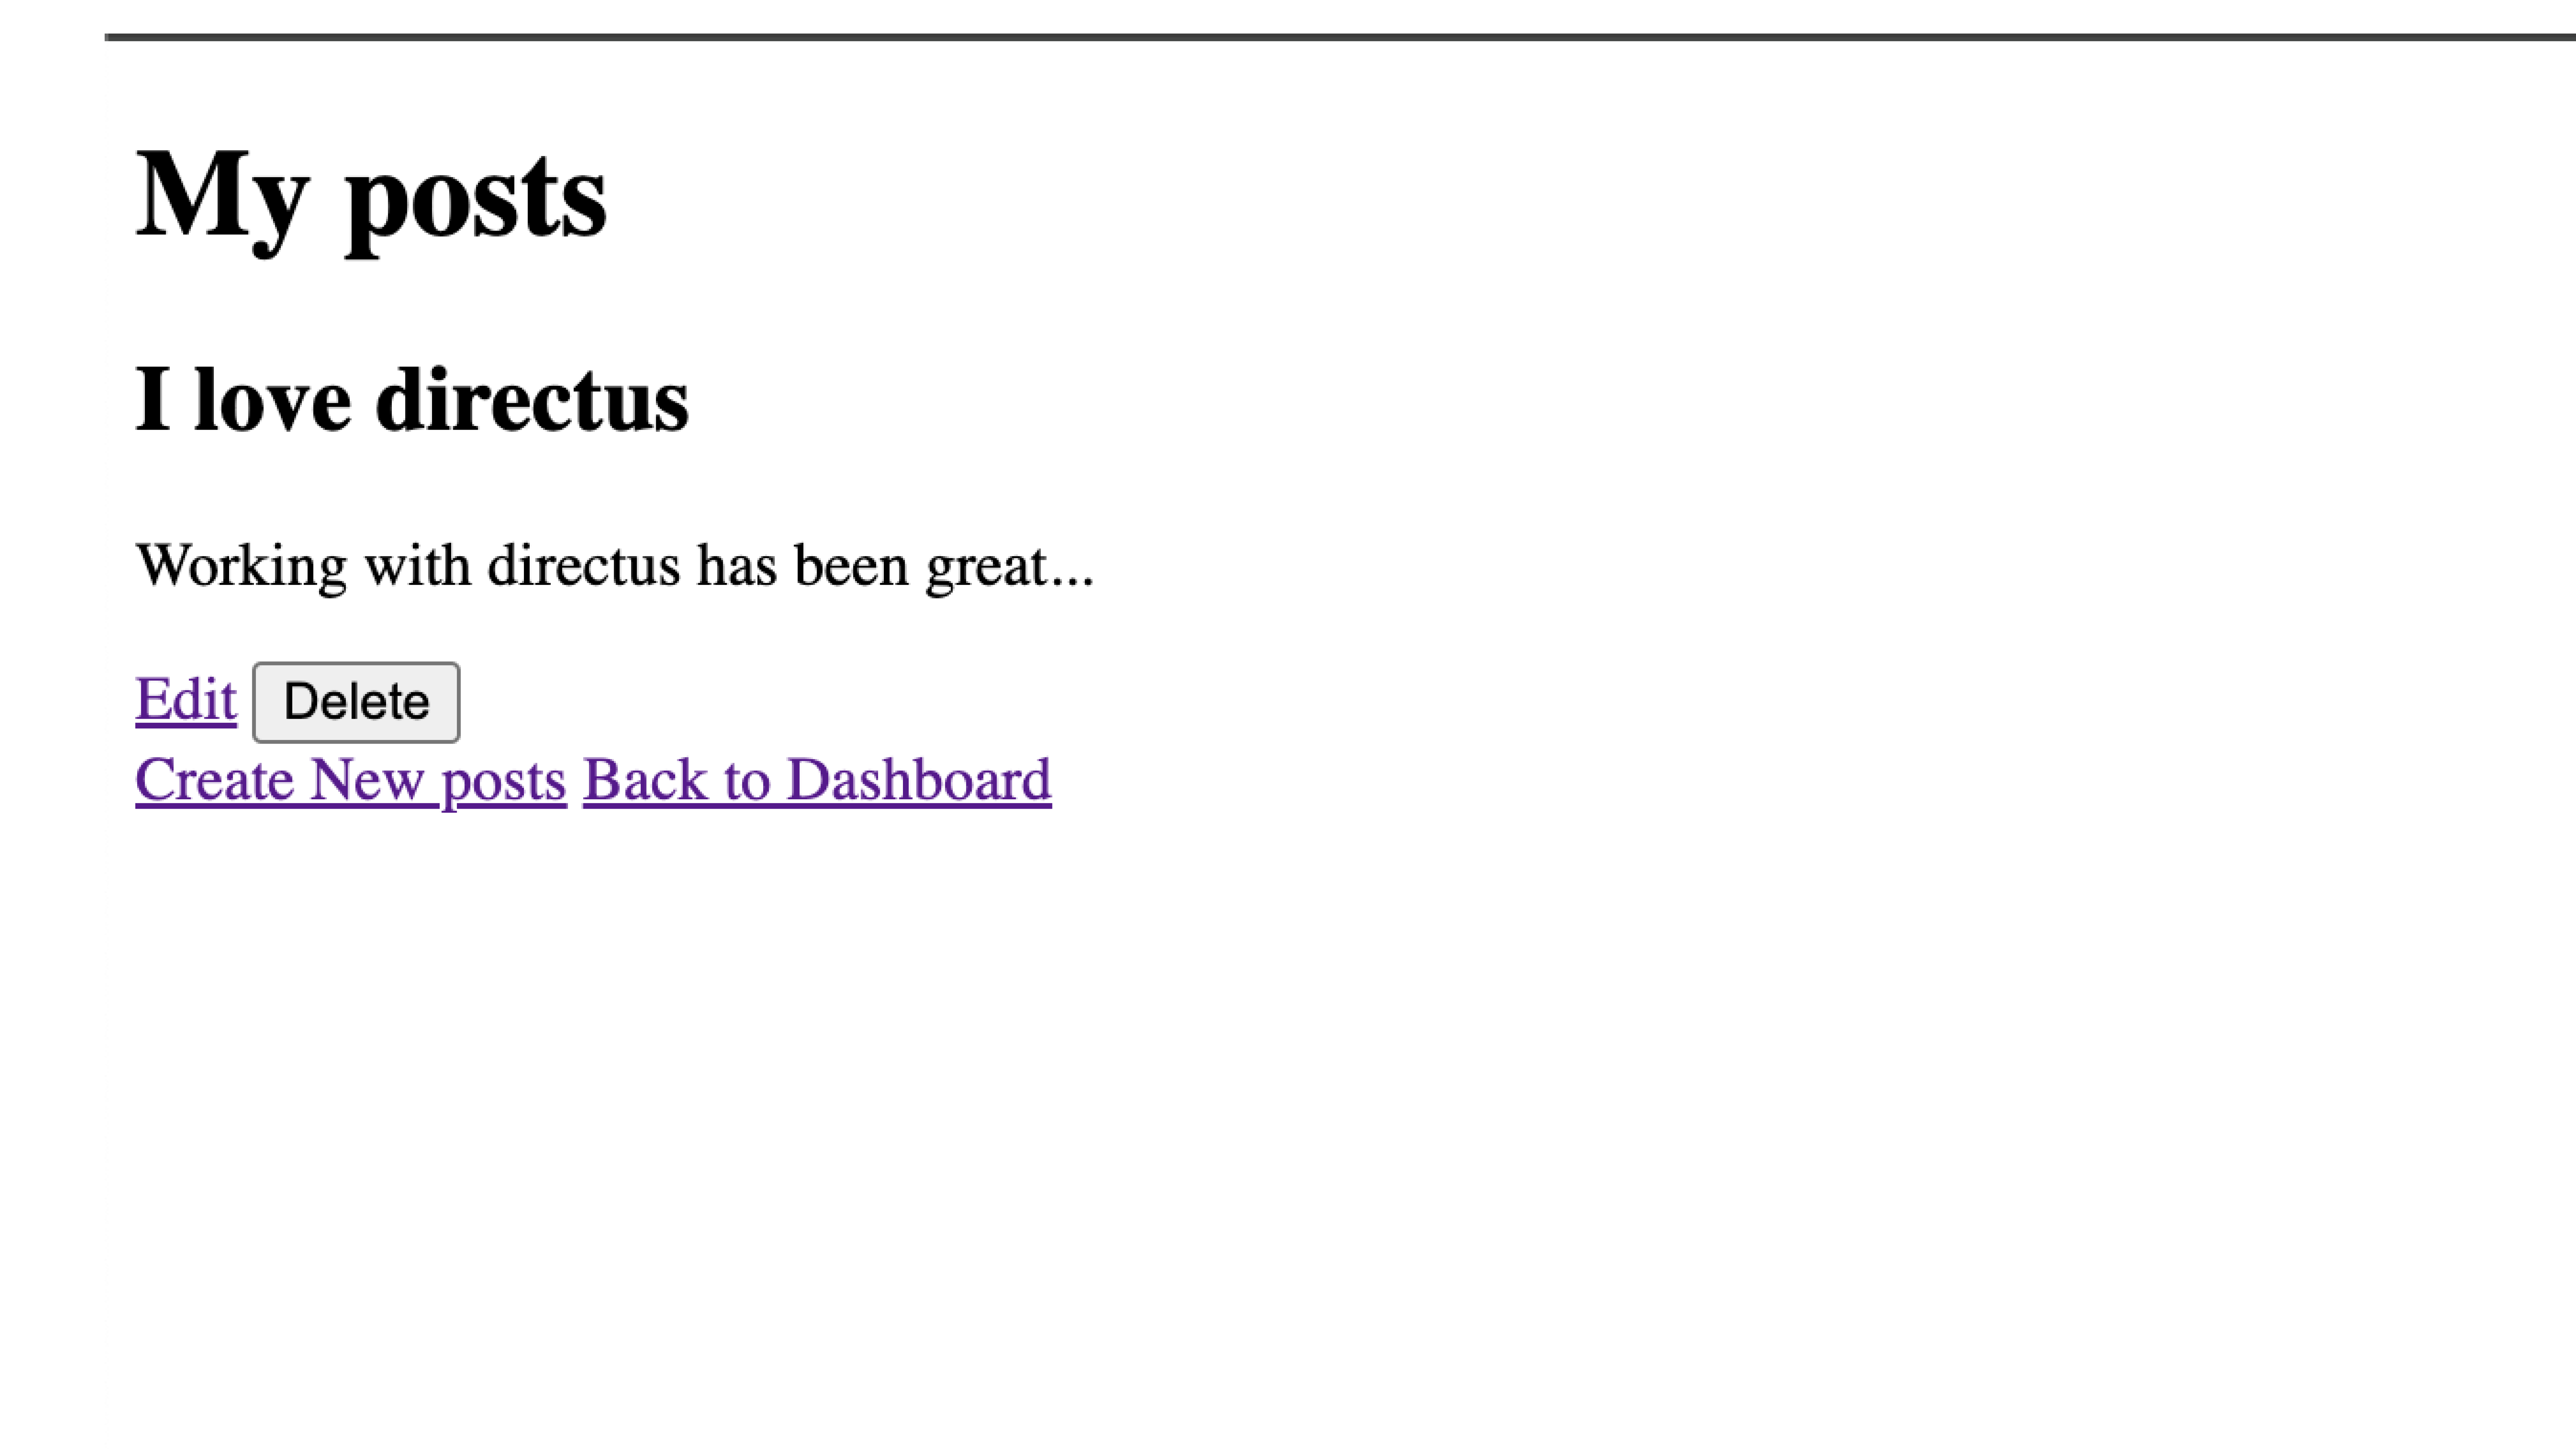
To view posts, click on the view posts where you'll see the posts created:
To view your profile, click on the profile link, and you'll be redirected to the profile page where you can also edit your profile.
Conclusion
Driectus offers you many features, and authentication is just one of them. With Directus authentication, you can secure your web application and ensure that only your users are able to access their data.