Submit Forms Using Directus and Nuxt
Directus provides a headless CMS, which when combined with Nuxt will streamline content management. This post covers how to connect them to create and submit forms.
Before You Start
You will need:
- A new Directus project with admin access.
- Optional but recommended: Familiarity with data modeling in Directus.
- Set Up Your Directus Project
Configure Directus with the necessary collections and permissions.
Set Up Your Directus Project
Start with a Directus Cloud or self-hosted clean install of Directus. Follow the steps below to configure Directus with the necessary collections and permissions.
Apply the CMS Template
Use the Directus Template CLI to apply the CMS template for your project.
First, generate a static token for the admin user by going to the Users Directory. Choose the Administrative User, and scroll down to the Token field and generate a static token. Copy the token and save it. Do not forget to save the user, or you will encounter an "Invalid token" error.
Open your terminal, run the following command, and follow the prompts:
npx directus-template-cli@latest apply
Choose Community templates, and select the CMS template. Fill in your Directus URL, and select Directus Access Token as the authentication method, filling in the token created earlier.
Form Submission Model
The CMS template contains a form submission model. This model is used to store the data submitted by users through the forms created in Directus.
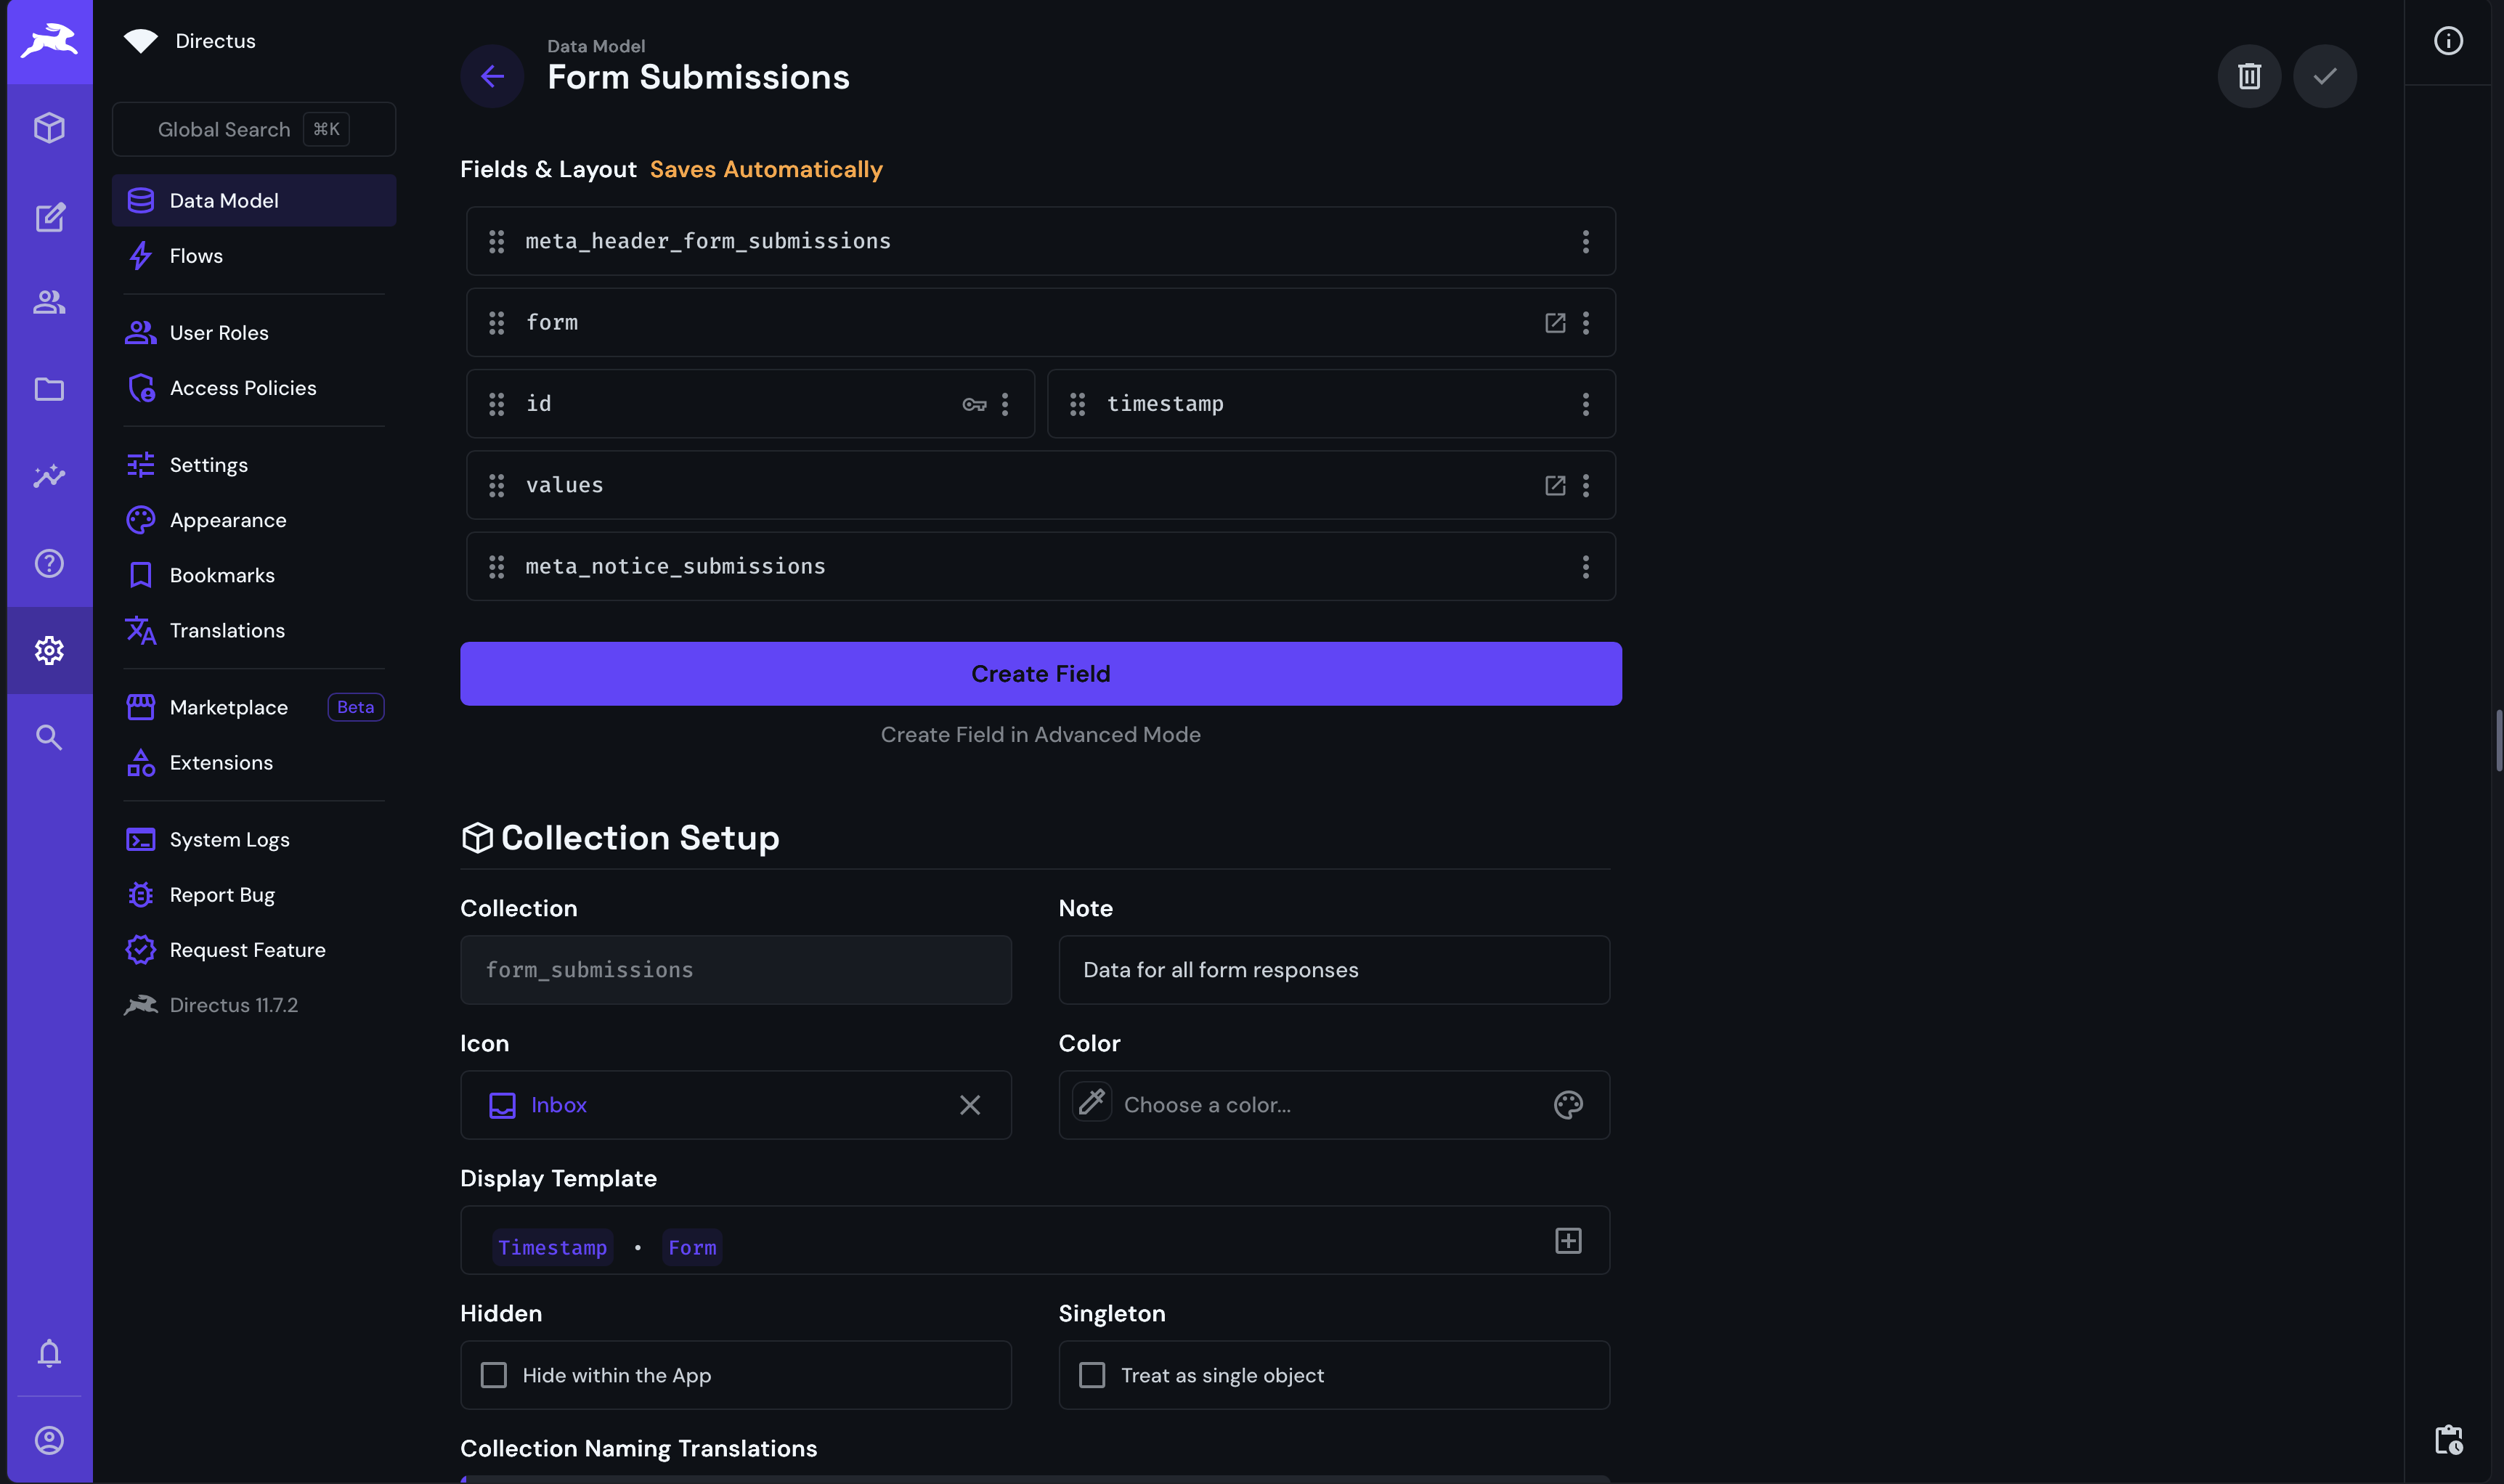
The form submission model is a generic collection that relates form fields to the form submission.
Form Submission Access
A Directus role is created for the form submission model. This role is used to control access to the form submission data and is already set up with the necessary permissions.
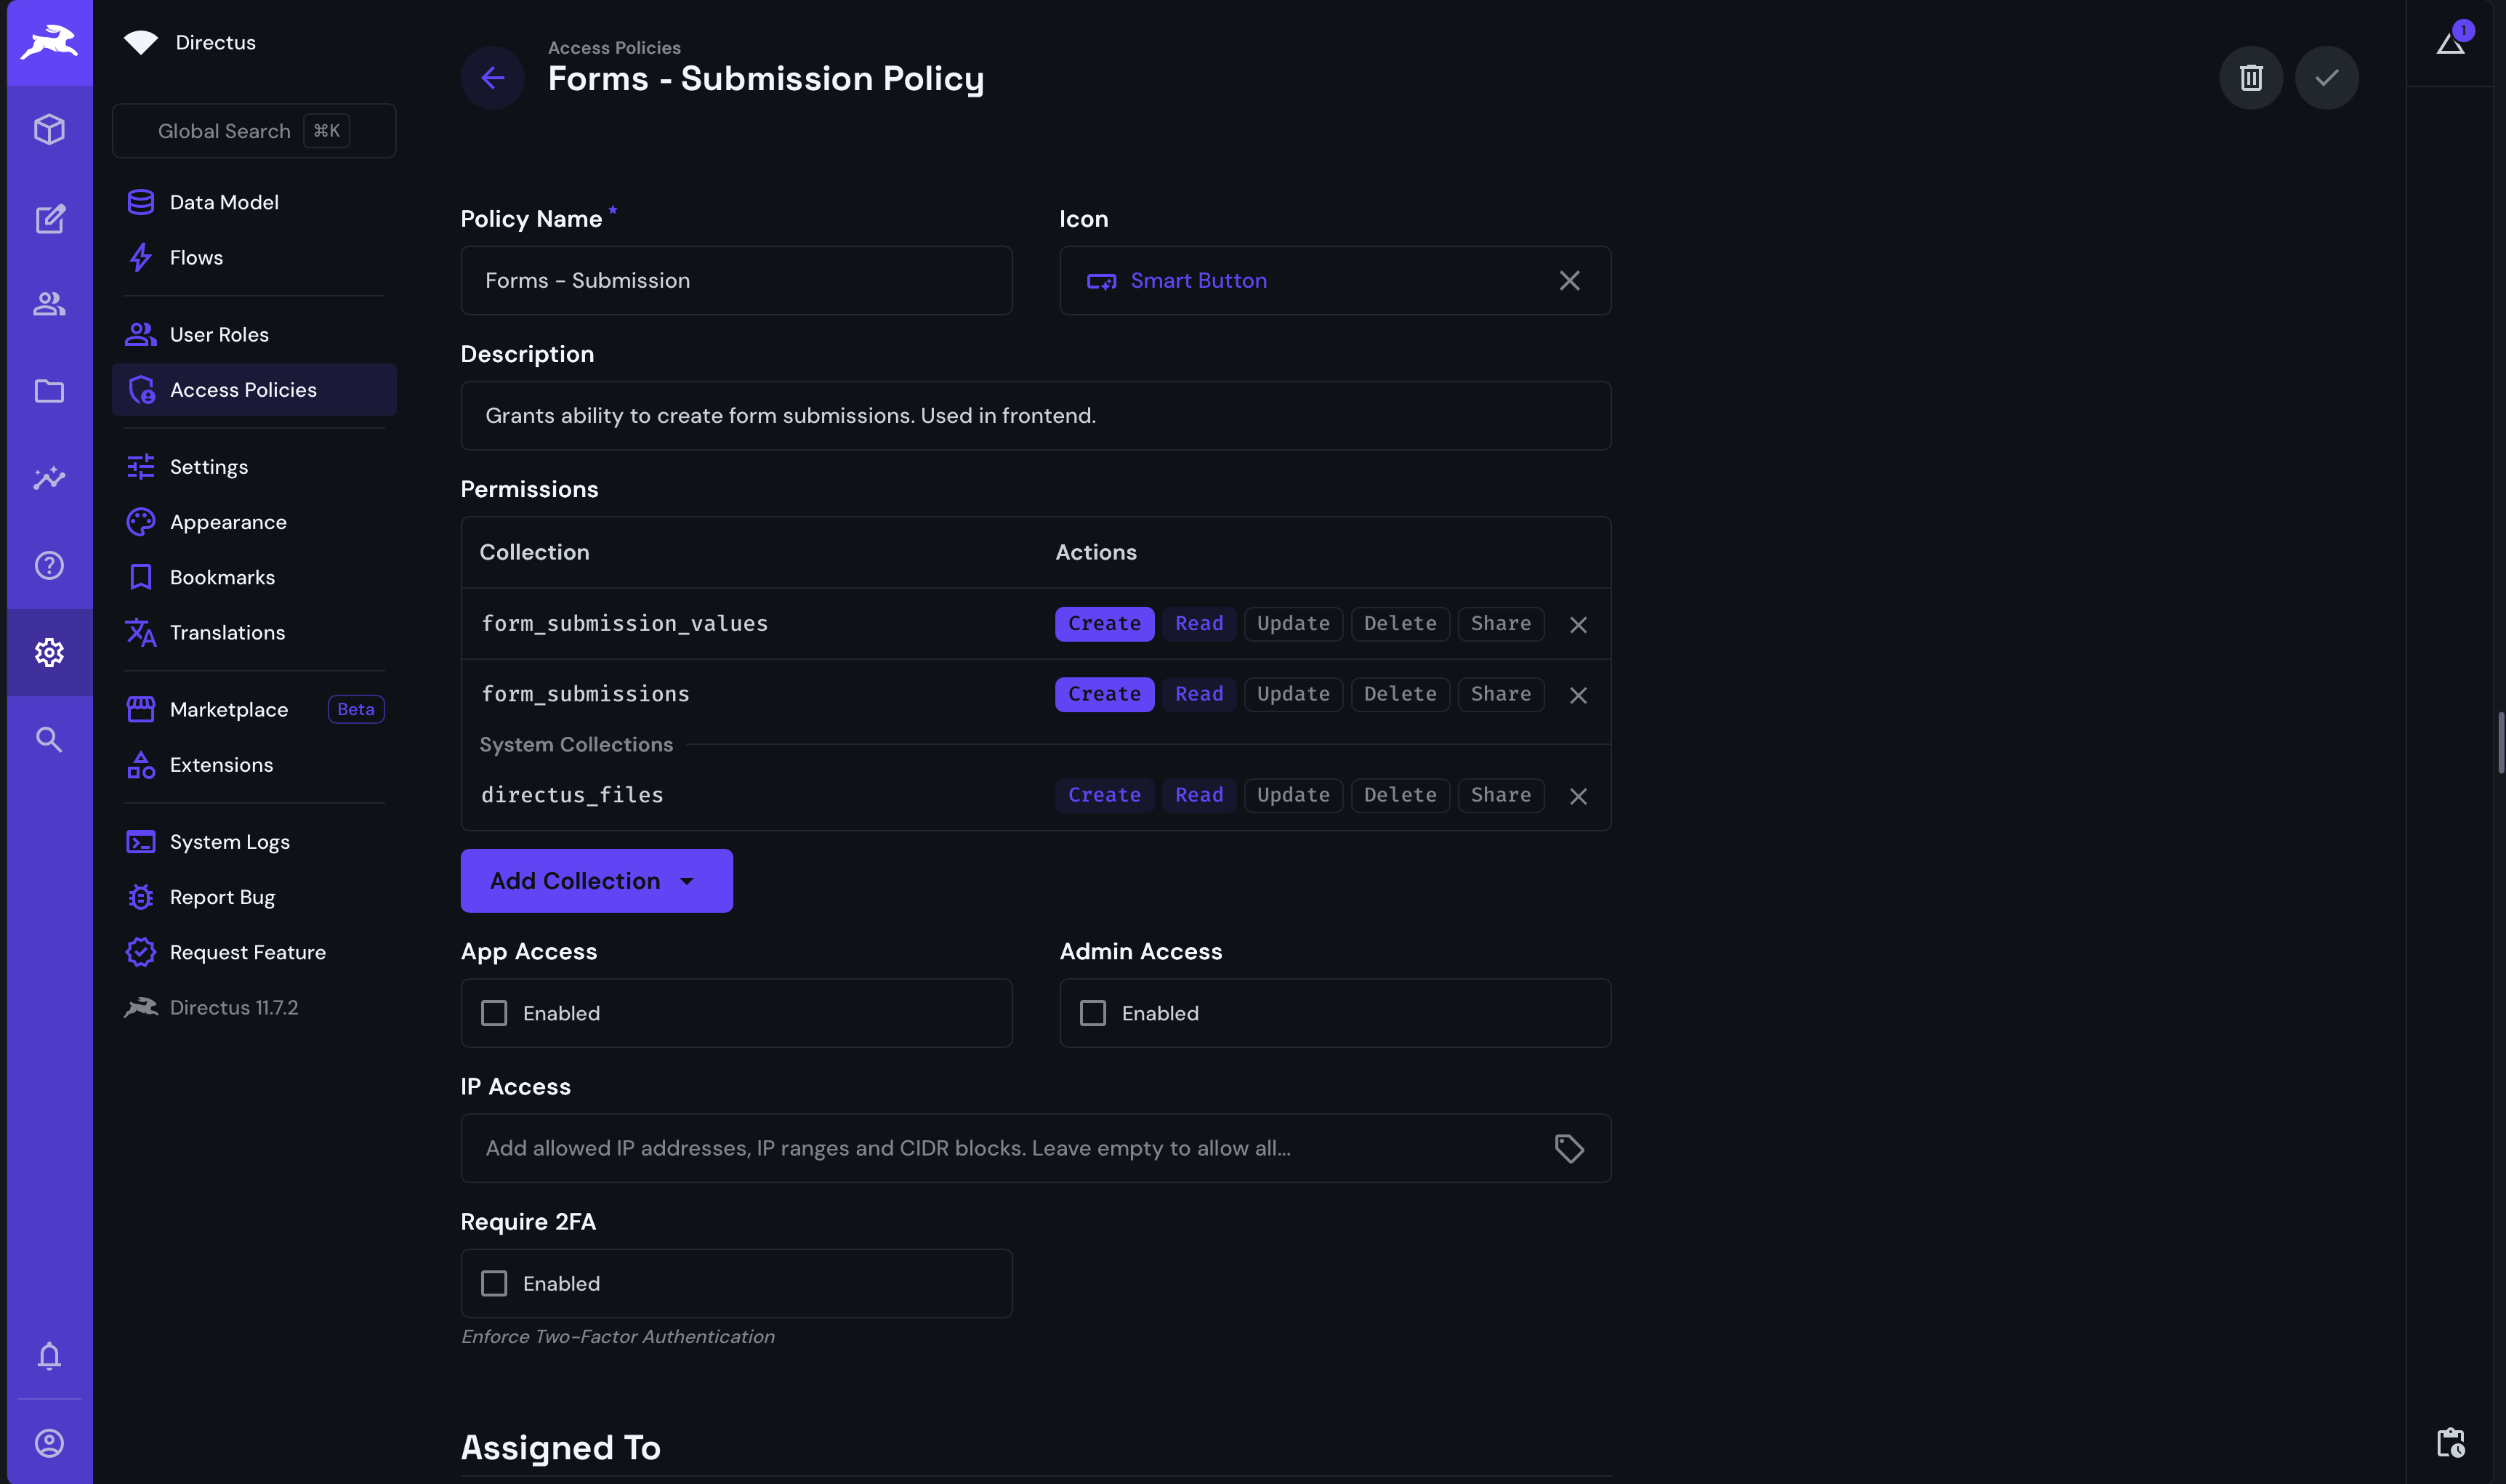
Additionally, the role has already been applied to the "Frontend Bot" user. In the Directus User Directory, select the "Frontend Bot" user and scroll down to the "Token" section. Generate a token and save the user. This token will be used to authenticate the Nuxt application with Directus and will have the form submission permissions required to submit the form.
Set Up Your Nuxt Project
Initialize Your Project
Create a new Nuxt project using Nuxi:
npx nuxi@latest init directus-cms
cd directus-cms
Just press enter to accept the defaults. None of the additional packages are required.
Configure Nuxt
Configure Nuxt so that it is able to communicate with the (external) Directus API.
Create a .env file with the Directus URL:
API_URL="http://0.0.0.0:8055"
Add a type definition for our new environment variable by creating an env.d.ts file with the following content:
/// <reference types="vite/client" />
interface ImportMetaEnv {
    readonly API_URL: string;
}

interface ImportMeta {
    readonly env: ImportMetaEnv;
}
Depending on your project configuration and if you are in development or production you may need to configure a Nuxt proxy to allow access between your Nuxt project and Directus in your nuxt.config.ts:
routeRules: {
    "/directus/**": { proxy: `${import.meta.env.API_URL}/**` },
  },
This will allow your Nuxt project to access Directus via your Nuxt URL, eg. http://localhost:3000/directus
Install Directus SDK
Install the Directus SDK to interact with the Directus API. Run the following command in your terminal:
npm install @directus/sdk
Define a Directus Schema
TypeScript needs to know what the structure of the Directus data is. To achieve this create a directus.d.ts file in the root of our project which defines our schema and add the Post collection structure:
/// <reference types="@directus/extensions/api.d.ts" />
interface DirectusSchema {
    forms: Form;
    form_submissions: FormSubmission;
}
interface Form {
    id: string;
    sort: number | null;
    title: string;
    is_active: boolean;
    submit_label: string;
    on_success: string;
    success_message: string;
    success_redirect_url: string | null;
    fields: FormField[];
}

interface FormField {
    id: string;
    name: string;
    type: string;
    label: string;
    placeholder: string | undefined;
    help: string | null;
    validation: string | null;
    width: string;
    choices: any | null;
    form: string;
    sort: number;
    required: boolean;
}
interface FormSubmission {
    form: string;
    values: FormSubmissionItem[]
}

interface FormSubmissionItem {
    field: string;
    value: string;
}
Create a Directus plugin
Create a Nuxt plugin to streamline accessing Directus throughout your application. Create a new file plugins/directus.ts
Copy and paste in the code below, replace the your-website-url with your Nuxt URL and port:
import {
    createDirectus,
    rest,
    readItem,
    readItems,
    withToken,
    authentication,
} from "@directus/sdk";
const directus = createDirectus<DirectusSchema>(
    "http://your-website-url/directus",
).with(authentication("session", { credentials: "include" }))
.with(rest({ credentials: "include" }));
export default defineNuxtPlugin(() => {
    return {
        provide: { directus, readItem, readItems, withToken },
    };
});
This file handles all the interaction with Directus and provides Nuxt with the required Directus SDK features.
Create the Page with the Form
In Directus visit Content -> Forms. Notice 2 forms are included with the CMS template. Click the one called "Newsletter". You will see it contains 2 form fields: "first-name" and "email". Also take note of the URL of this page, it will be something similar to http://localhost:8055/admin/content/forms/5da3d356-d818-434f-b225-db35c418bbb6. Copy all the characters after the last /, it is required to identify the form being submitted in the next step.
To display Newsletter form to the user in Nuxt edit the app.vue file by replacing the contents with the following:
<script setup lang="ts">
import { createItem, readItem } from '@directus/sdk';

const { $directus } = useNuxtApp()

const formId = "5da3d356-d818-434f-b225-db35c418bbb6"
const form: Ref<Form | undefined> = ref()
const fields: Ref<FormSubmissionItem[]> = ref([])

$directus.request(readItem('forms', formId, {
  fields: ['*', 'fields.*']
}))
  .then((response) => {
    form.value = response;
    // Initialize fields for submission
    fields.value = response.fields.map((field: FormField) => ({
      field: field.id,
      value: ''
    }));
  })
  .catch((error) => {
    console.error('Error fetching form data:', error);
  });

const submit = () => {
  $directus.request(createItem('form_submissions', {
    form: formId,
    values: fields.value
  }))
}
</script>

<template>
    <form v-if="form" @submit.prevent="submit">
      <div v-for="(field, index) in form.fields" :key="field.id">
        <label :for="field.name">{{ field.label }}</label>
        <input
          :name="field.name"
          v-model="fields[index].value"
          :required="field.required"
          :placeholder="field.placeholder"
        />
      </div>
      <button type="submit">Submit</button>
    </form>
</template>
Note: Replace the
formIdwith the ID of the form you copied from Directus.
In the code above the Directus SDK is used to fetch the form data and display it to the user. The form fields are dynamically generated based on this data and a new fields object is created that stores the value and the field id for each field.
When the form is submitted, the submit function is called, which sends the form data to Directus and creates a form_submission item.
You can verify this by visiting the Directus admin panel and checking the form_submissions collection. You should see a new item created with the form data.
Form Flows
Part of a standard form submission flow is to send an email notification to the user. The Directus CMS template includes a flow that handles this.

The flow works as follows:
- It is triggered whenever a new Form Submission item is created.
- Using the form ID, it fetches the form data.
- Custom JS is executed that validates and formats the form data for the email.
- A separate
renderflow is called that generates the email content (using Liquid templates). - A separate
sendflow is called that sends the email to the user.
Form Validation and Error Handling
To finalise the newsletter sign up process, edit app.vue, to add error handling and successful form submission.
Replace the submit function with the following code:
const success = ref(false)
const error: Ref<string | undefined> = ref()
const submit = () => {
  $directus.request(createItem('form_submissions', {
    form: formId,
    values: fields.value
  }))
  .then(() => {
    success.value = true
    error.value = undefined
    // Reset form
    fields.value = form?.value?.fields.map((field: FormField) => ({
      field: field.id,
      value: ''
    }));
  })
  .catch((error) => {
    error.value = error.message
  })
}
This code handles the success and error states of the form submission. If the submission is successful, the form is reset and a success message is displayed. If there is an error, it is displayed to the user.
To display this to the user replace everything between the template tags with the following code:
<div>
    <div v-if="error">{{ error }}</div>
    <form v-if="form" @submit.prevent="submit">
        <div v-if="success">{{ form.success_message }}</div>
        <div v-else>
        <div v-for="(field, index) in form.fields" :key="field.id">
            <label :for="field.name">{{ field.label }}</label>
            <input
            :name="field.name"
            v-model="fields[index].value"
            :required="field.required"
            :placeholder="field.placeholder"
            />
        </div>
        <button type="submit">Submit</button>
        </div>

    </form>
</div>
Conclusion
The Directus CMS template provides a starting point for building a CMS driven website, including form submission. With minimal coding you can create a form that submits data to Directus and handles the submission flow.