Implementing Live Preview in SvelteKit
Live Preview can be enabled in Directus Editor and allows content authors to see their changes directly in the Data Studio. It can be combined with content versioning to preview pre-published content. In this tutorial, you'll learn how to implement Live Preview in your SvelteKit application.
Before You Start
You will need:
- A Directus project with admin access.
- Fundamental understanding of Svelte concepts.
- Optional but recommended: Familiarity with data modeling in Directus.
Set Up Your Directus Project
In this tutorial, Docker will be used for the setup. To get started, follow the Docker setup instructions.
You also need to make sure to configure CORS and set your content security policy to allow access, as Directus preview uses an iFrame. Update your docker-compose.yml file as follows:
   CORS_ENABLED: "true"
   CORS_ORIGIN: "http://localhost:5173"
   CORS_CREDENTIALS: "true"
   CONTENT_SECURITY_POLICY_DIRECTIVES__FRAME_SRC: "http://localhost:5173"
Create a Collection
Create a new collection called posts with the following fields:
title(Type: String)content(Type: markdown)slug(Type: String)published(Type: Boolean)
In the data model settings for the new collections, enable Live Preview with the following URL pattern: http://your-website-url/[id]?preview=true. [id] is a template value that can be added by clicking the INLINE_ICON_COMPONENT_WITH_VALUE_PREFILLED icon.
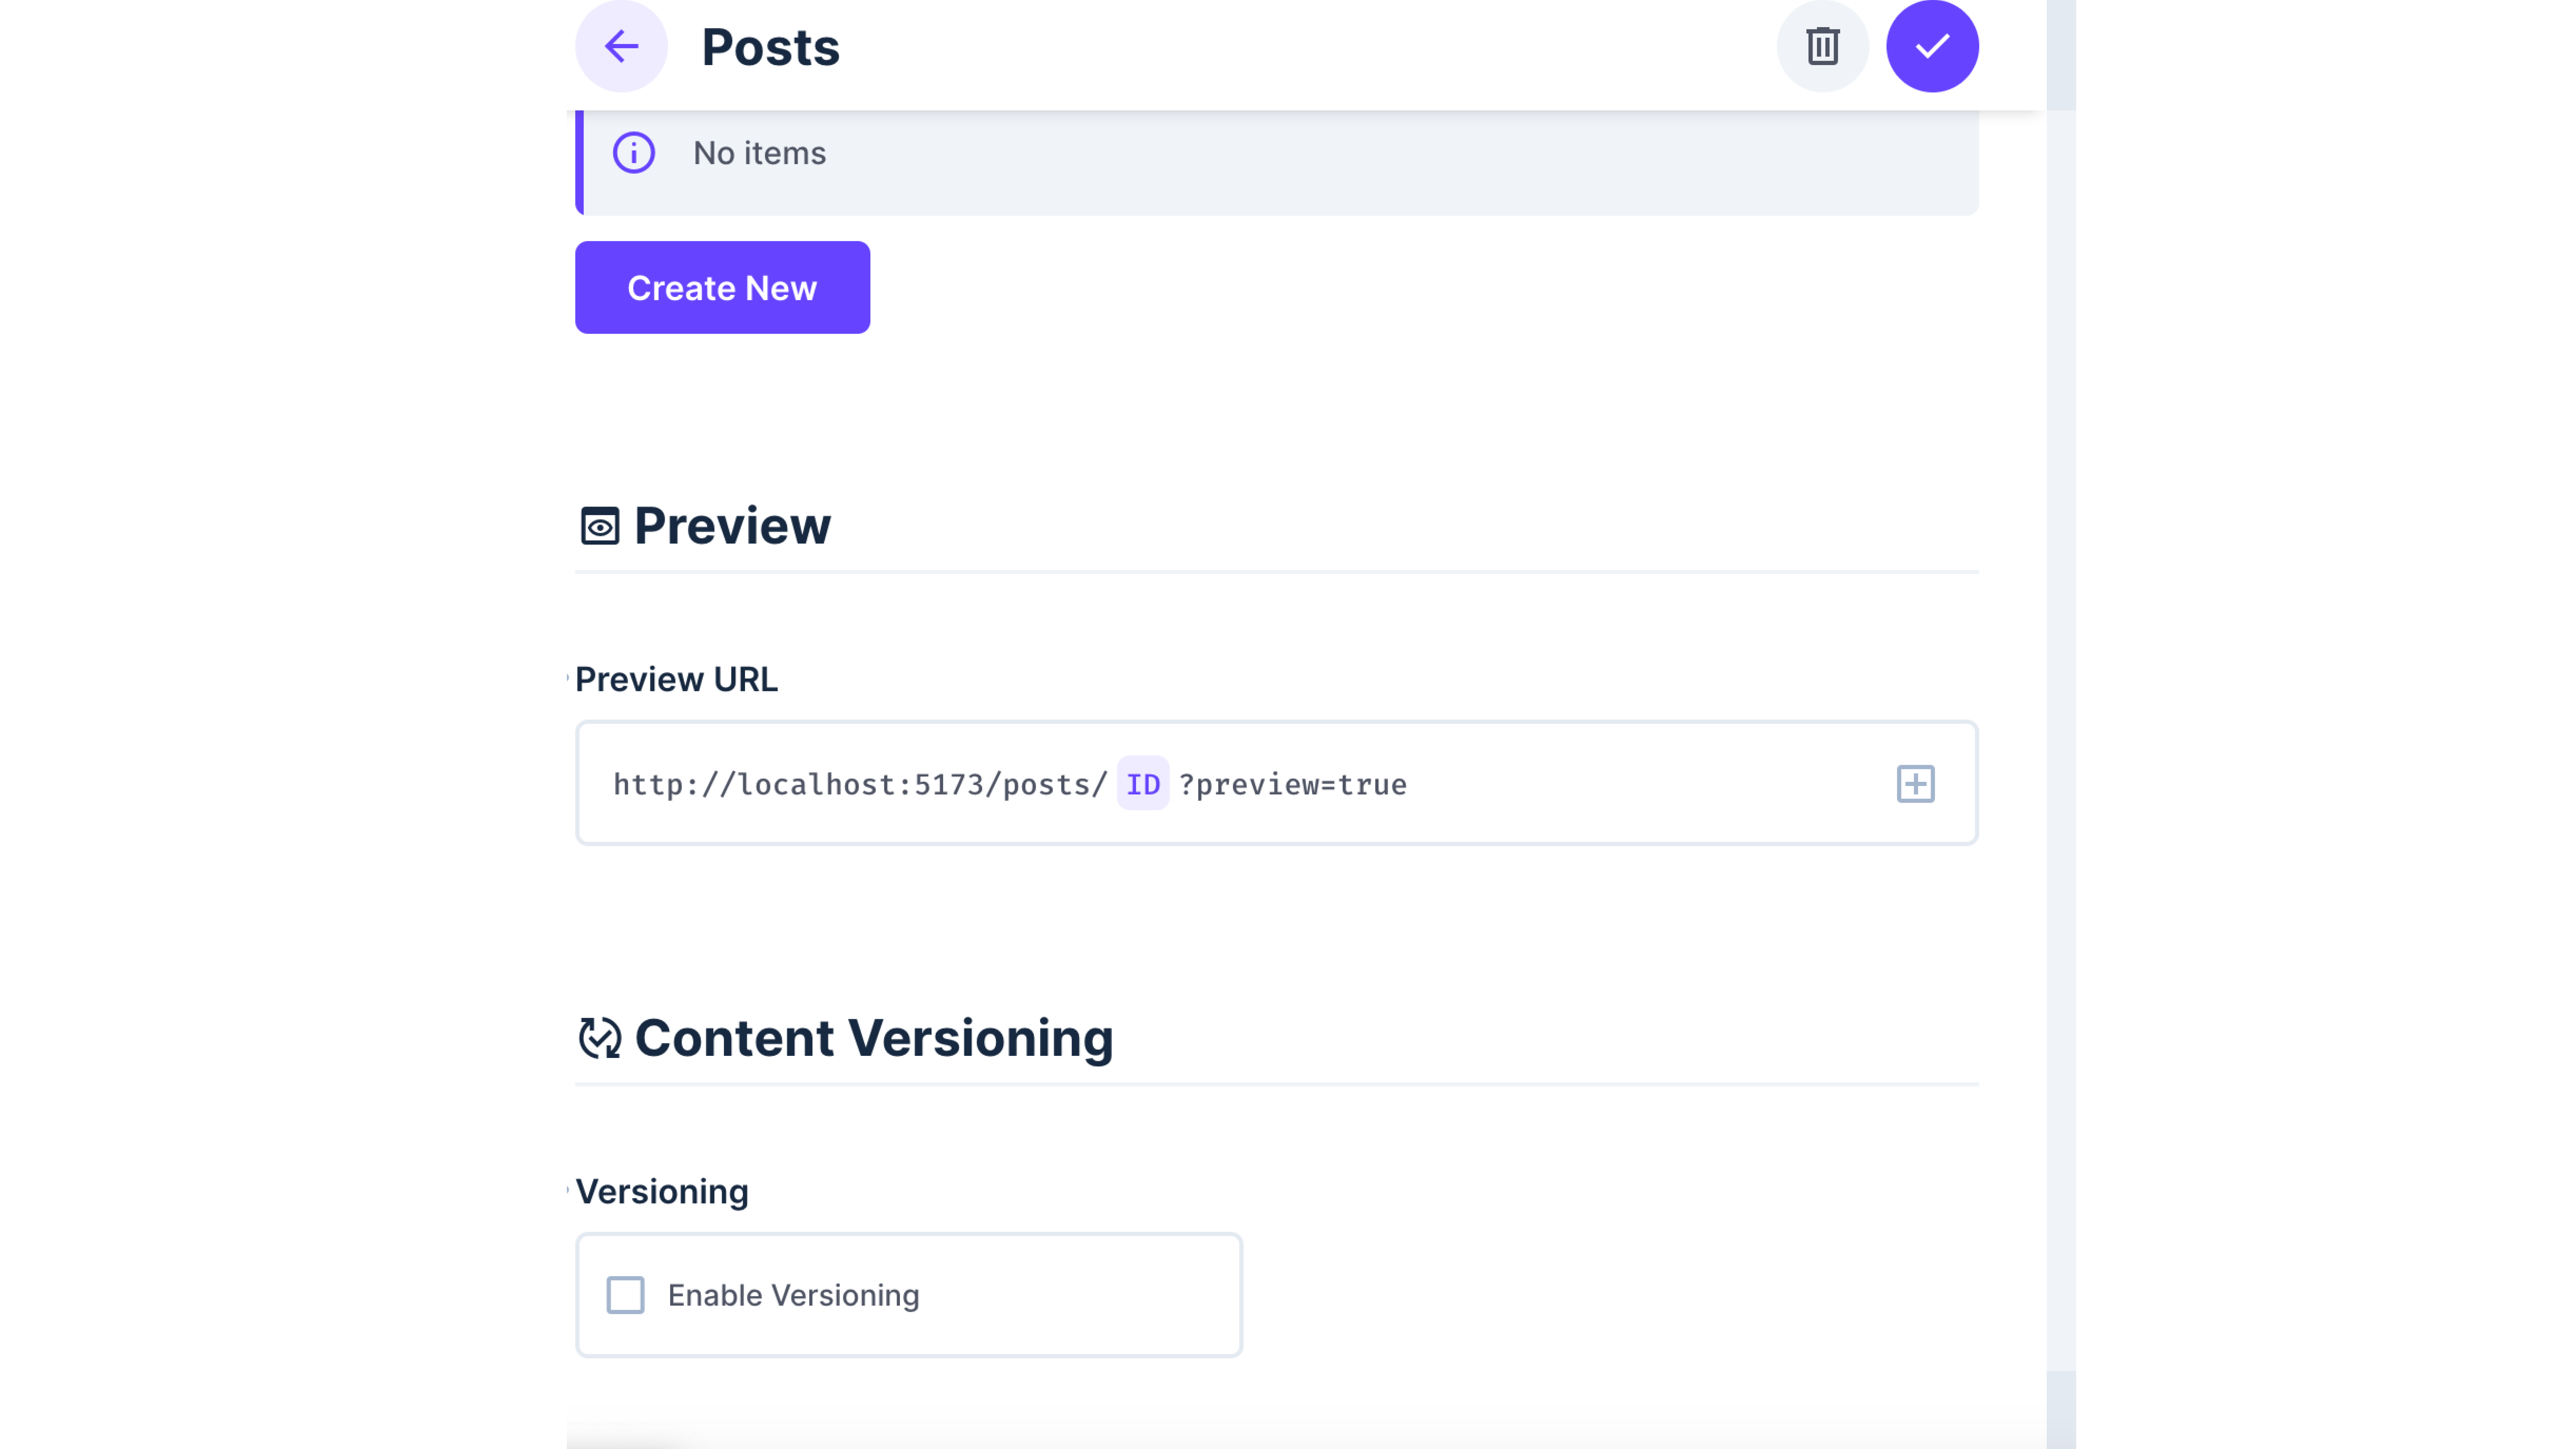
This value will be dynamic based on the specific item page you are on.
Edit Public Policy
Navigate to Settings -> Access Policies -> Public. Under posts, set a custom policy for Read by selecting Use Custom. Under Item Permissions, add a filter with published equals true.
Set Up Your SvelteKit Project
Initialize Your Project
To start building, you need to install SvelteKit and Directus sdk. Run this command to install SvelteKit:
npx sv create preview-app # choose SvelteKit minimal
When prompted, select SvelteKit minimal as the template. Do not add type checking, as this tutorial is implemented in JavaScript. Your output should look like this:
 Welcome to the Svelte CLI! (v0.6.16)
│
◇  Which template would you like?
│  SvelteKit minimal
│
◇  Add type checking with Typescript?
│  No
│
◆  Project created
│
◇  What would you like to add to your project? (use arrow keys / space bar)
│  none
│
◇  Which package manager do you want to install dependencies with?
│  npm
│
◆  Successfully installed dependencies
│
◇  Project next steps ─────────────────────────────────────────────────────╮
│                                                                          │
│  1: cd preview-app                                                       │
│  2: git init && git add -A && git commit -m "Initial commit" (optional)  │
│  3: npm run dev -- --open
Afterwards, cd into your project directory and run:
npm install
This will install all the dependencies for the project.
Lastly, you need to install the Directus SDK. Run this command:
npm install @directus/sdk
You need to initialize Directus SDK in your project. Create a file called directus.js inside the src/lib directory. Add the following code:
import { createDirectus, rest } from '@directus/sdk';
const client = createDirectus('directus_project_url').with(rest());
Implement Preview Mode
To implement the preview mode, create a subdirectory inside your routes directory. Name this subdirectory preview. Inside preview, create another subdirectory called [id]. Your directory structure will look like this:
routes/
└── preview/
    └── [id]
You'll create two files in this directory. Name the first file +page.js and add the following code:
import { error } from "@sveltejs/kit";
import { client } from "$lib/directus";
import { readItem } from "@directus/sdk";

export async function load({ params, url }) {
  const preview = url.searchParams.get("preview") === "true";
  const version = url.searchParams.get("version");
  const token = url.searchParams.get("auth_token");

  console.log("load function called");
  console.log("Params:", params);
  console.log("Preview Mode:", preview);
  console.log("Version:", version);

  try {
    if (preview) {
      // Replace <your token> with your authentication token
      if (token && token !== "<your token>") {
        console.error("Invalid auth token");
        throw error(401, "Invalid auth token");
      }
      console.log("Token validation successful");
    } else {
      console.log("Skipping token validation (not in preview mode)");
    }

    const queryFilters = {
      fields: ["title", "content", "slug", "published"],
      ...(version && { version }),
    };

    const headers = token
      ? { headers: { Authorization: `Bearer ${token}` } }
      : {};

    const post = await client.request(
      readItem("posts", params.id, {
        ...queryFilters,
        ...headers,
      })
    );

    console.log("Post Data:", post);

    if (!post) {
      console.error("Post not found");
      throw error(404, "Post Not Found");
    }

    return {
      post,
      preview,
      version,
    };
  } catch (err) {
    console.error("Error in load function:", err.message || err);
    if (err.response) {
      console.error("Directus Error Response:", err.response);
      console.error("Directus Error Data:", err.response.data);
    }
    throw error(500, err.message || "Internal Server Error");
  }
}
Replace <your token> with the actual auth token, which will be generated later in this tutorial. This token will be used to validate requests in preview mode.
The code above sets preview mode and token validation in your SvelteKit project in case there's a token in the url. It validates and retrieves the data based on the token; otherwise, it displays the content that is visible to the public eye.
It also sets versioning in your SvelteKit application to access and display different states of your content, as seen further below.
The next file to create in this directory is +page.svelte with the following code:
<script>
  import { page } from "$app/stores";
  import { onMount } from "svelte";

  // Get the data from the load function automatically
  export let data;
  let post = data.post;
  let preview = $page.url.searchParams.get("preview") === "true";

  onMount(() => {
    console.log("page", $page);
    console.log("post", post);
  });
</script>

{#if post}
  <article>
    <h1>{post.title}</h1>
    <p>Slug: {post.slug}</p>
    <div>{@html post.content}</div>
    {#if preview}
      <p style="color:red;">Preview Mode</p>
    {/if}
  </article>
{:else}
  <p>Loading...</p>
{/if}
The +page.svelte component compliments +page.js as it handles the display part while +page.js handles the fetching of the data.
Non-Public Content
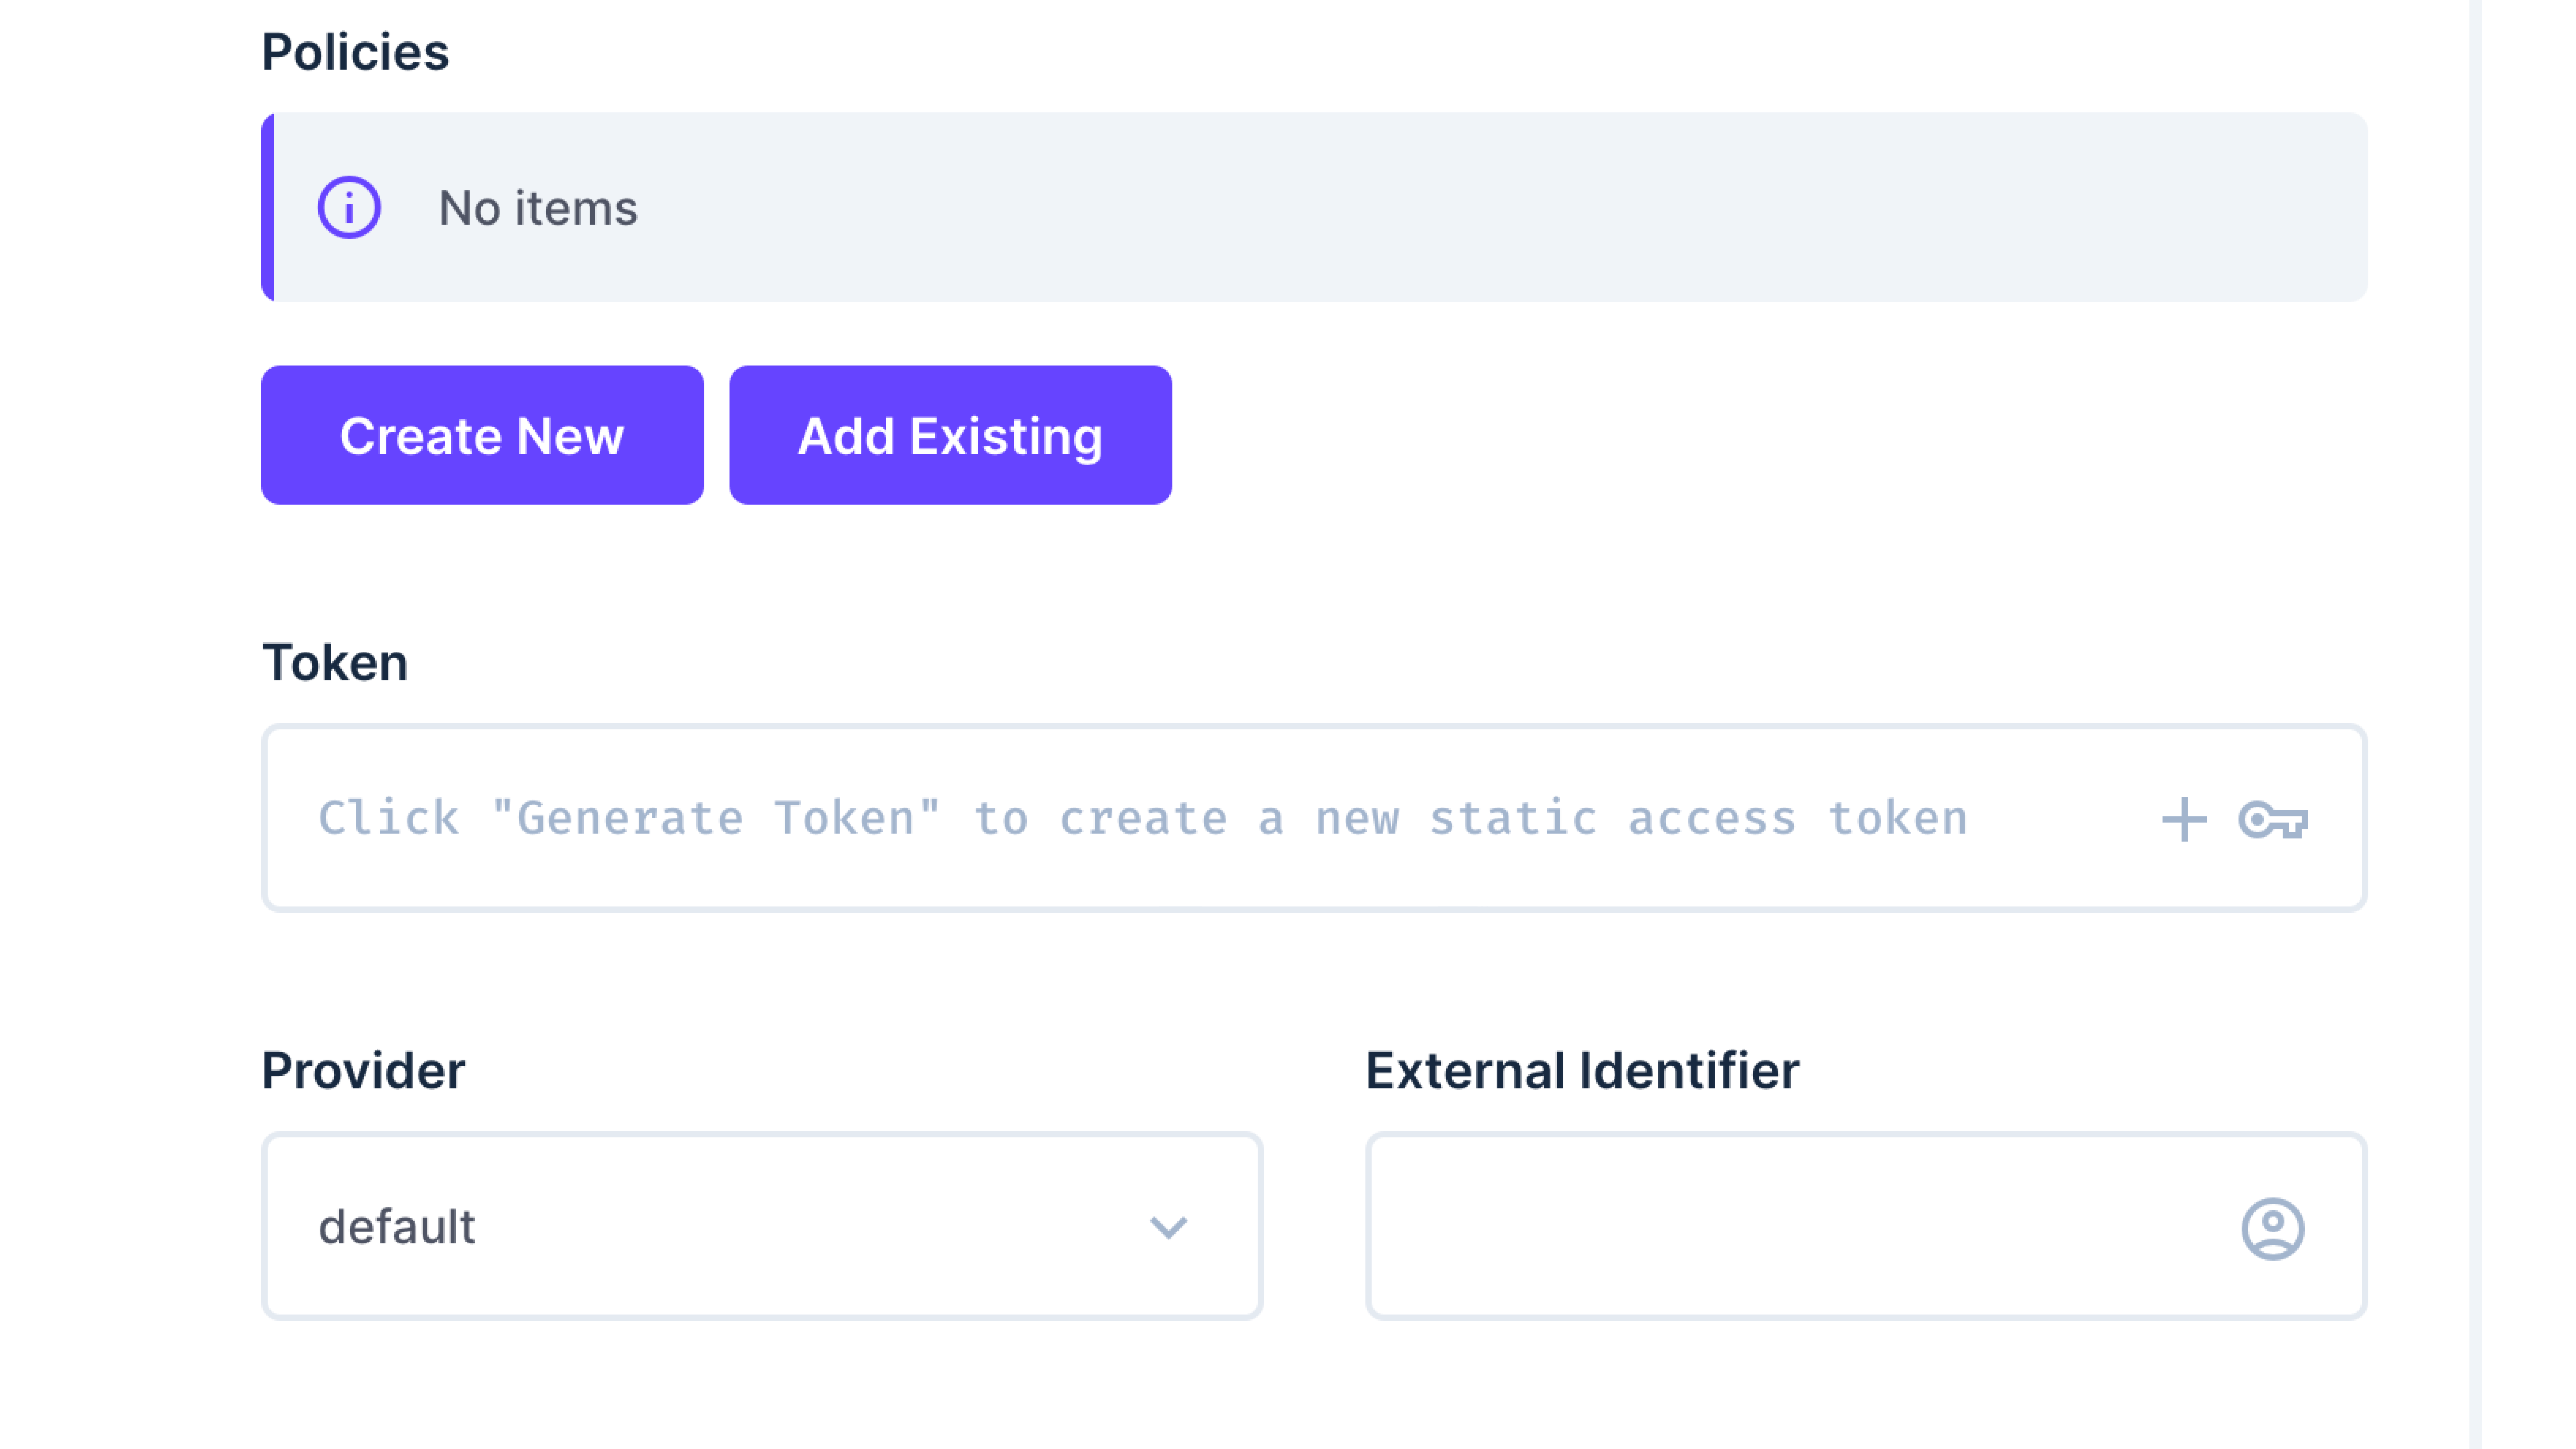
To access non-public content, you need to create a user with permission to see non-public content and give full access permissions to Read in the posts collection. You also need to generate a token while creating the user. To do this, scroll down to the token section and click + icon to generate a token.
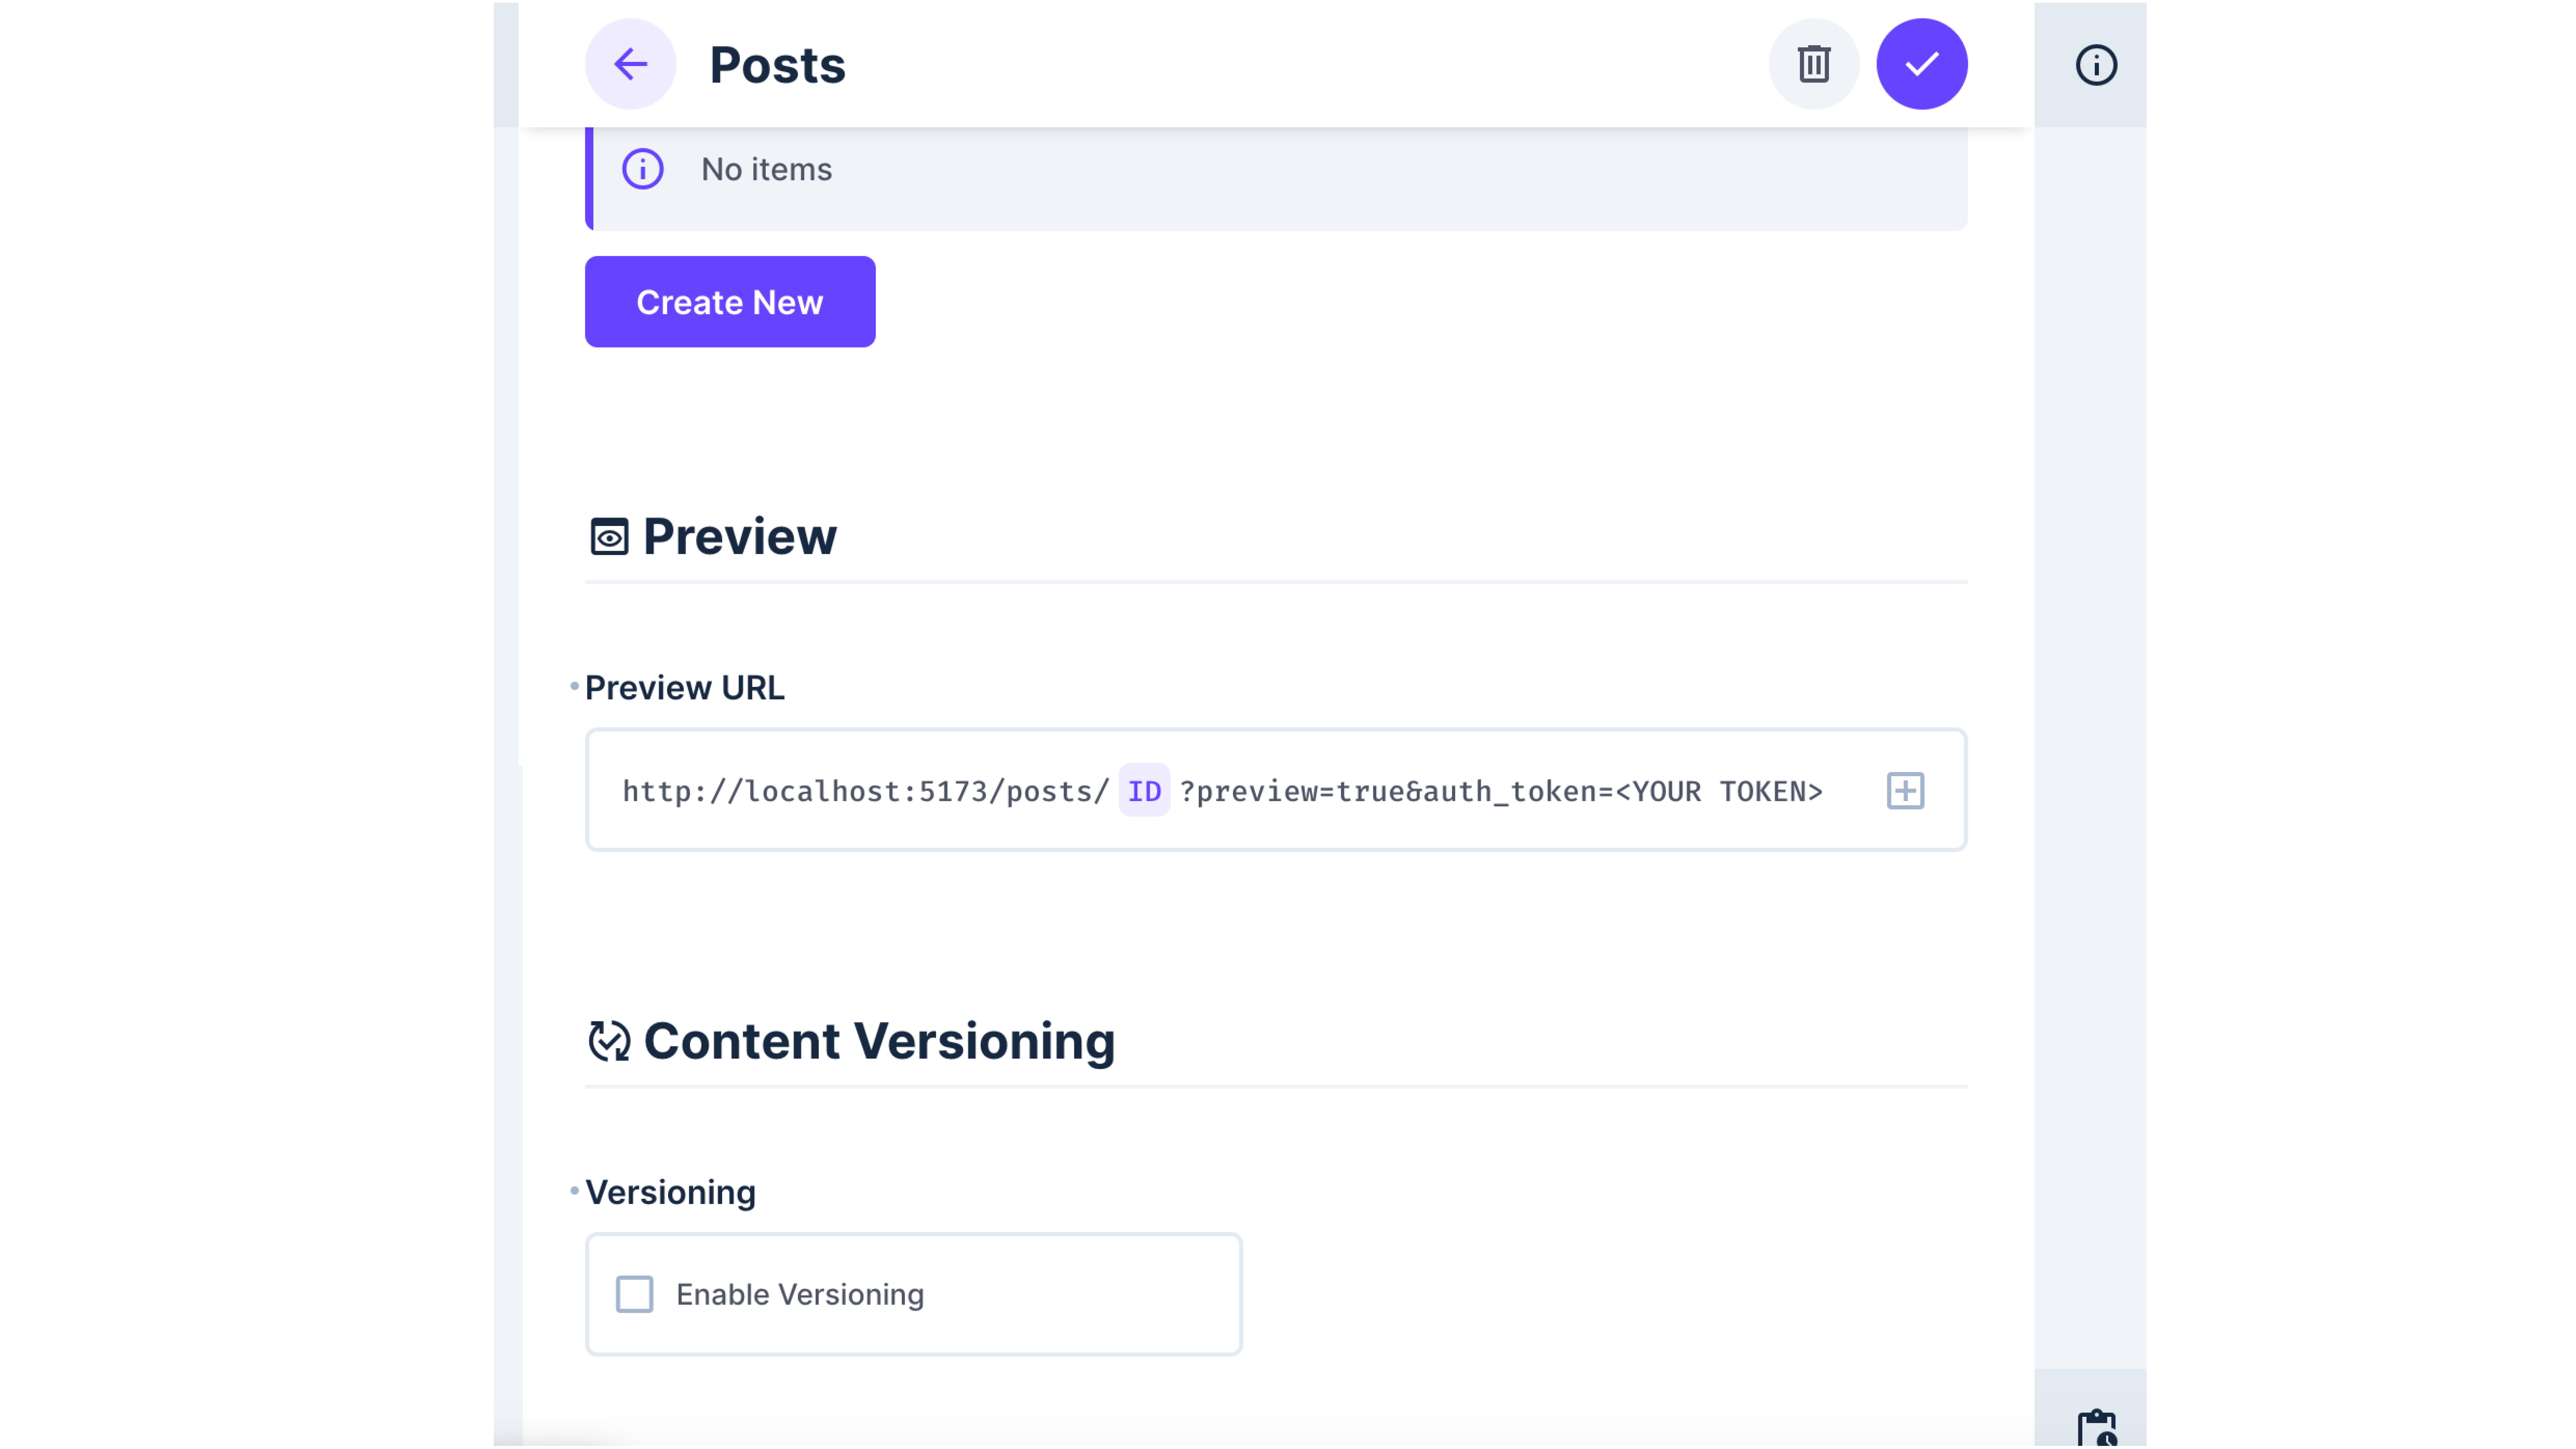
Once the token is generated, add the token to the Live Preview URL and also replace <your token> with the generated token in your +page.js. Your Preview URL should look like this: http://localhost:5173/posts/<ID>?preview=true&auth_token_token=<USER_TOKEN>. Then, your application should request data using this token.
Live Preview & Content Versioning
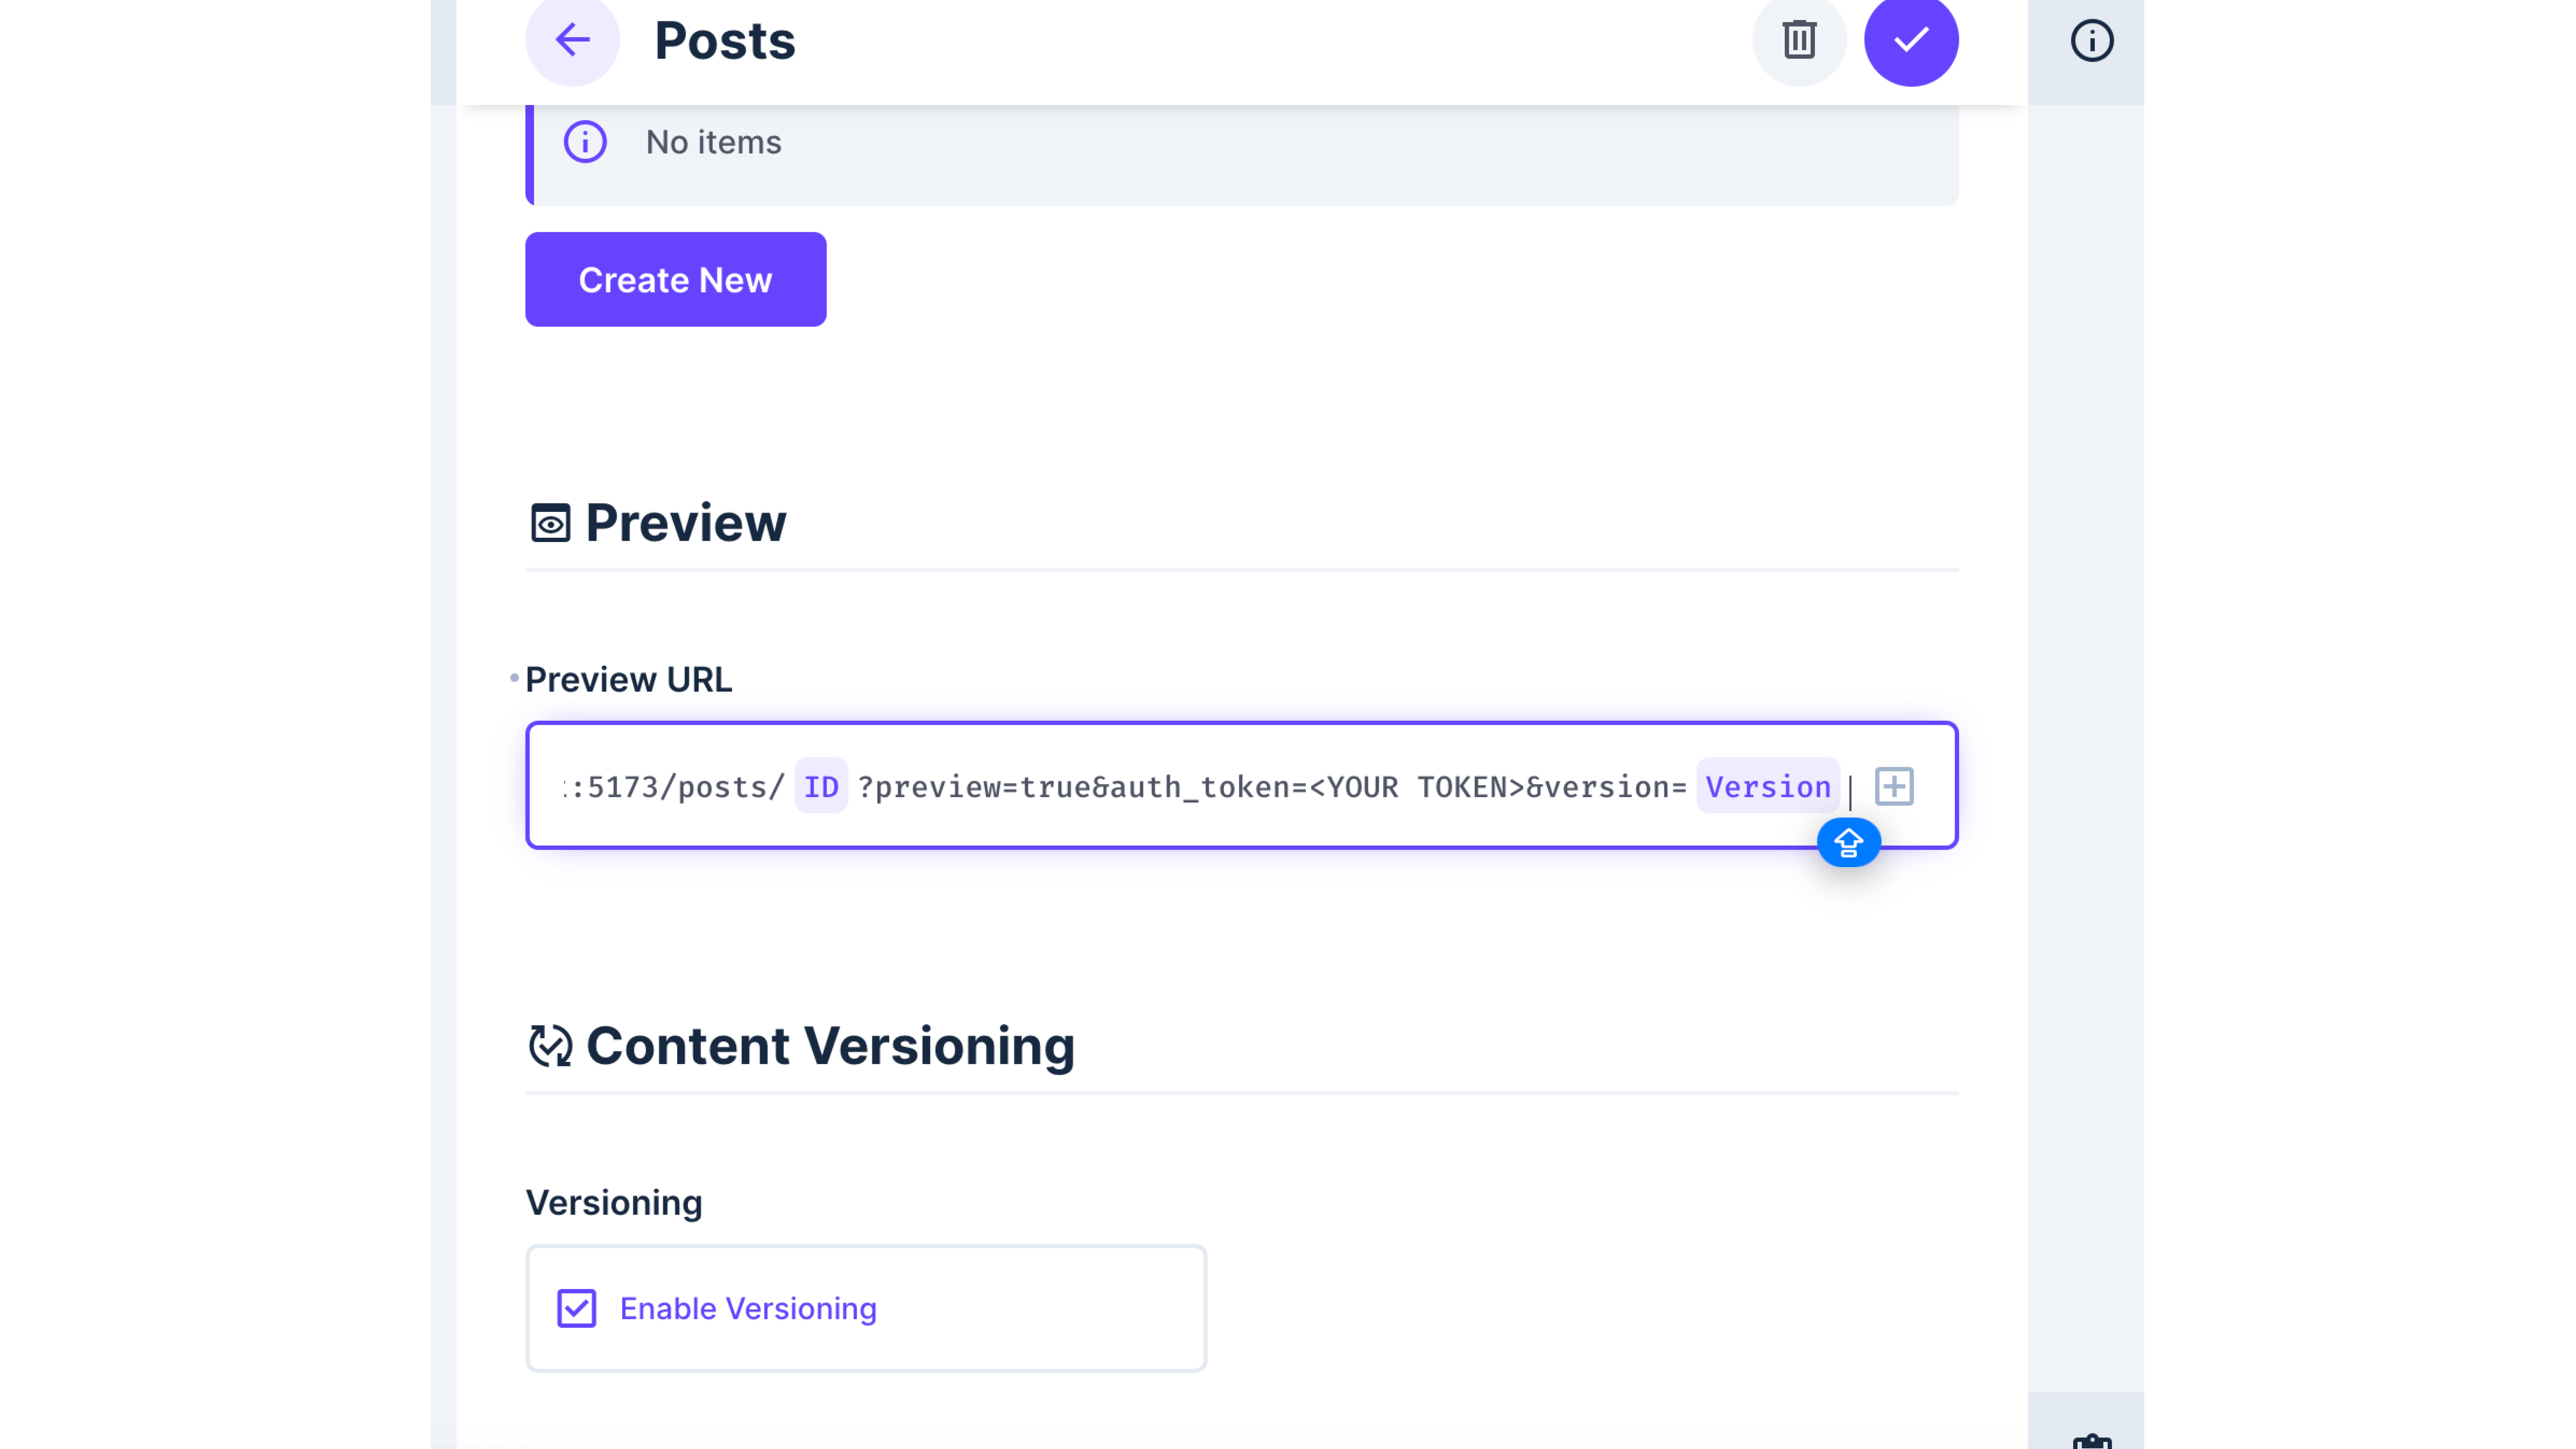
To enable content versioning on your preview, navigate to Settings -> Data Model -> Posts, scroll down to the Content versioning section, and enable versioning.
In your preview URL, add a dynamic version value to it (If you don't see it, save and refresh the Settings -> Post page) by appending &version=
You also need to give the user created above read permissions to the directus_versions system collection, and with that, your application should request the version and display the correct data.
Test the Live Preview
It's time to test the preview functionality.
This will be done by running the Sveltekit application in your development environment and adding content inside your Posts collection in Directus.
Start up your application by running this command:
npm run dev
Once you've started up your application, navigate to: http://localhost:5173/posts1/?preview=true&auth_token=<your_auth_token>
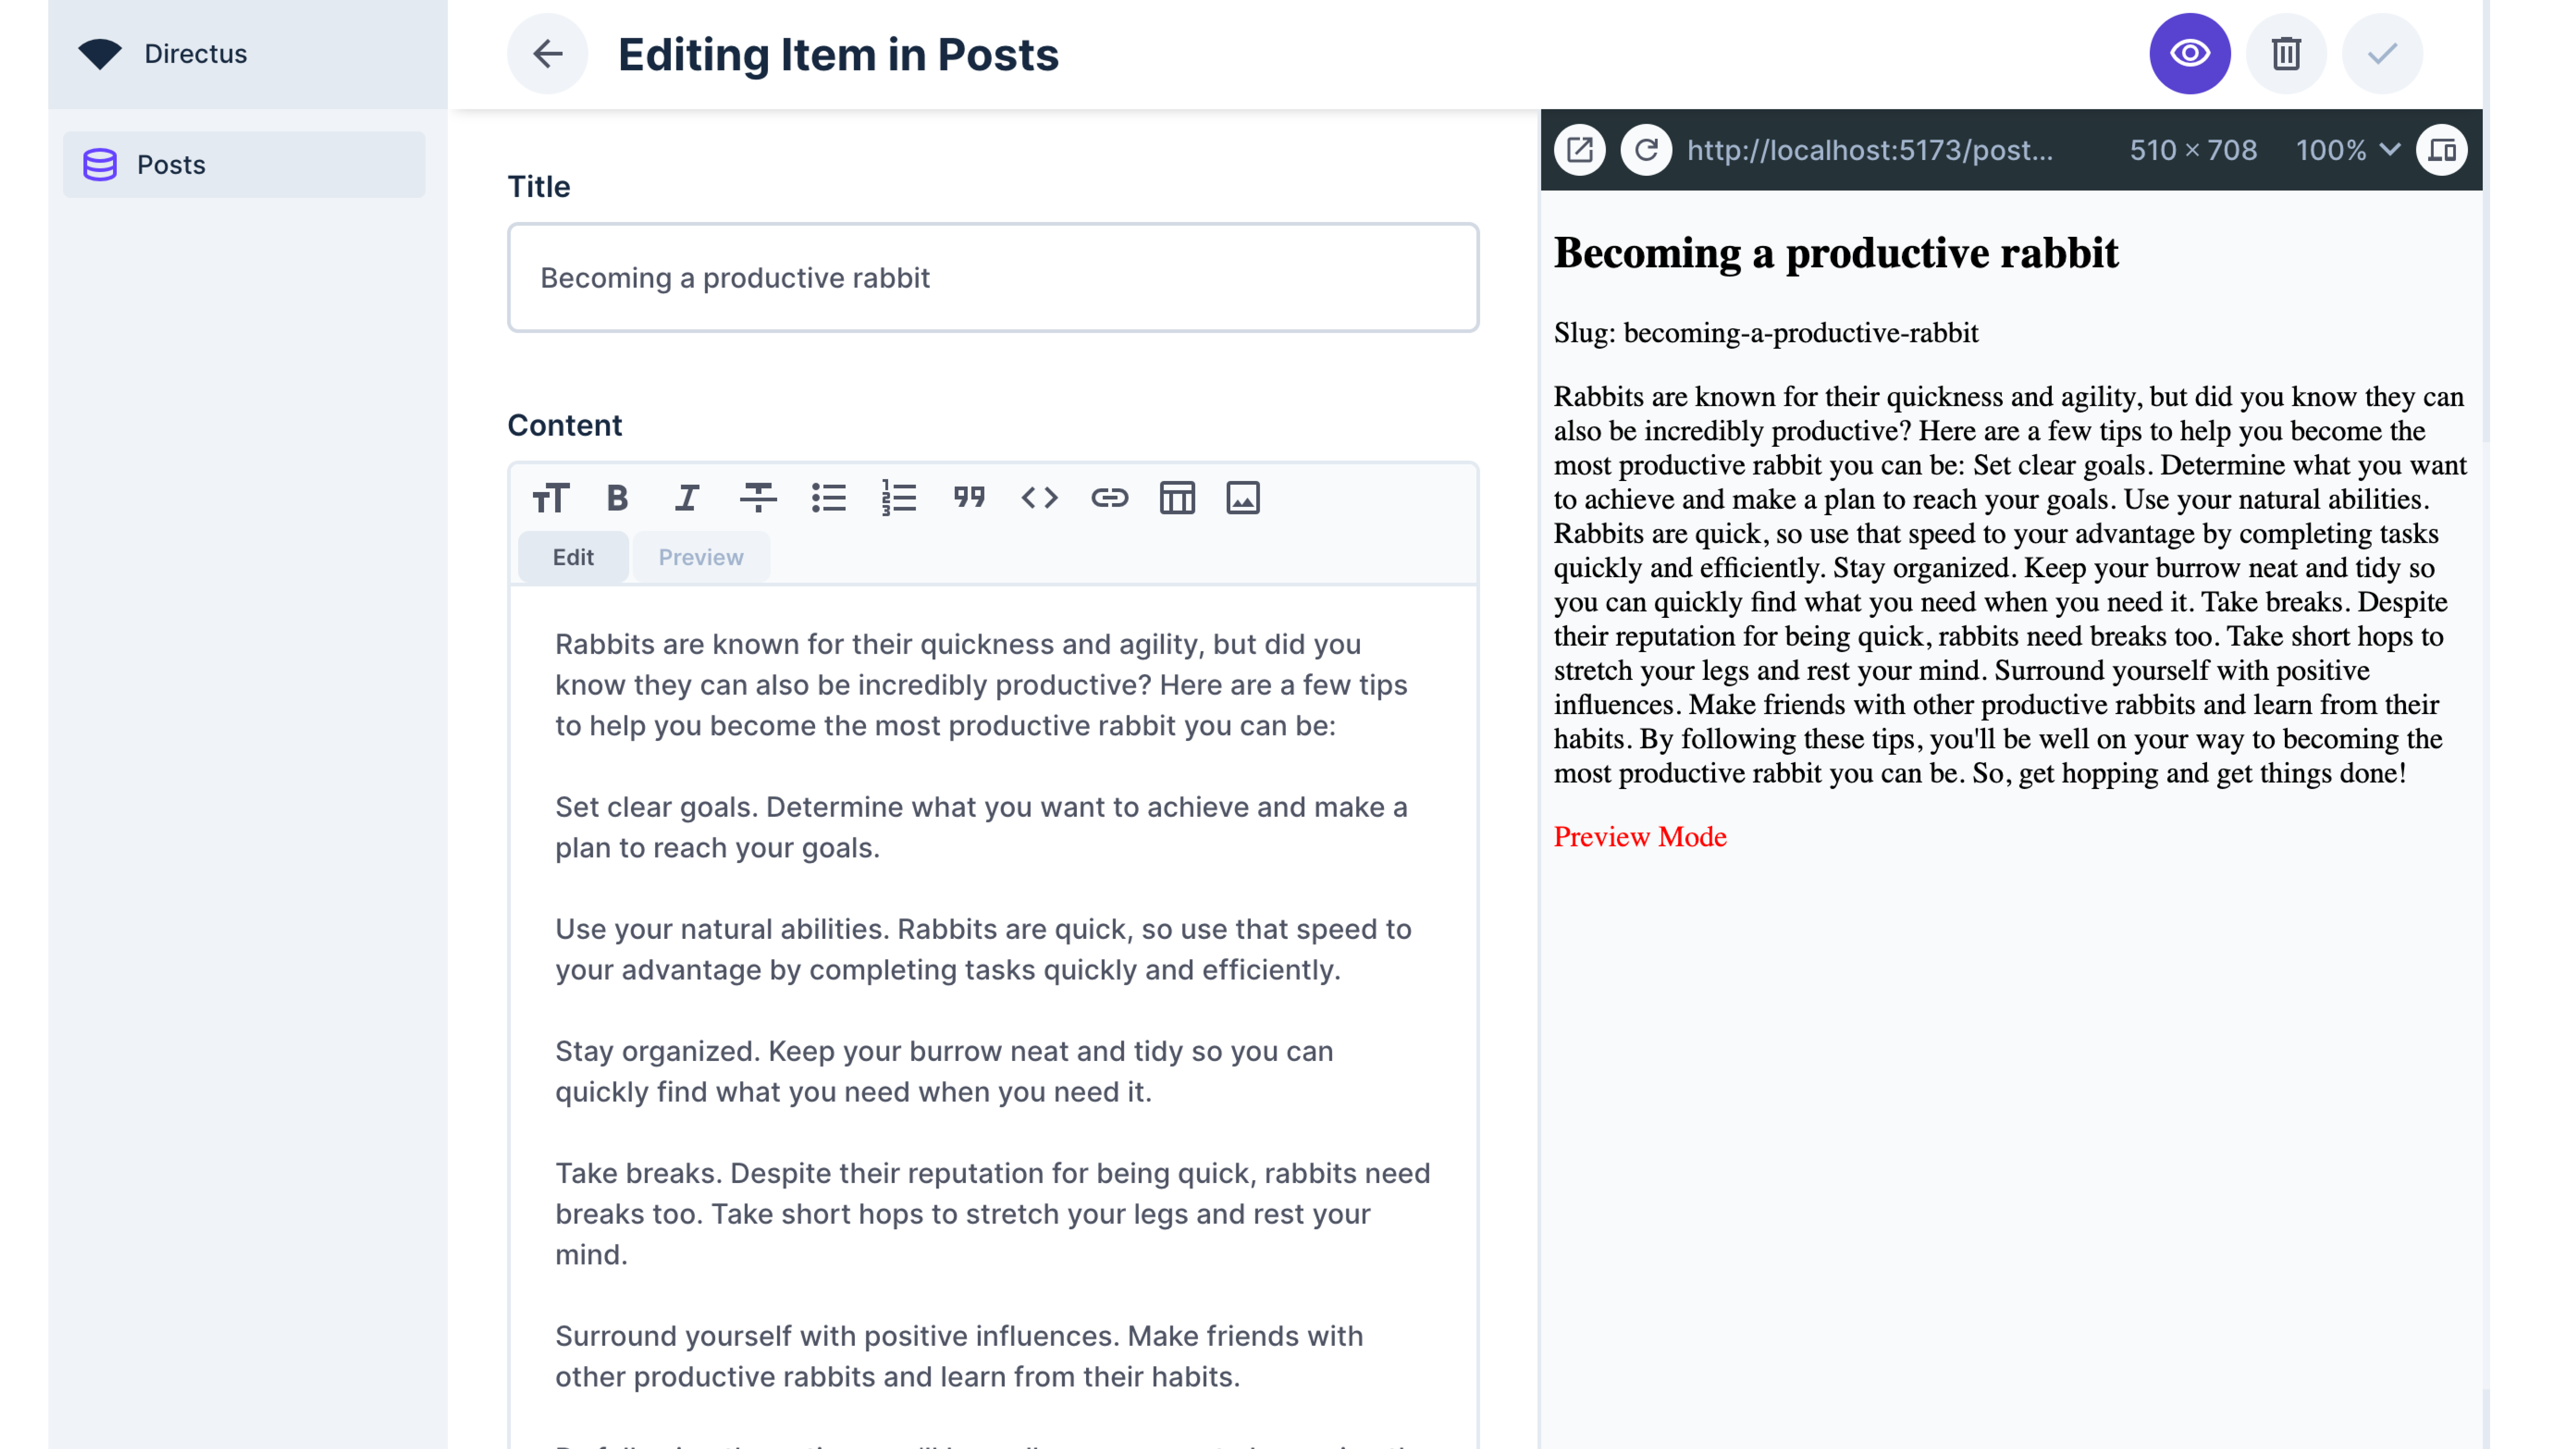
You should see the contents of the post you just created:
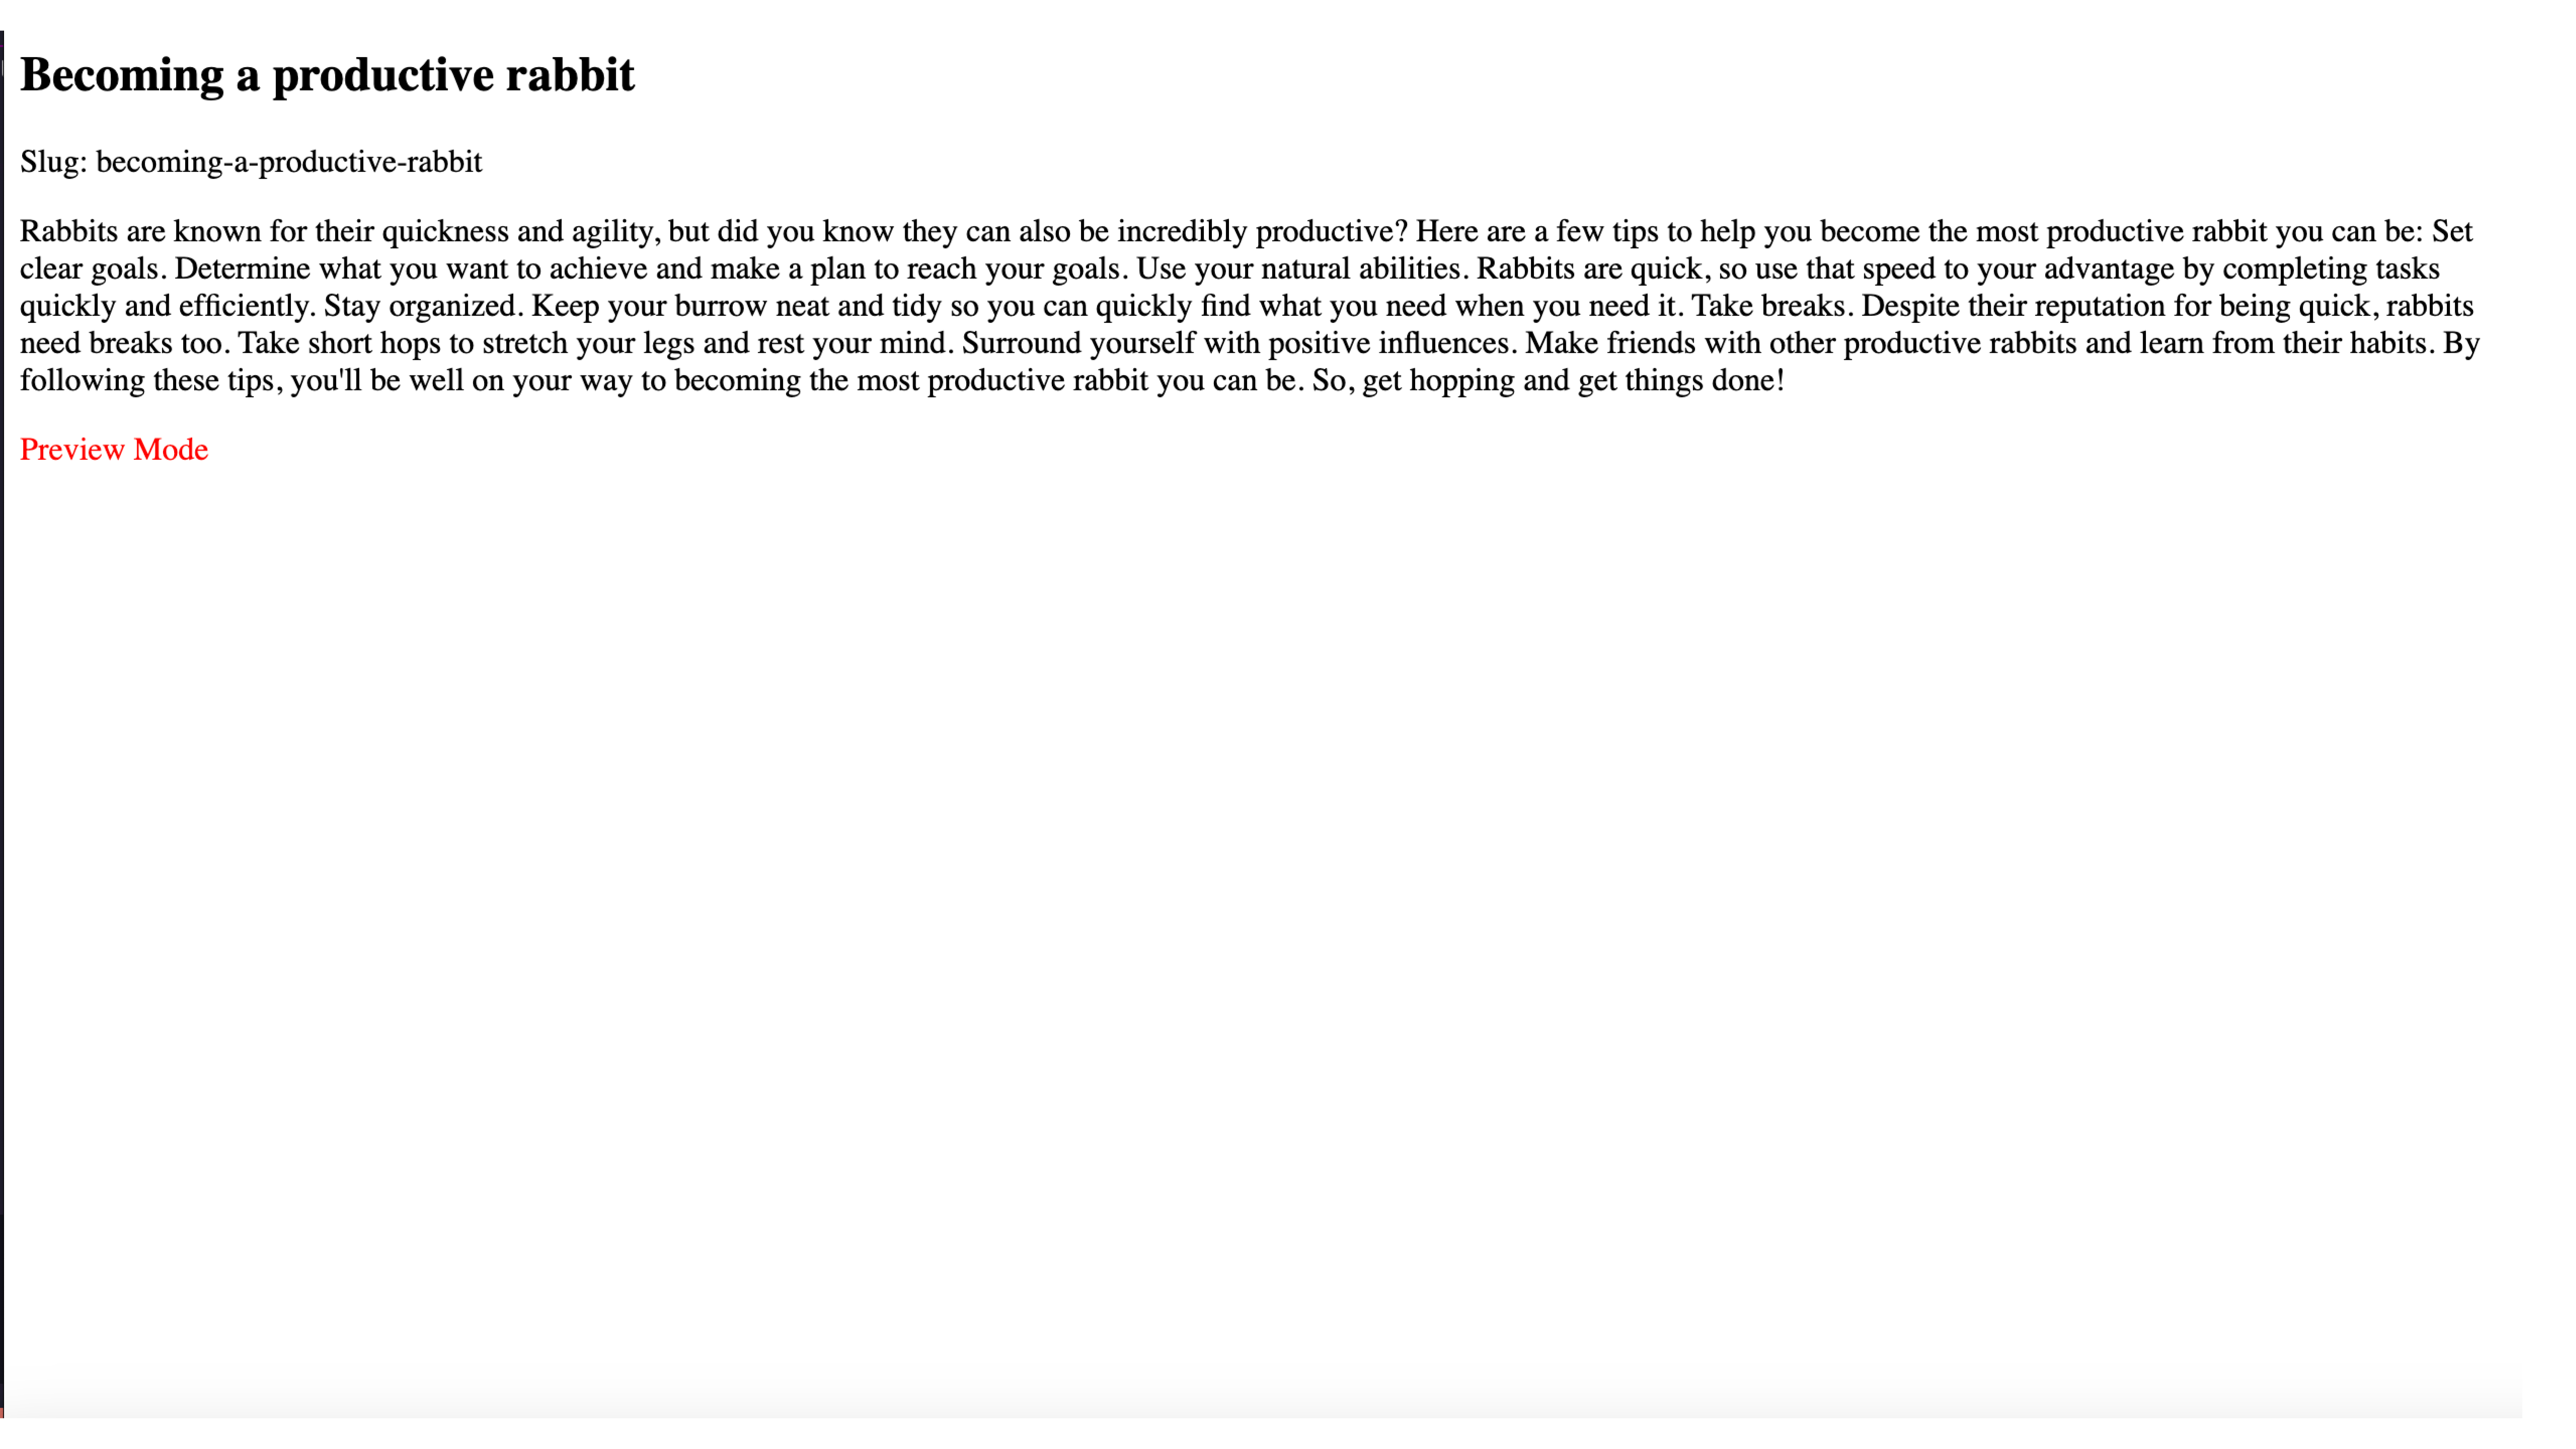
Back in your Directus project, create a post and click the Enable Preview icon. You should see the preview page showing the content of the post.
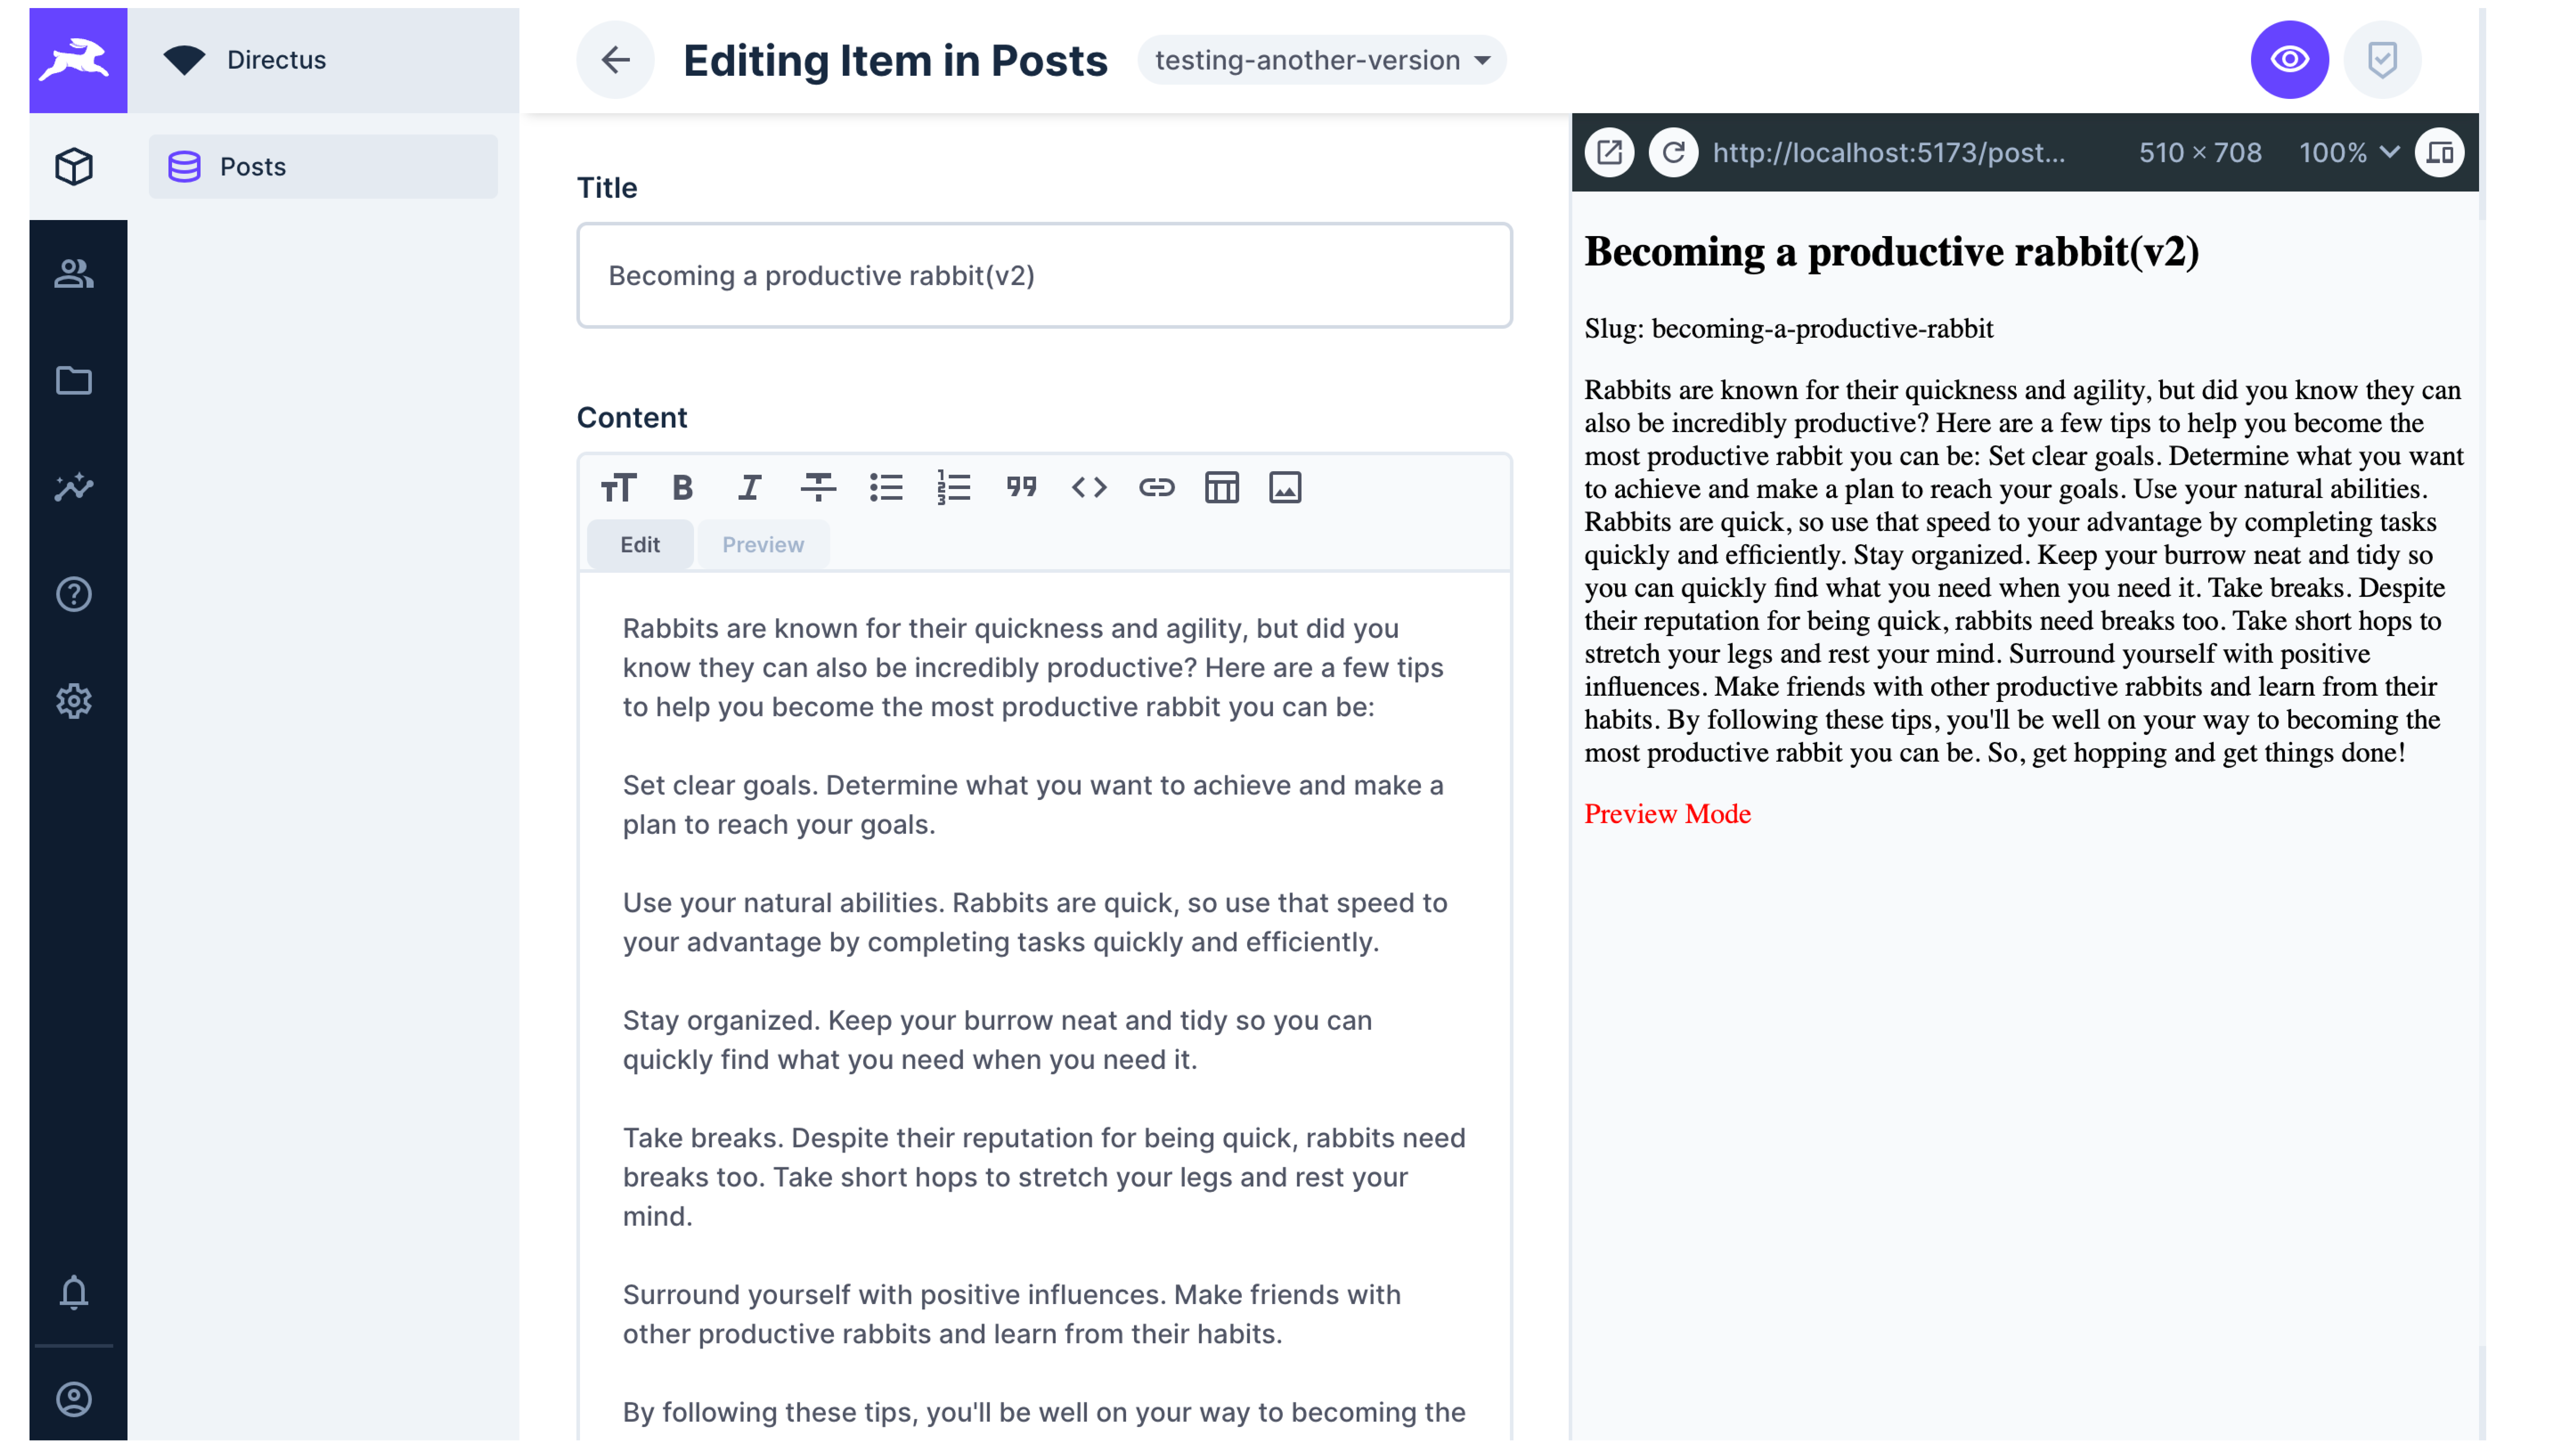
To test with versioning, add a new version of the post and make changes to the content. Your content should be updated in the new version:
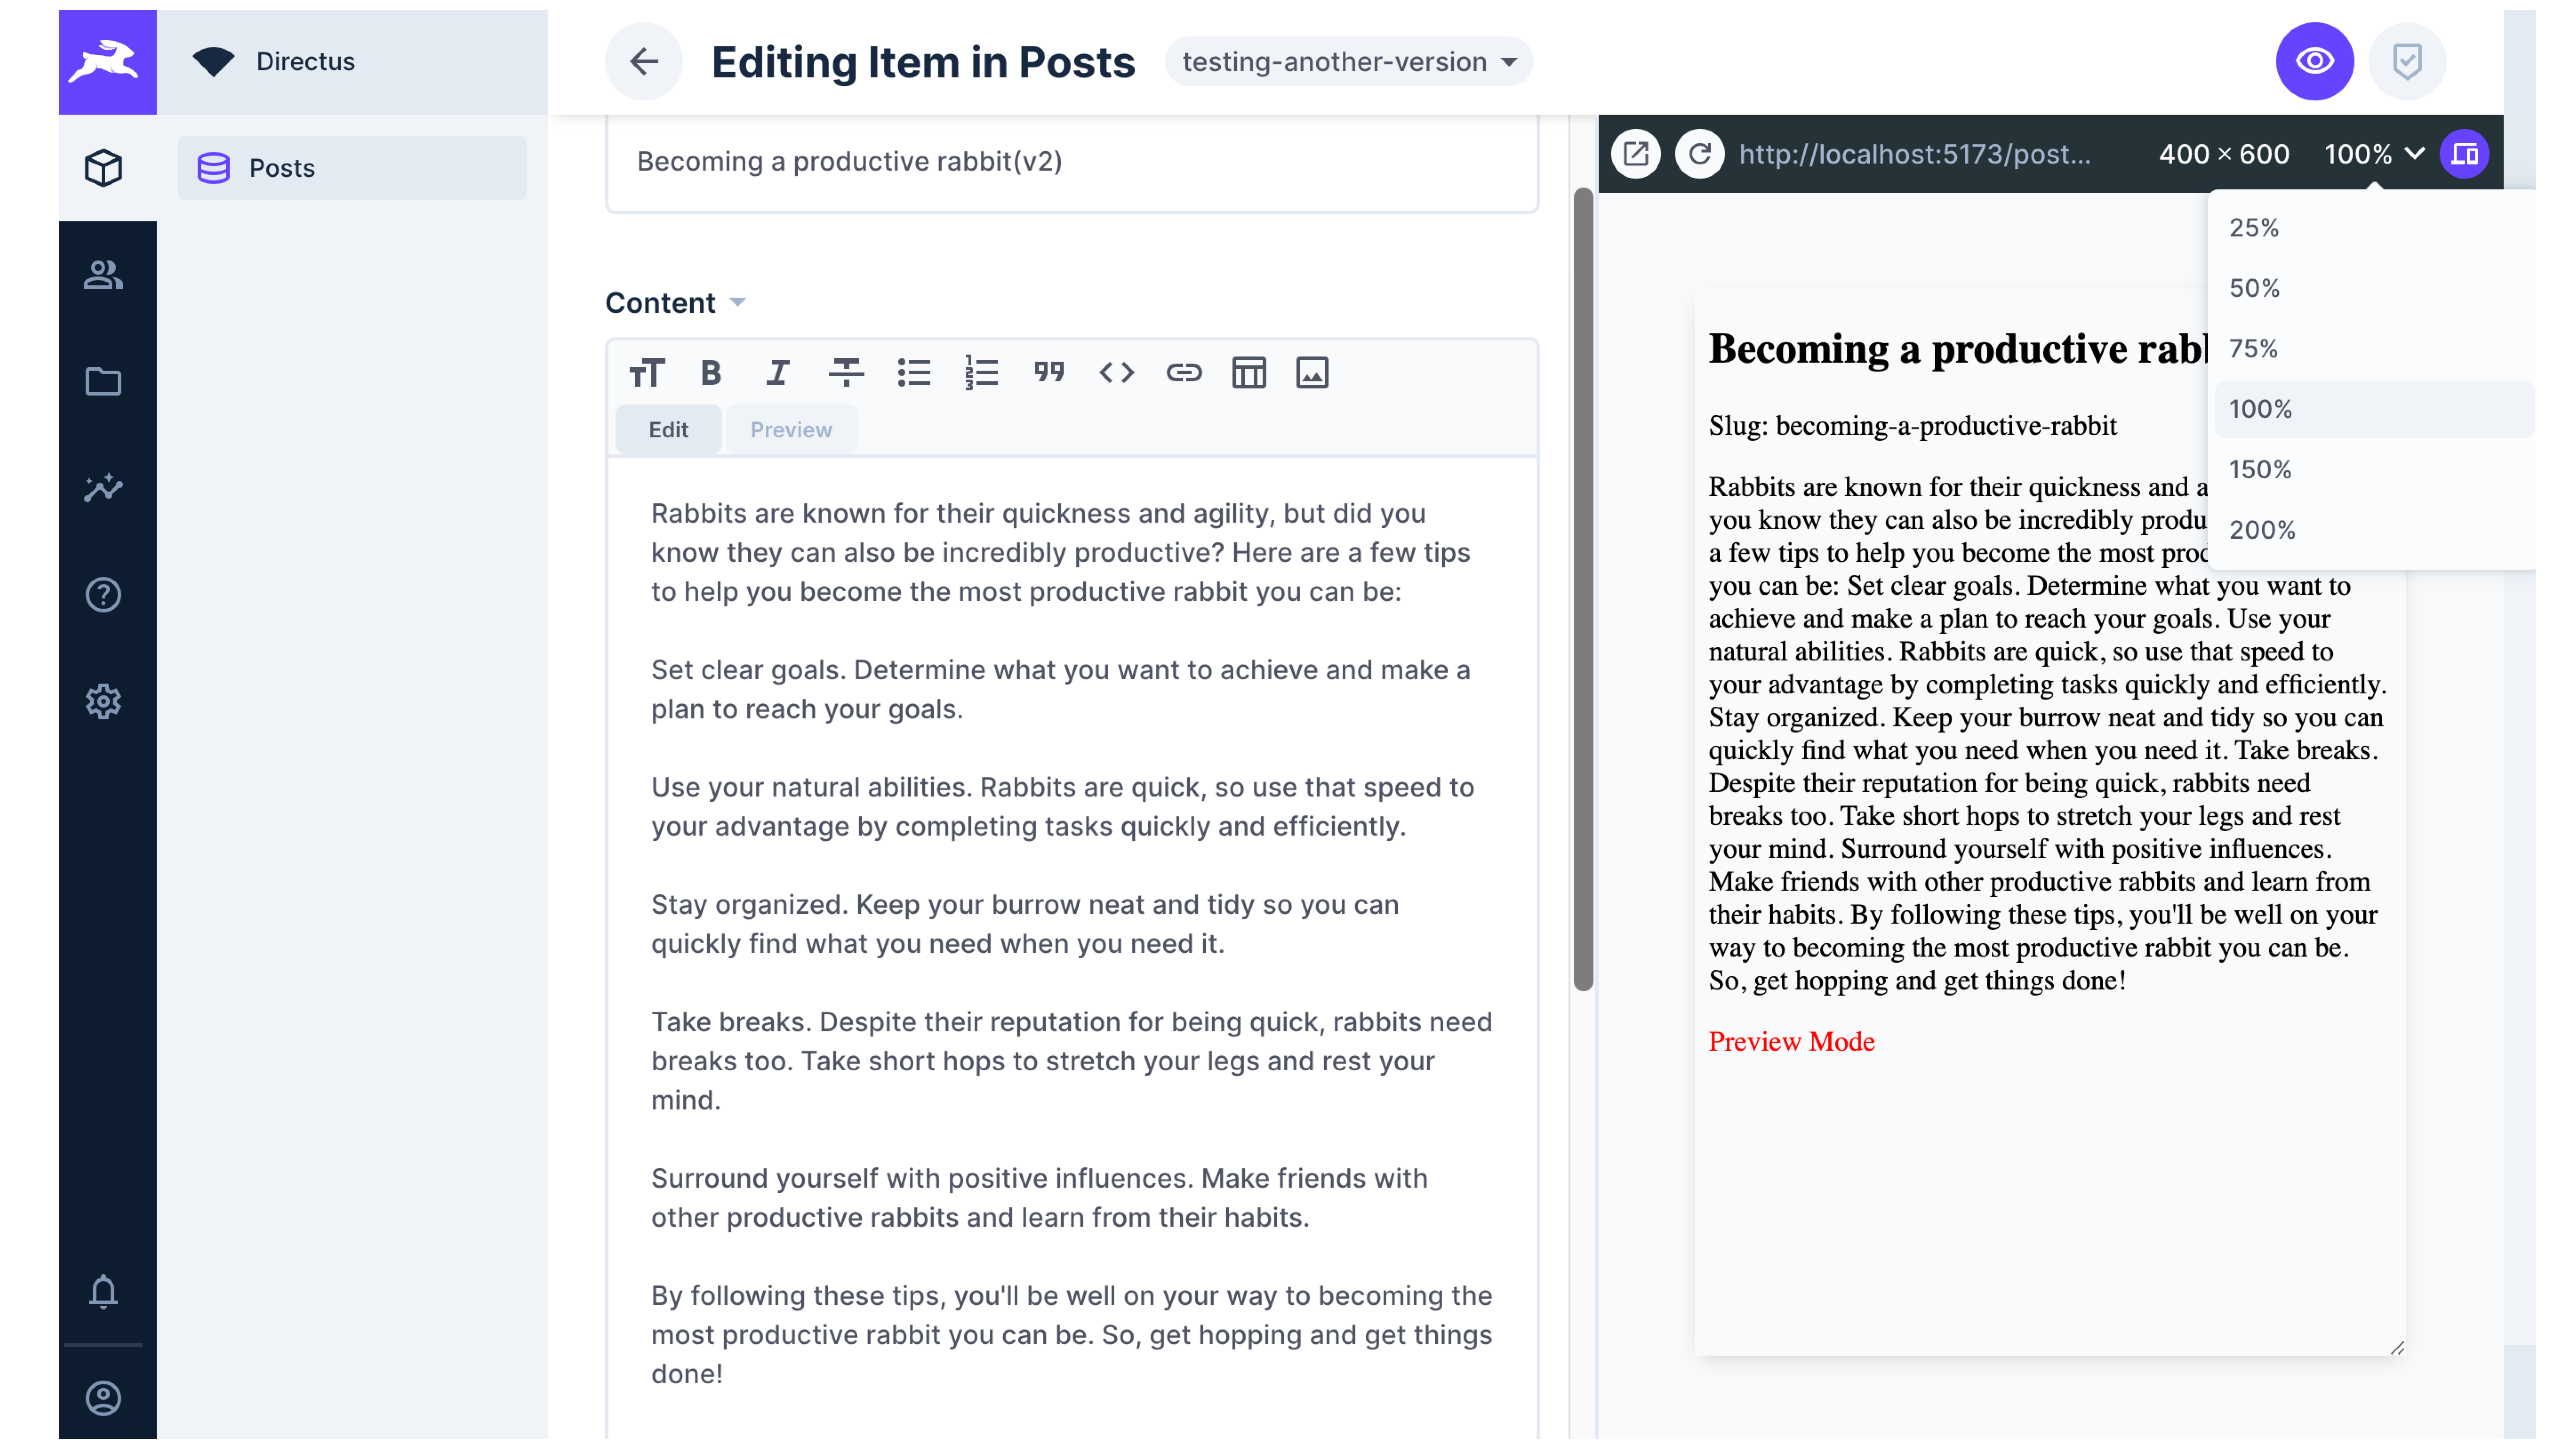
You can also view your preview in different viewports by clicking on "change display dimensions" and testing across different widths and heights:
The code for this tutorial is available on my GitHub repository.
Summary
The live preview feature allows you to communicate with your frontend directly in the Data Studio. Enabling versioning also helps you save and view different versions of your content, which is very handy in several situations. Why don't you give it a try?