Implementing Live Preview in Next.js
Live Preview can be enabled in Directus Editor and allows content authors to see their changes directly in the Data Studio. It can be combined with content versioning to preview pre-published content. In this tutorial, you'll learn how to implement Live Preview in your Next.js application.
Before You Start
You will need:
- A Directus project with admin access.
- Fundamental understanding of Next.js concepts.
- Optional but recommended: Familiarity with data modeling in Directus.
Set Up Your Directus Project
Create a Collection
Create a new collection called posts with the following fields:
title(Type: String)content(Type: markdown)slug(Type: String)published(Type: Boolean)
In the data model settings for the new collections, enable Live Preview with the following URL pattern: http://your-website-url/[id]?preview=true. [id] is a template value that can be added by clicking the INLINE_ICON_COMPONENT_WITH_VALUE_PREFILLED icon.
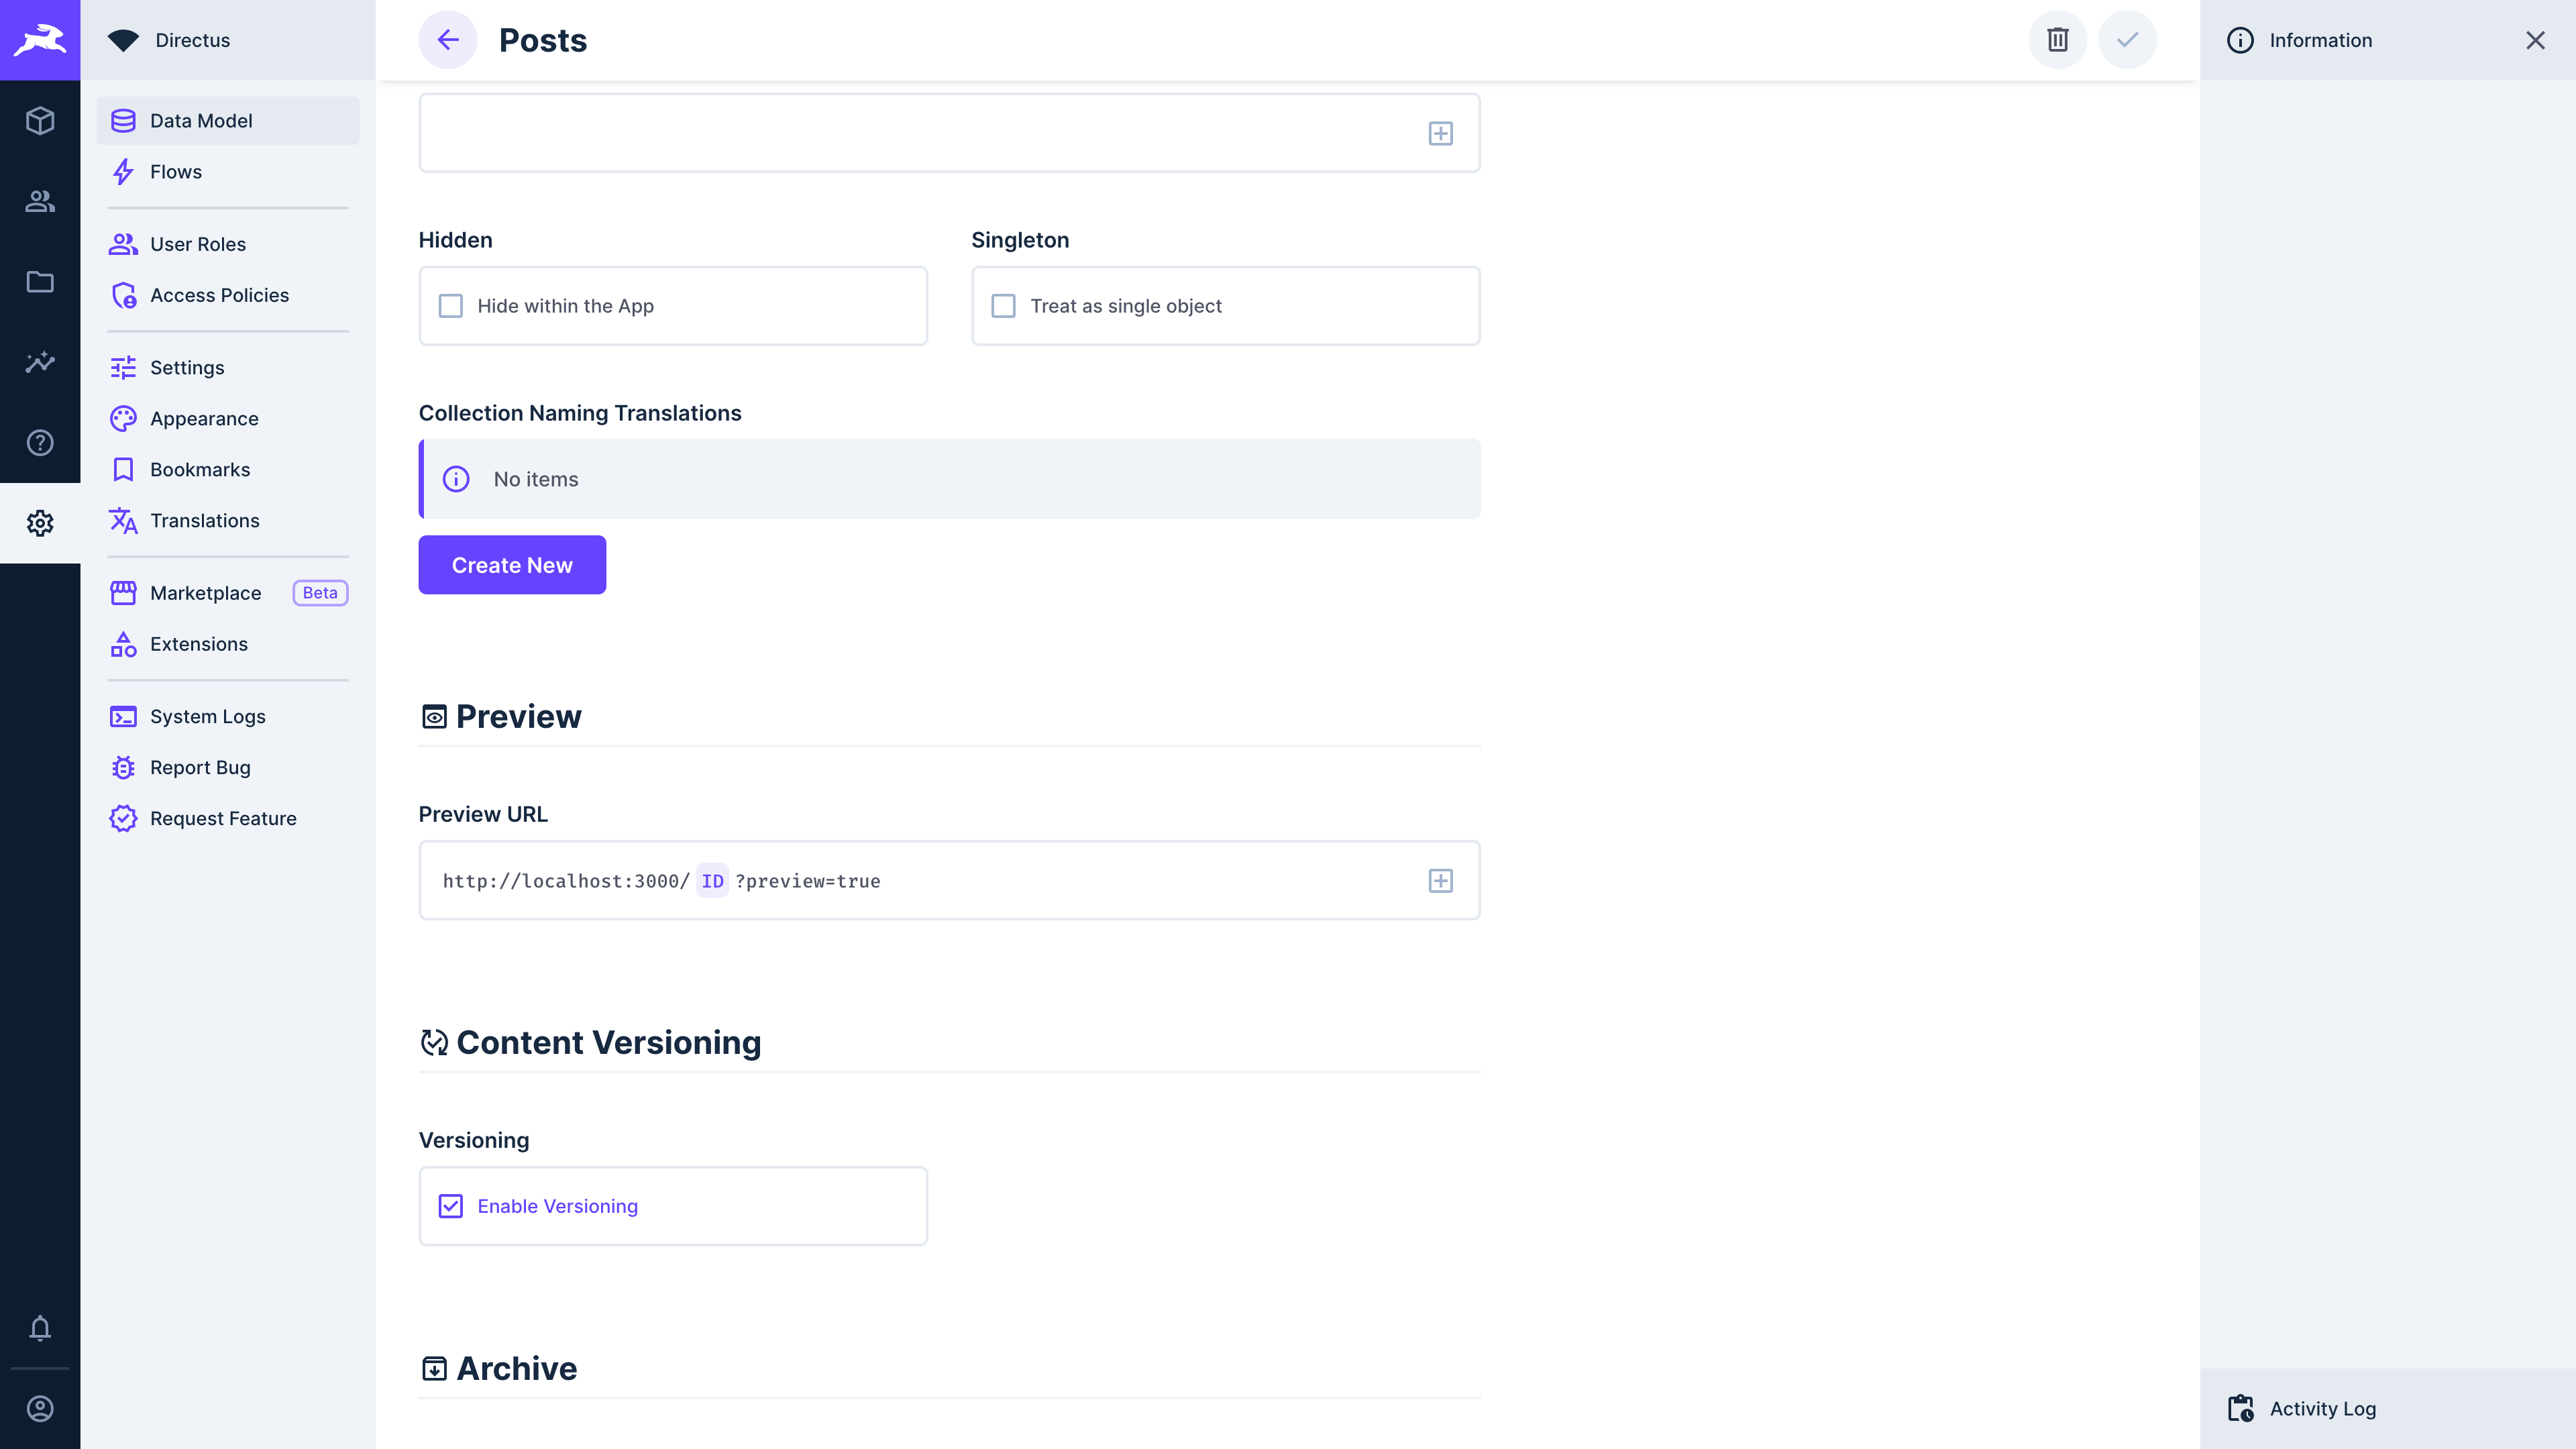
This value will be dynamic based on the specific item page you are on.
Create a sample post to work with:
title: Becoming a productive rabbit.slug: becoming-a-productive-rabbitpublished:truecontent: Rabbits are known for their quickness and agility, but did you know they can also be incredibly productive? Here are a few tips to help you become the most productive rabbit you can be: Set clear goals. Determine what you want to achieve and make a plan to reach your goals. Use your natural abilities. Rabbits are quick, so use that speed to your advantage by completing tasks quickly and efficiently. Stay organized. Keep your burrow neat and tidy so you can quickly find what you need when you need it. Take breaks. Despite their reputation for being quick, rabbits need breaks too. Take short hops to stretch your legs and rest your mind. Surround yourself with positive influences. Make friends with other productive rabbits and learn from their habits. By following these tips, you'll be well on your way to becoming the most productive rabbit you can be. So, get hopping and get things done!
Edit Public Policy
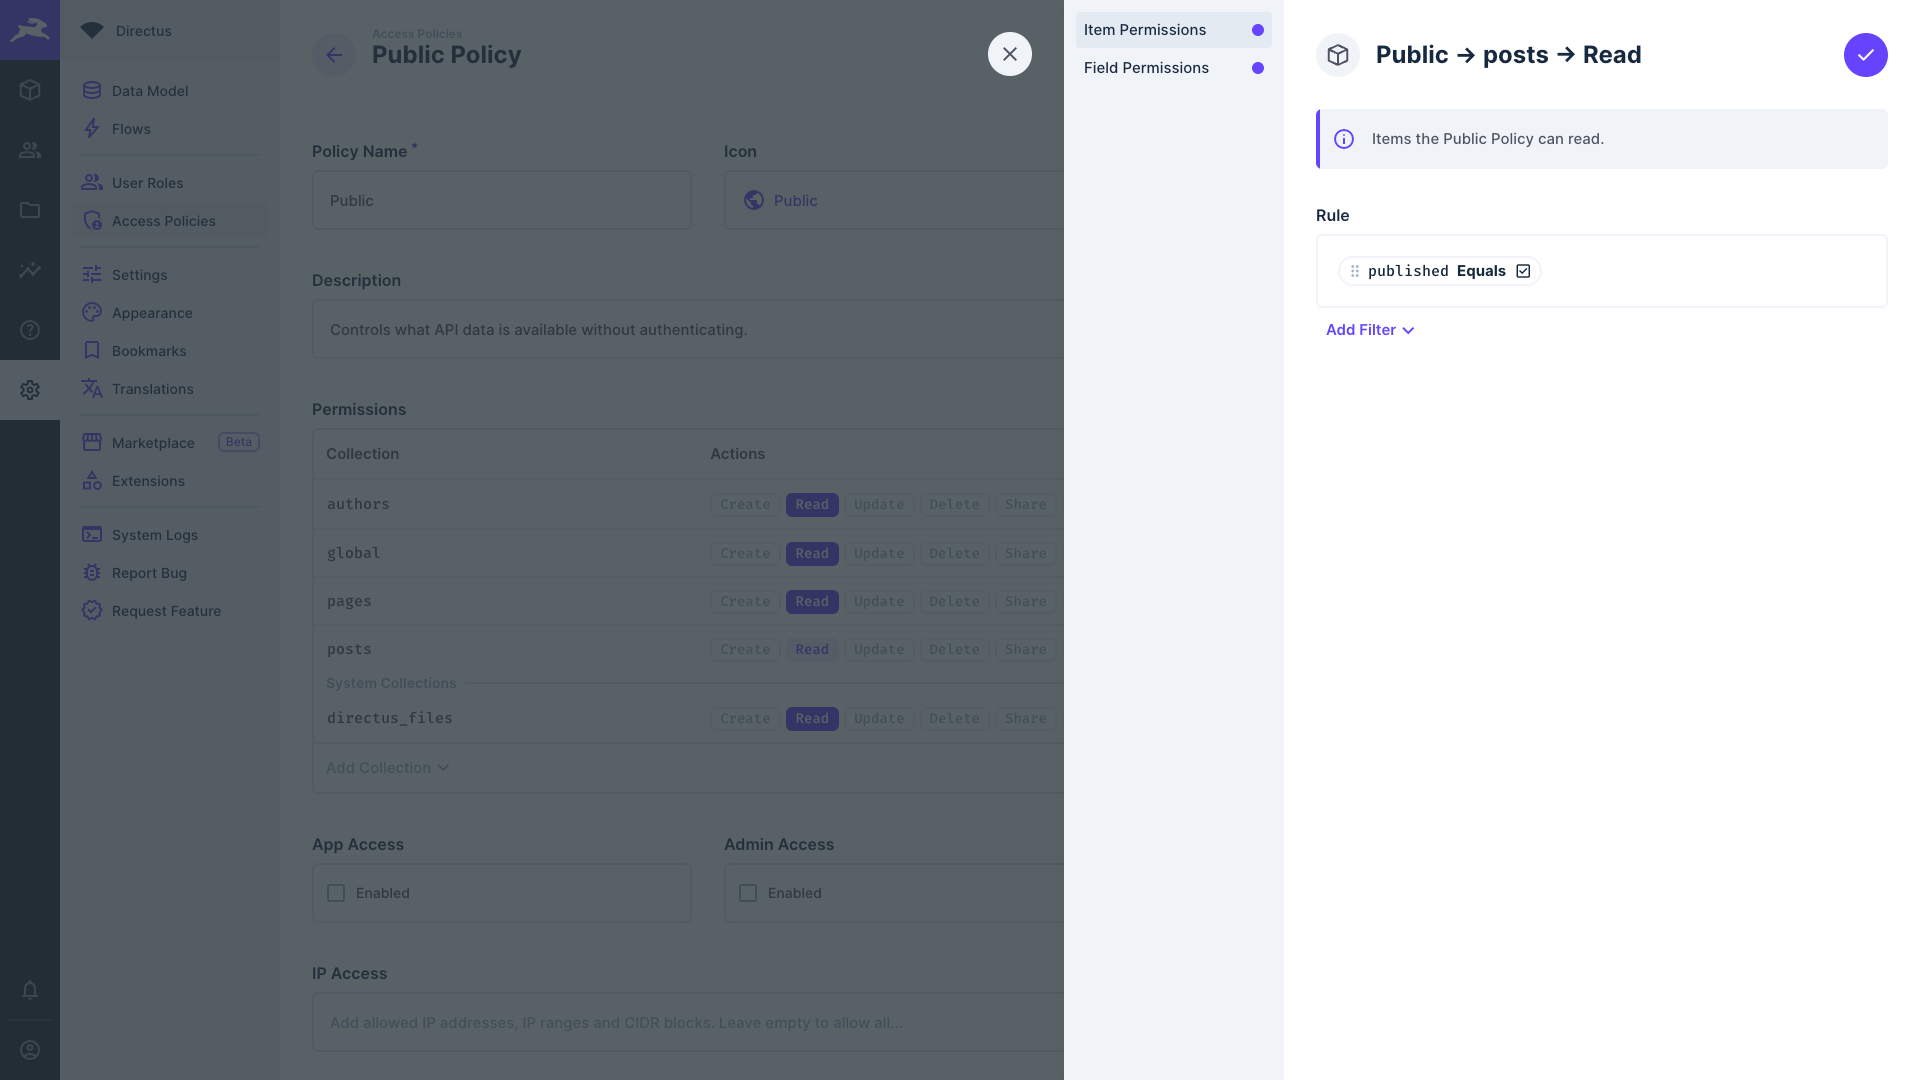
For the purposes of this Directus project, only posts with published set to true will be publicly visible.
In order to do that, navigate to the settings module, then to Access Policies, and the Public policy. Add the posts collection, set a custom policy for read access. Set a filter for only viewing posts where their published field is set to true.
Set Up Access to Live Preview
Add the following to your Directus project's environment variables:
CONTENT_SECURITY_POLICY_DIRECTIVES__FRAME_SRC: "http://localhost:3000"
Set Up Your Next.js Project
Initialize Your Project
Create a new Next.js application using create-next-app:
Use create-next-app to initialize the project:
npx create-next-app@latest next-live-preview
cd next-live-preview
Install the Directus SDK by running the following:
npm install @directus/sdk.
Initialize the Directus SDK:
import { createDirectus, rest } from '@directus/sdk';
const client = createDirectus('directus_project_url').with(rest());
Configure your Project
Create a new file at ./lib/directus.ts with the following contents:
import {
  createDirectus,
  readItem,
  readItems,
  rest,
  withToken,
} from '@directus/sdk';

const directus = createDirectus<DirectusSchema>("http://localhost:8055").with(rest());

export { directus, readItem, readItems, withToken };
This sets up a Directus client using the SDK that you will import into your pages later on, along with the necessary methods for retrieving posts.
Implement Preview Mode
Create a new file at ./posts/[slug]/page.tsx with the following contents:
import { directus, readItems } from '@/lib/directus';

export default async function Page({
  params,
}: {
  params: Promise<{ slug: string }>;
}) {
  const slug = (await params).slug;

  const posts = await directus.request(readItems('posts', {
    filter: {
            slug: { _eq: slug }
        },
        fields: ['id', 'title', 'content', 'slug', 'published'],
        limit: 1
  }));

  const post = posts[0];

  return (
    <>
      <h1>{post.title}</h1>
      <div dangerouslySetInnerHTML={{ __html: post.content }} />
    </>
  );
}
The above page component takes a slug as a parameter in order to display the post.
It then uses the Directus SDK to retrieve the post with that slug and displays it accordingly.
Given that this is using public access to the post, only published ones can be accessed.
Try it out! Fire up your application with npm run dev and navigate to http://localhost:3000/posts/becoming-a-productive-rabbit.
Non-Public Content
To be able to access non-public posts in preview mode, create a new user and generate a token for said user, which will allow them to all posts.
In order to do so, create a new role, titled Editor.
Next, create a policy for the Editor role called "Can view drafts with token". and give the role access to read all posts and directus_versions.
Back in your Next.js project, create the a new file, ./posts/preview/[id]/page.tsx with the following contents:
import { directus, readItem, withToken } from '@/lib/directus';
import { redirect } from 'next/navigation';

export default async function Page({
  params, searchParams
}: {
  params: Promise<{ id: string}>;
  searchParams: Promise<{ preview: boolean, token: string, version: string | undefined }>;
}) {
  const id = (await params).id;
  const {preview, token, version} = (await searchParams)


  const post = await directus.request(withToken(token, readItem('posts', id, {
    fields: ['id', 'title', 'content', 'slug'],
    ...(version && { version }),
  })));

  if (!preview) {
    redirect(`/posts/${post.slug}`);
  }

  return (
    <>
      <h1>{post.title}</h1>
      <div dangerouslySetInnerHTML={{ __html: post.content }} />
    </>
  );
}
The above page component sets up to expect the post's id as a parameter, and the following search parameters:
preview: whether the page is a live preview.token: the authentication token for accessing the post data.version: the content version of the post`. This will be covered in a later section.
After retrieving the parameters, the page loads the post by its id from the Directus project, along with its title, slug and content fields. If a version is specified, then that specific version will be retrieved (covered lower down).
If the preview boolean is not set, then the application will redirect to the public post display page.
Live Preview & Content Versioning
In this section, you will implement live preview for Directus' content versioning.
Back in your Directus project, navigate to the Settings module and select the posts collection.
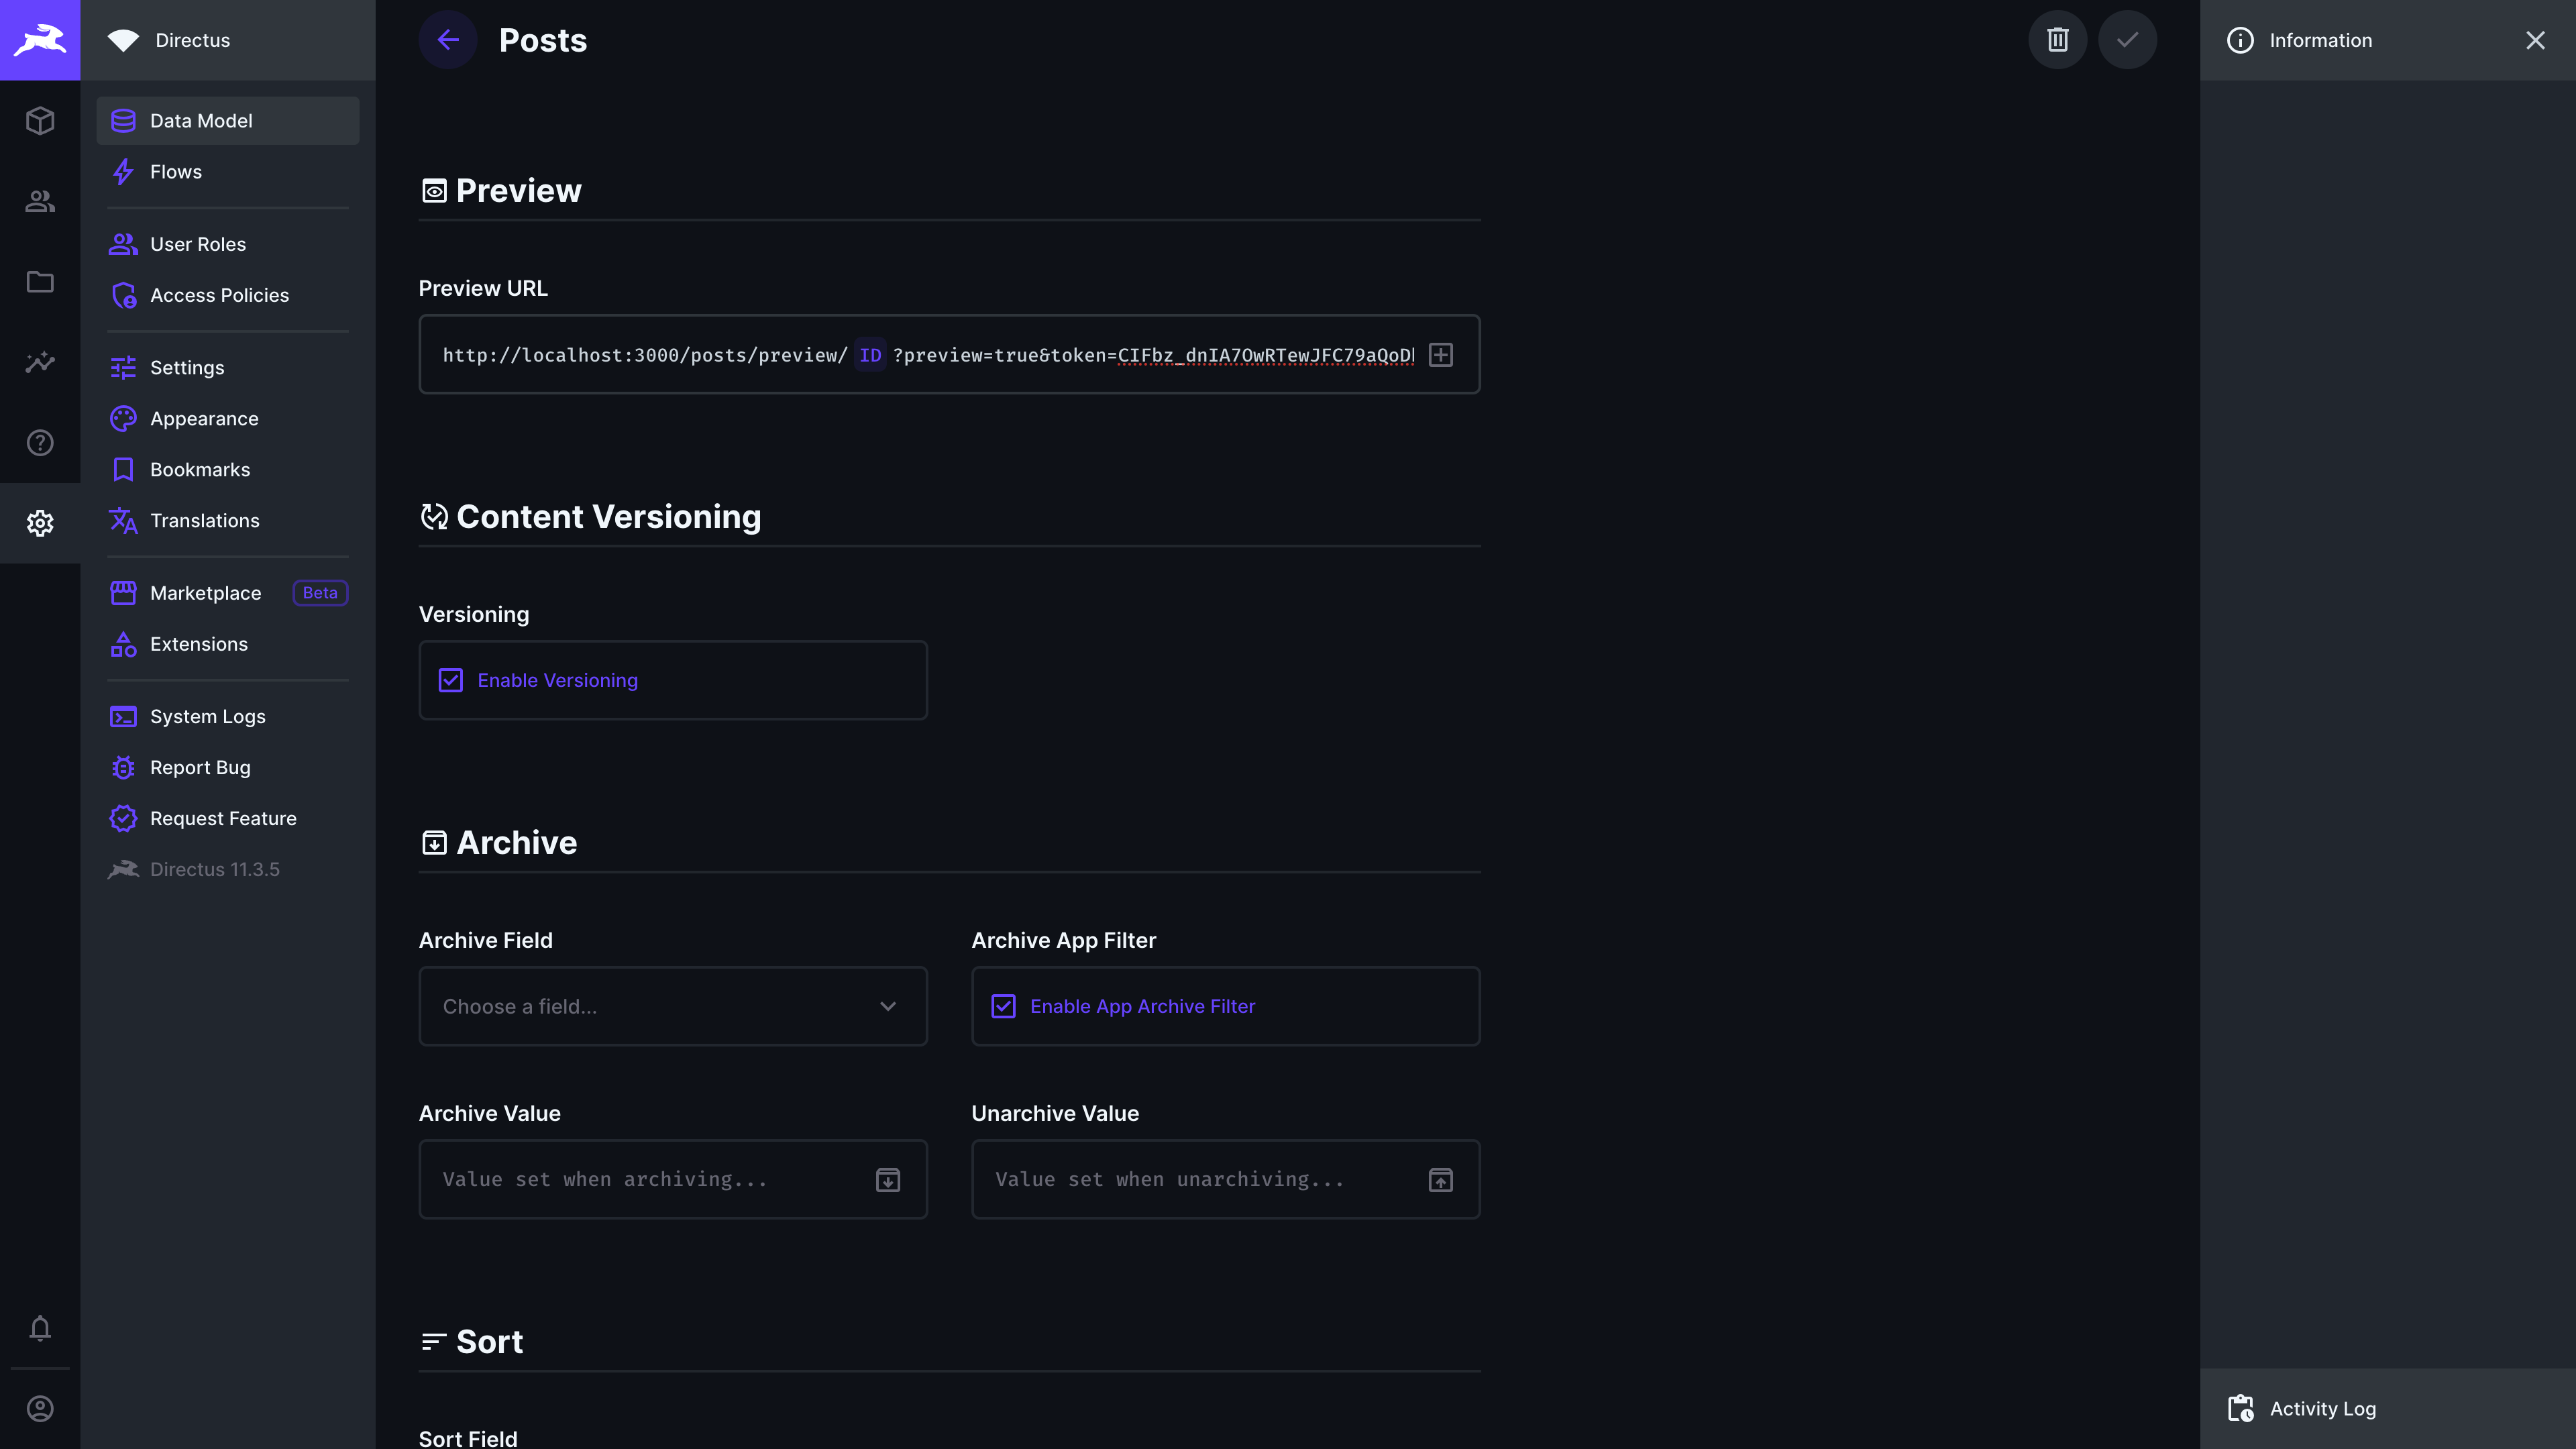
Scroll down, and activate "Content Versioning". Under "Preview URL", set the following:
http://localhost:3000/posts/preview/[id]?preview=true&token=<YOUR_GENERATED_TOKEN>&version=[version]
Back in the content module, create a new version of your post.
Testing Live Preview
Back in your running Next.js application, navigate to the following URL:
http://localhost:3000/posts/preview/<YOUR_POSTS_ID>?preview=true&token=<YOUR_GENERATED_TOKEN>
You should now see the post contents.
Try it in Directus. Open the content module and your post. Click on the live preview icon to see your post and editor side by side.
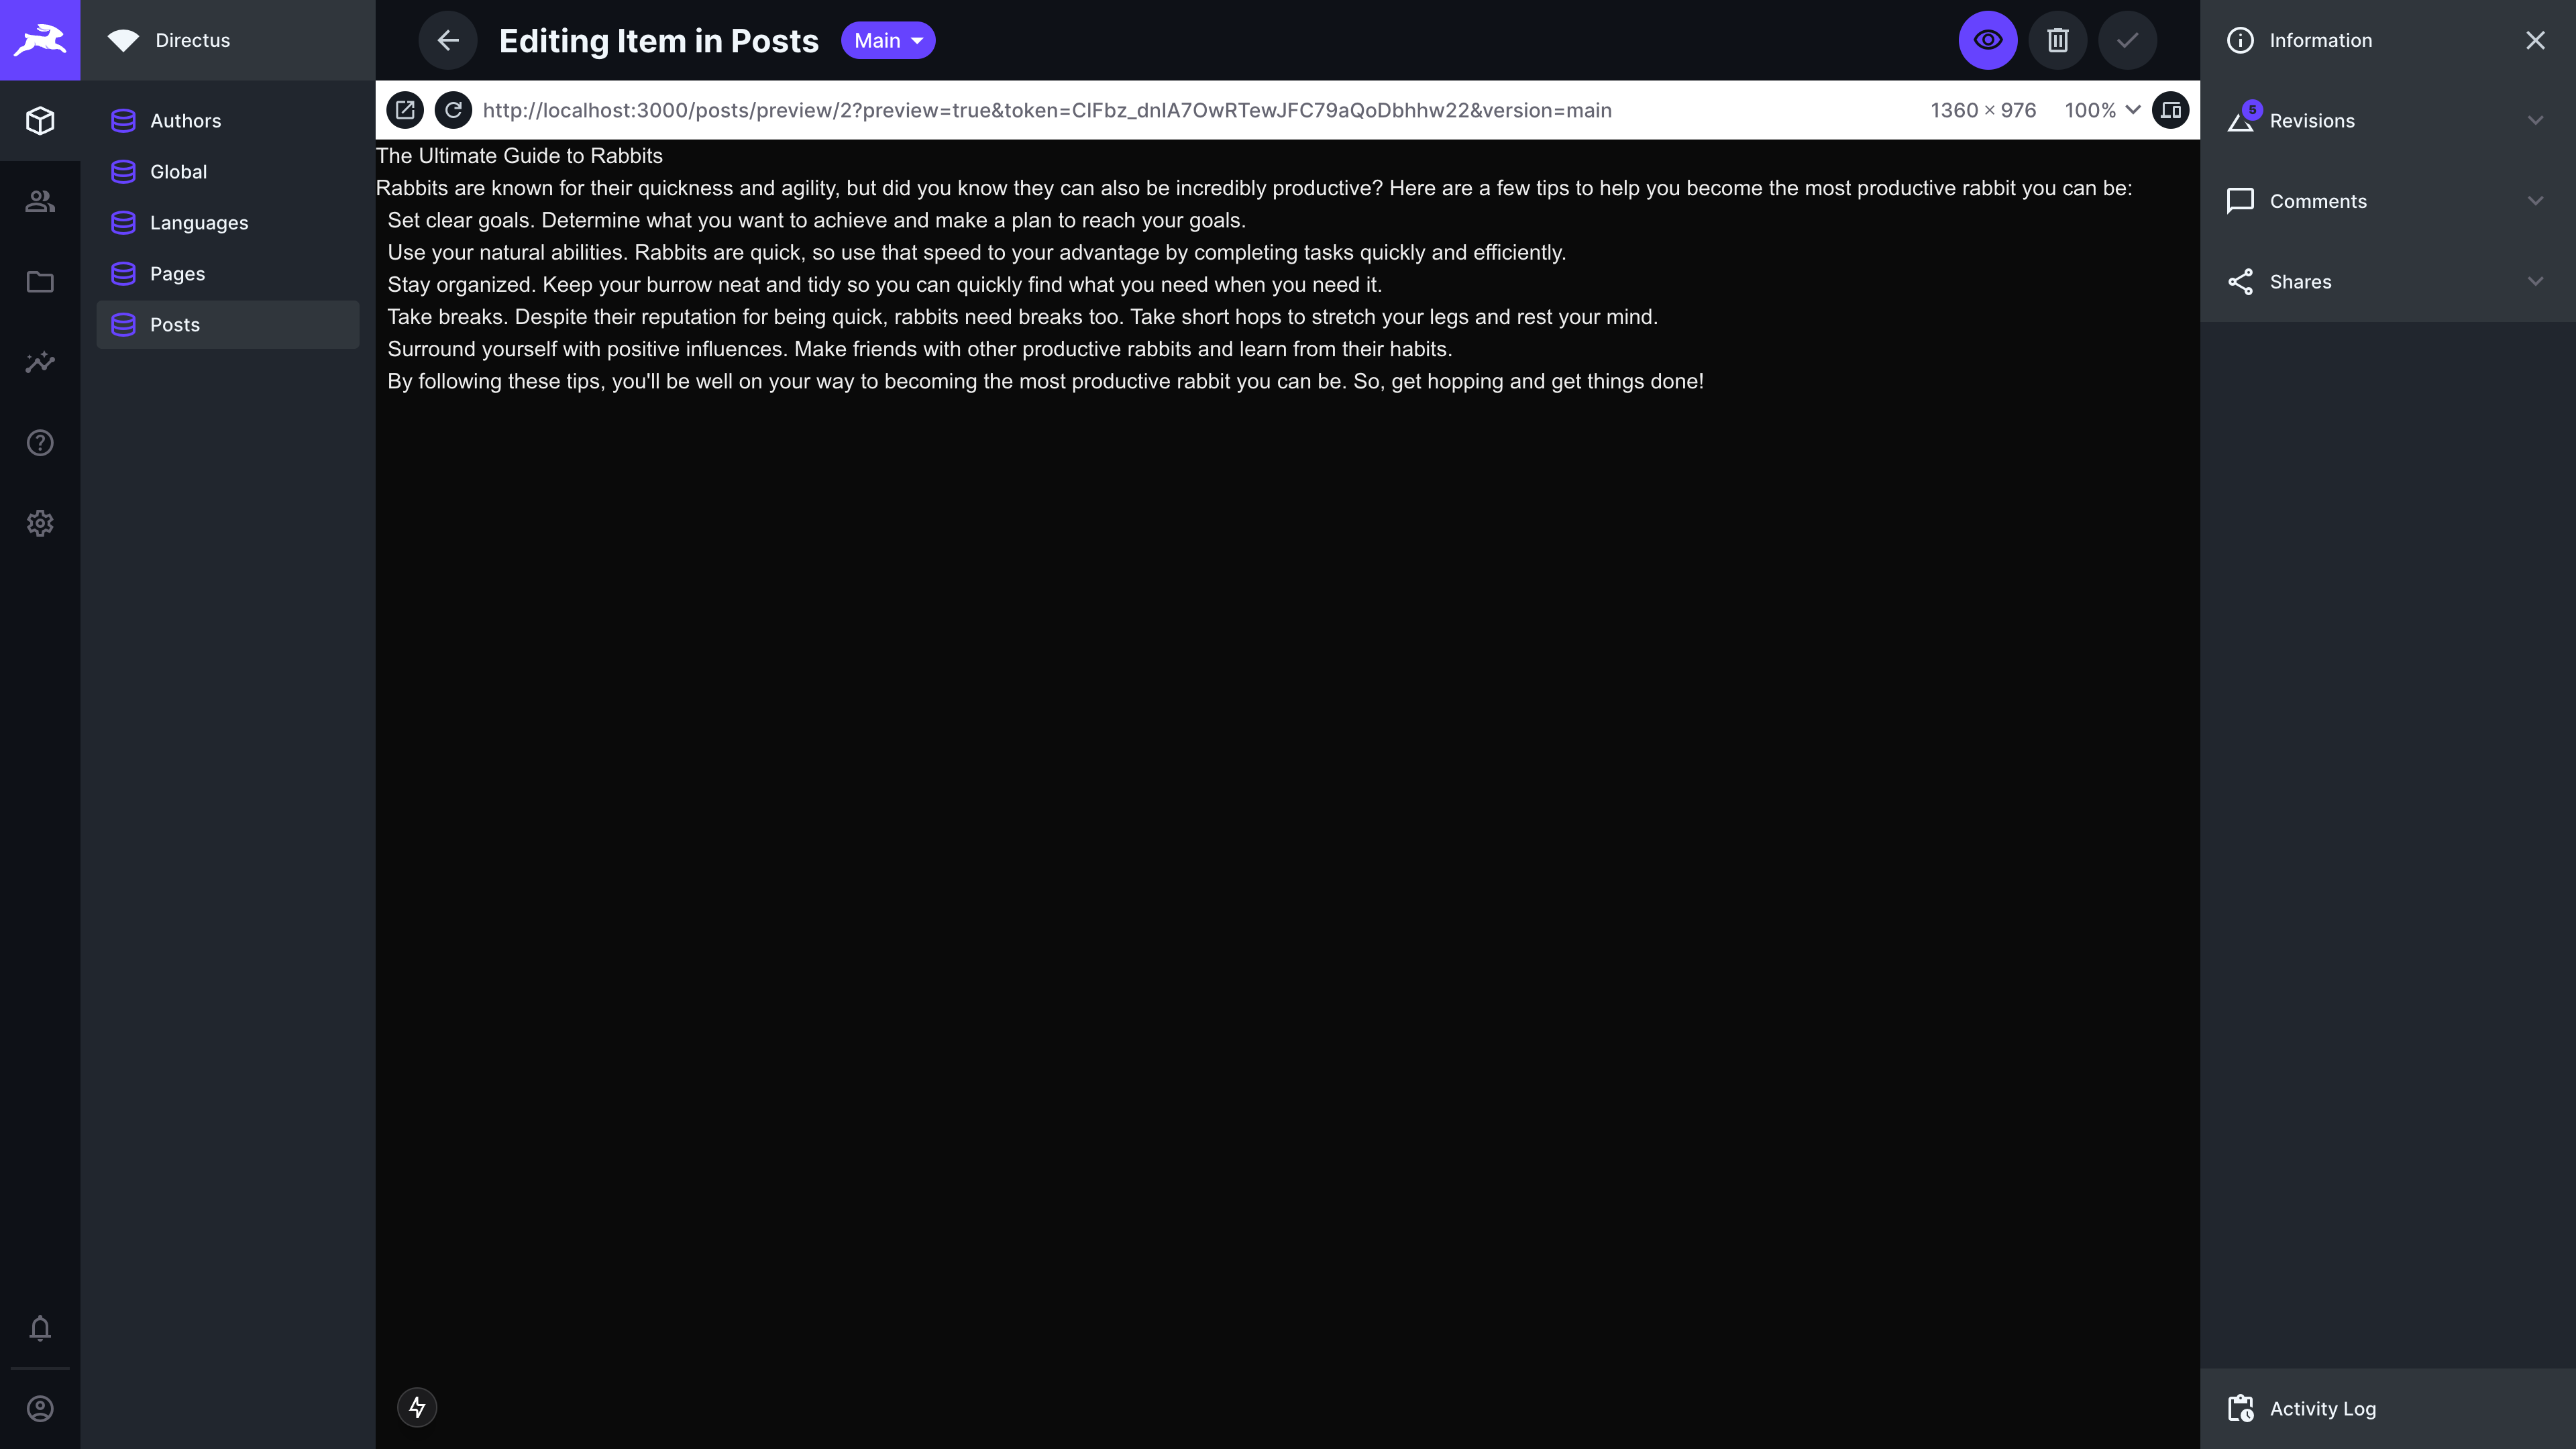
Switch to the version of your post you created. You should now see said post instead.
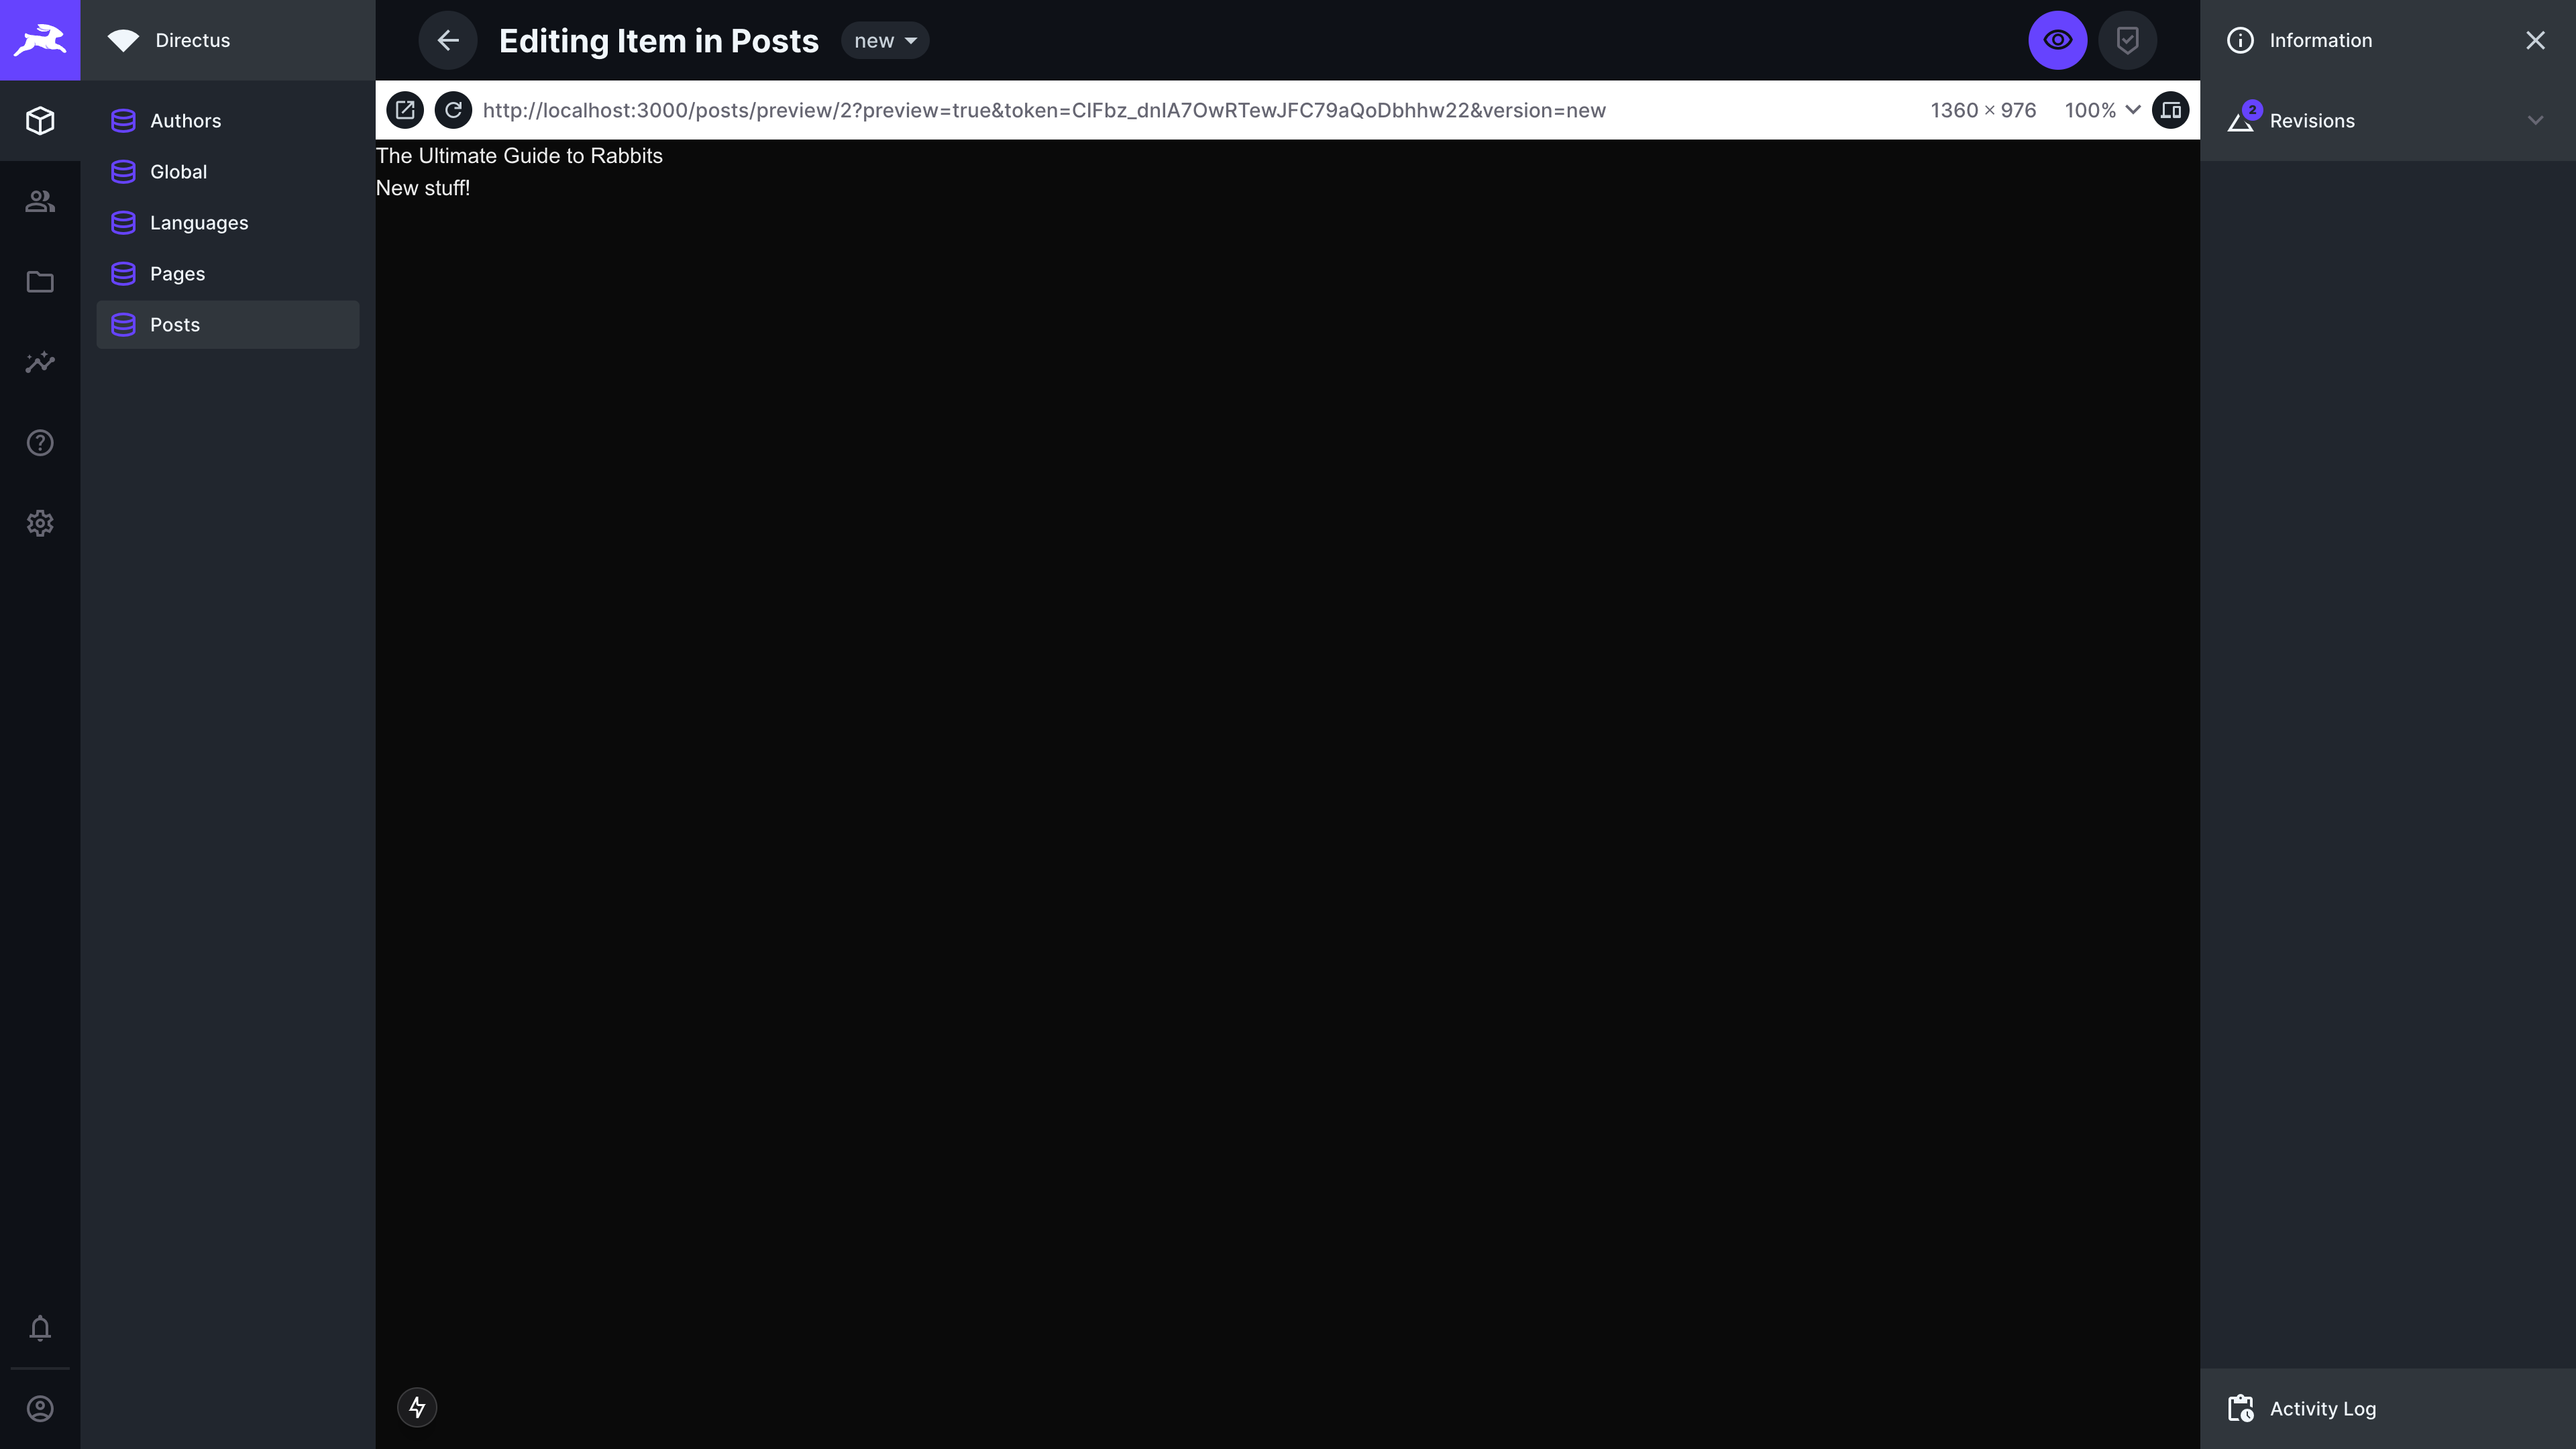
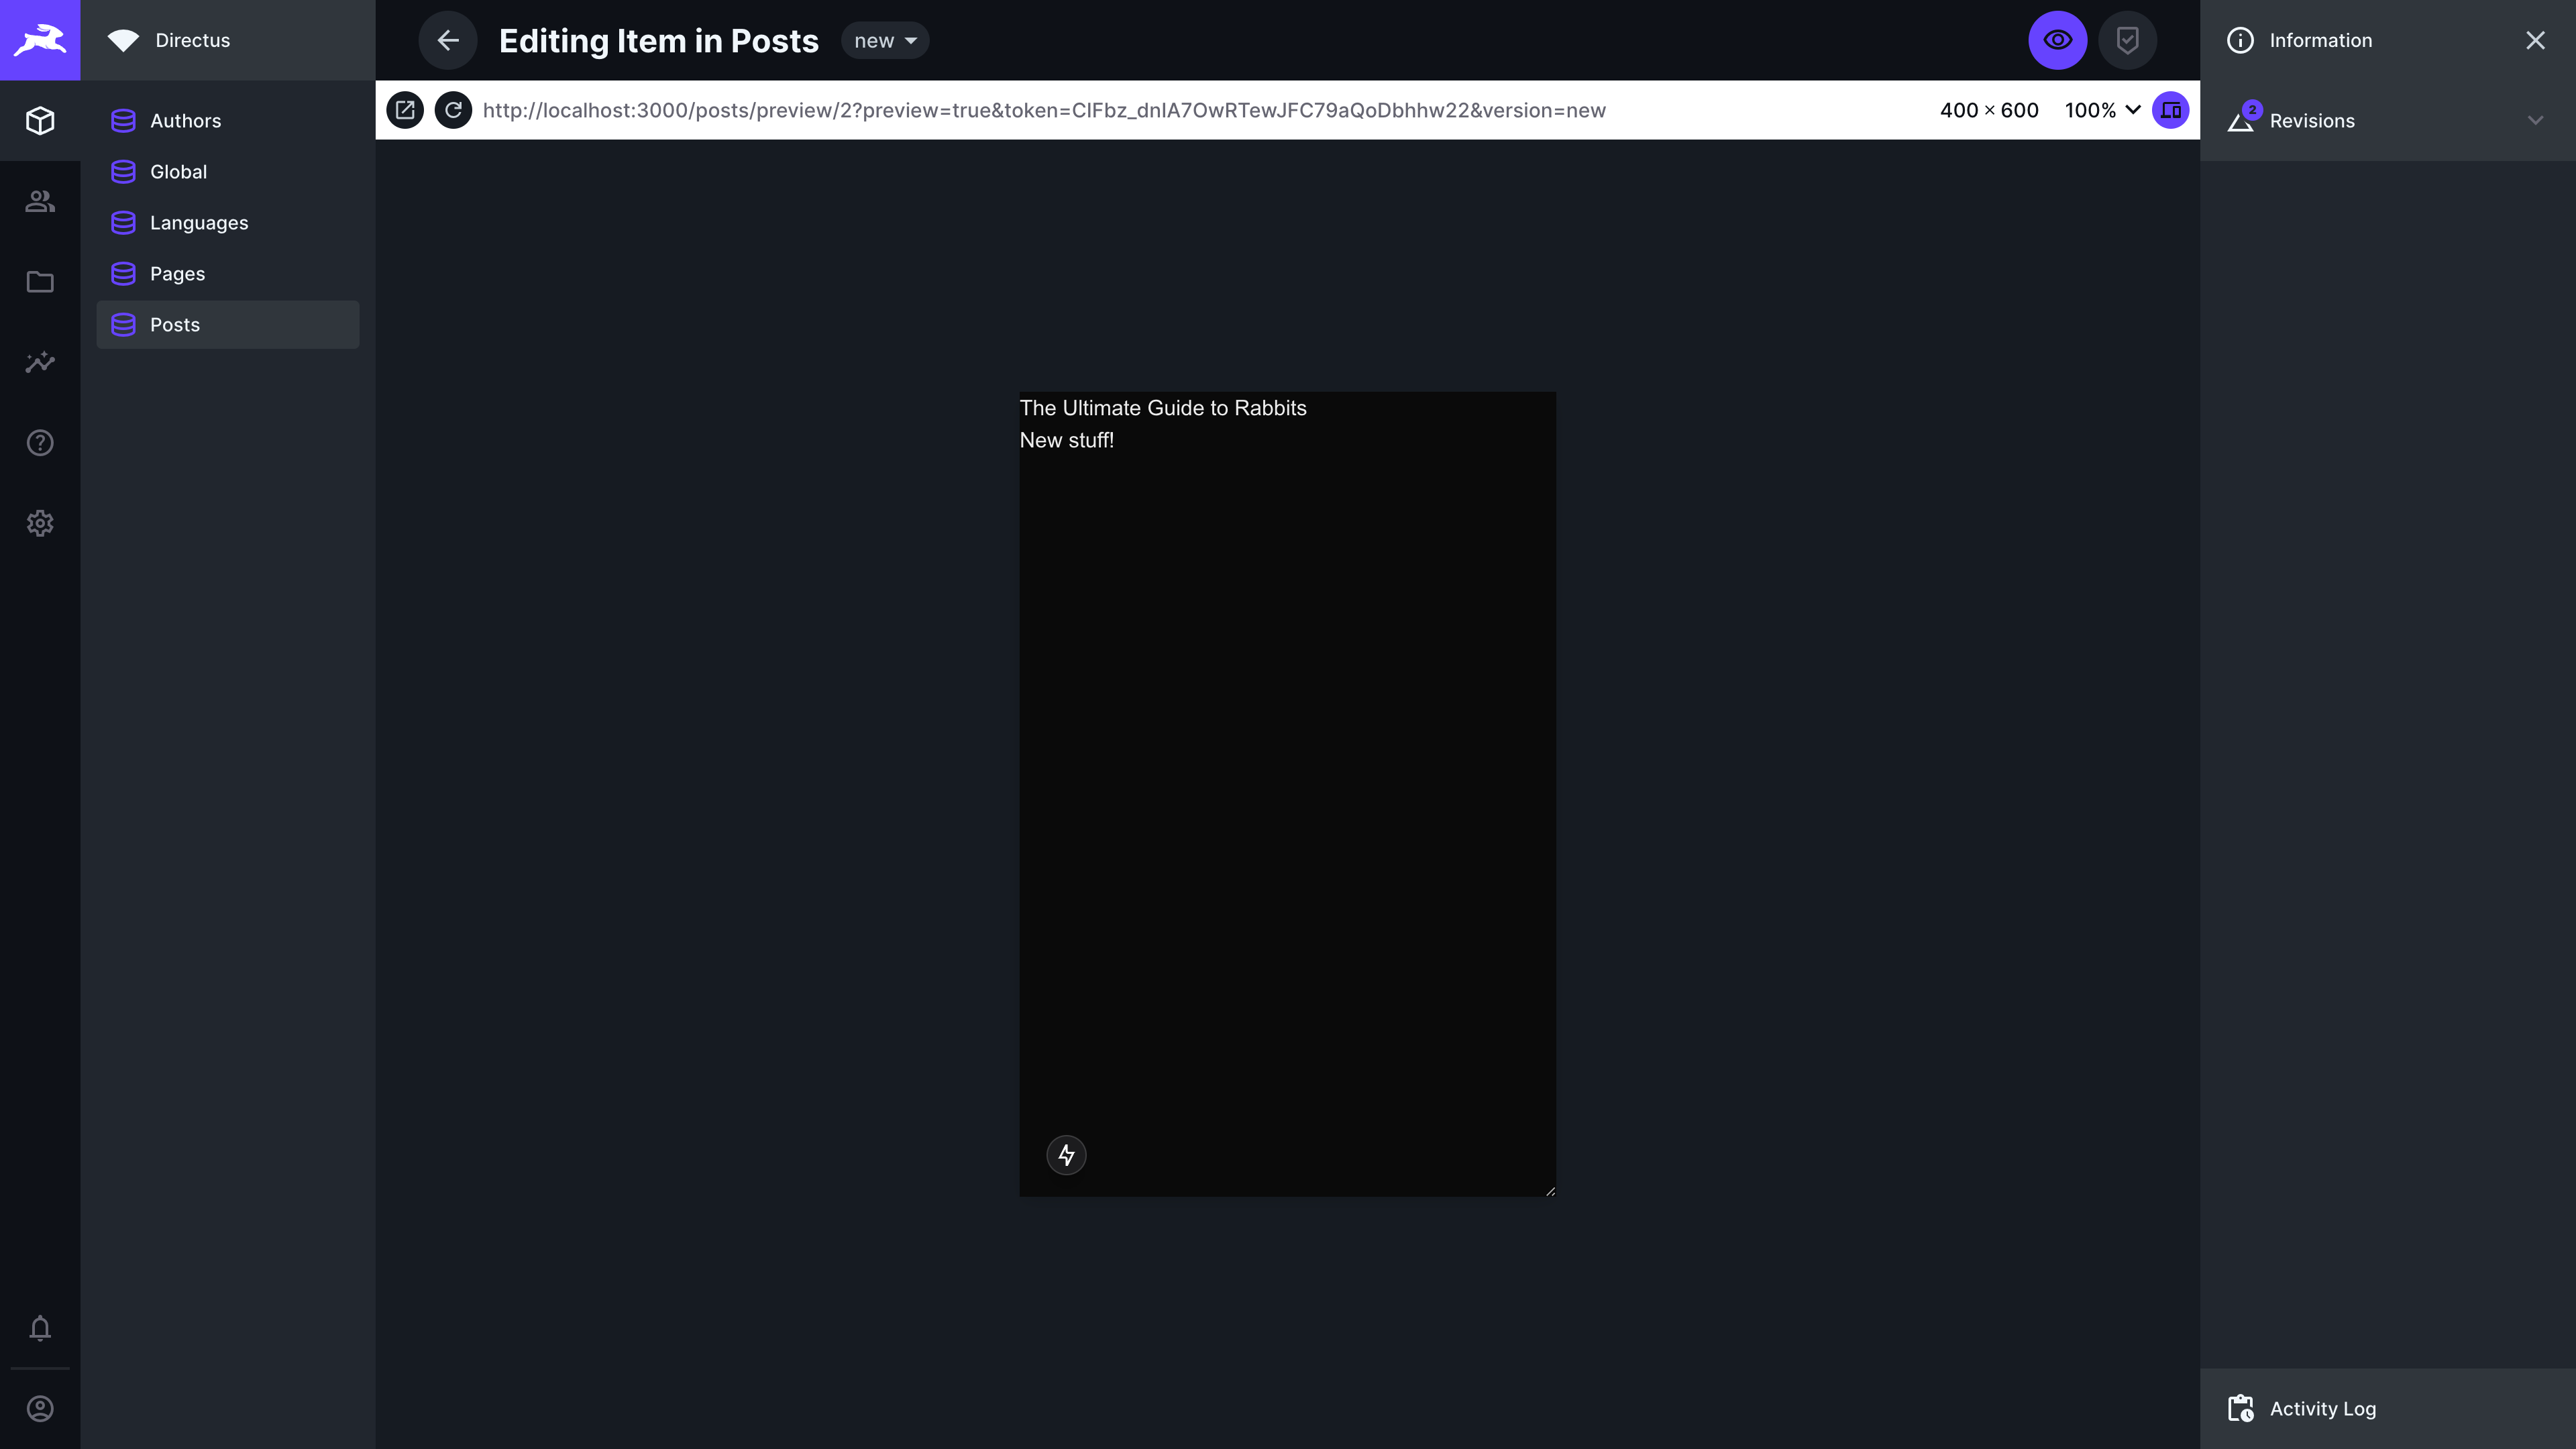
Using Directus, you can also see how the post content will look like on various viewports.
Summary
Using live preview allows you to see what your content will look like without having to leave Directus.
The codebase can be found on our GitHub page. For more information on Live Preview, check out our documentation.